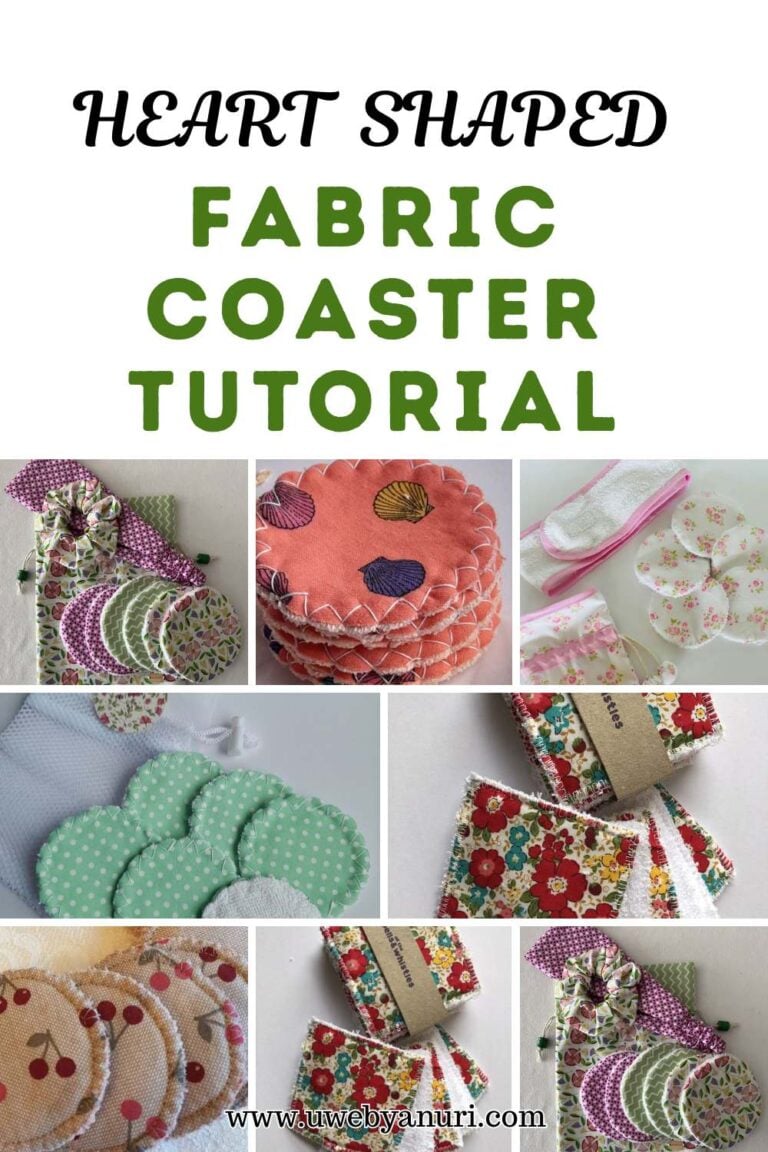
How to Make a Fabric Flower Coaster: Easy DIY Floral Coaster Tutorial for Beginners
There is something deeply comforting about creating small handmade items that bring beauty into everyday life, and this Fabric Flower Coaster Tutorial is one of those projects that feels both simple and meaningful at the same time. I remember the first time I made fabric coasters, I wasn’t even planning to start a “project” I just had leftover fabric scraps sitting on my table, and I didn’t want to waste them. So I started experimenting, and before I knew it, I had created something that not only looked beautiful but also made my tea moments feel more intentional and cozy.
If you enjoy sewing with fabric scraps, you may also love this 15 Scrap Fabric Quilt Ideas guide for turning leftover materials into beautiful projects.
This Fabric Flower Coaster Tutorial is especially close to my heart because it transforms ordinary fabric into something soft, cheerful, and decorative. Unlike plain square or round coasters, the flower shape adds a gentle, feminine touch to your home décor. Moreover, it is beginner-friendly, quick to complete, and incredibly satisfying, even if you have only basic sewing experience.
Additionally, what makes this project even more enjoyable is its versatility. Whether you are sewing for your own home, preparing handmade gifts, or simply looking for a relaxing creative activity, this Fabric Flower Coaster Tutorial fits beautifully into your routine. In fact, many sewists love this project because it requires very little fabric, yet the final result looks thoughtful and professionally made.
So, if you are ready to turn simple fabric pieces into something charming and useful, let’s begin this step-by-step Fabric Flower Coaster Tutorial together.
Why You’ll Love This Fabric Flower Coaster Tutorial
This Fabric Flower Coaster Tutorial is more than just a sewing project; it is a creative experience that blends practicality with beauty. First of all, it is incredibly beginner-friendly, which means you do not need advanced sewing skills to achieve great results. Even if you are just starting your sewing journey, you will be able to complete this project with confidence and satisfaction.
If you’re new to sewing, you’ll also enjoy making this Easy Fabric Bookmark, another beginner-friendly project that uses simple sewing techniques.
Furthermore, this project is perfect for using fabric scraps. Many of us accumulate small leftover pieces from larger sewing projects, and instead of letting them go to waste, this tutorial gives them a new purpose. Consequently, you can turn forgotten fabric pieces into something decorative and functional.
In addition to that, fabric flower coasters make wonderful handmade gifts. For example, you can pair them with a mug, a small candle, or a tea set to create a thoughtful gift bundle. Because they are handmade, they naturally carry a personal touch that store-bought gifts often lack.
Finally, they are practical for everyday use. Not only do they protect your furniture from water stains and heat, but they also add a soft decorative accent to your table, making even ordinary moments feel a little more special.
Another great scrap-busting idea is this Fabric Hair Bow Tutorial, which uses small fabric pieces to create adorable accessories.
Choosing the Best Fabric for Your Fabric Flower Coaster Tutorial
When it comes to this Fabric Flower Coaster Tutorial, choosing the right fabric plays a big role in how your final project turns out. Although you can technically use many types of fabric, cotton is by far the best choice because it is easy to sew, holds its shape well, and comes in countless beautiful prints.
Quilting cotton is also perfect for projects like this Hexagon Fabric Coaster Tutorial, where structure and durability matter.
Additionally, quilting cotton works especially well because it is slightly structured, which helps your flower coaster maintain its shape even after repeated use. If you want a more elegant finish, you can also experiment with linen blends or soft patterned cottons that give a natural, textured look.
Moreover, this project is a perfect opportunity to play with colors. For instance, floral prints create a soft romantic feel, while bold colors make your coasters stand out as statement pieces. Meanwhile, pastel shades give a calm and cozy vibe that works beautifully for spring and summer décor.
Ultimately, the best fabric is the one that makes you smile when you look at it, because these small details are what make handmade projects feel truly personal.
If you love floral-inspired sewing projects, you’ll enjoy this Organza Flower Garland Tutorial for adding handmade charm to your home.
Materials Needed for This Fabric Flower Coaster Tutorial
Before starting your Fabric Flower Coaster Tutorial, it is helpful to gather all your materials so the process flows smoothly from beginning to end.
Need more inspiration for useful handmade home accessories? Browse these Simple Things to Sew for Your Kitchen for even more creative ideas.
A. You will need approximately one-quarter yard of cotton fabric. This can be a single fabric or multiple coordinating prints depending on your design preference.
B. You will also need one-quarter yard of soft padding or lightweight batting. This inner layer gives the coaster structure and helps protect surfaces from heat and moisture.
C. Sewing thread is required, and you can either match it to your fabric or choose a contrasting color for decorative stitching.
D. A sewing machine will make the process faster, although hand sewing is also possible if you prefer a slower, more relaxing approach.
E. Additionally, you will need fabric scissors or a rotary cutter for accurate cutting, along with pins or clips to hold your fabric in place.
F. A pressing iron is also important because pressing your fabric at different stages helps create clean edges and a professional finish.
G. Finally, pattern paper is needed to design your flower shape template.
Once everything is ready, you can move confidently into the sewing process.
Step-by-Step Fabric Flower Coaster Tutorial
Step 1: Cutting Fabric and Padding for Your Fabric Flower Coaster Tutorial
To begin this Fabric Flower Coaster Tutorial, cut two fabric squares measuring 8 inches by 8 inches. These will serve as the front and back of your coaster.
Leftover fabric from this project can also be used to create a practical DIY Fabric Sunglass Case.
After that, cut one piece of batting measuring 7.75 inches by 7.75 inches. This slightly smaller size ensures the batting fits neatly inside without creating excess bulk along the edges.
Although this may seem like a small detail, it plays a big role in achieving a smooth and polished final shape.
Step 2: Creating Your Flower Pattern
Next, you will create the signature flower shape for your Fabric Flower Coaster Tutorial. On pattern paper, draw a flower design with five or six petals, depending on your preference.
If you enjoy working with shapes and templates, you might also like this 9 Patch Quilt Block Tutorial for exploring simple quilting designs.
Furthermore, you can make the petals rounded for a soft, natural look or slightly pointed for a more defined floral style. Once you are happy with your design, cut it out carefully and keep it as your reusable template.
Step 3: Cutting the Flower Shapes
Place your flower template onto the fabric and secure it with pins. Then trace around it, making sure to add a ¼ inch seam allowance for sewing.
After cutting your fabric pieces, repeat the process with the batting. However, this time, do not add seam allowance, as the batting should remain slightly smaller to reduce bulk inside the seams.
Step 4: Attaching the Padding
Place the batting on the wrong side of one fabric flower piece. Then gently press it with an iron to help it stay in place.
This step is important because it ensures the layers remain stable during sewing, which makes the rest of the Fabric Flower Coaster Tutorial much easier.
Step 5: Sewing the Flower Coaster
Now place both fabric flower pieces right sides together, with the batting on the outside.
Mastering curved seams here will also help when making projects like this Reversible Bucket Hat Tutorial.
Carefully pin around all edges to keep everything aligned. Then sew around the entire shape using a ¼ inch seam allowance, but remember to leave a 1.5 to 2-inch opening for turning.
Step 6: Trimming and Turning
After sewing, trim excess fabric around curves and petal edges. Be careful not to cut through the stitches.
Then turn the coaster right side out through the opening. Use a blunt tool to gently push out each petal so the flower shape becomes clearly defined.
Step 7: Pressing and Finishing Your Fabric Flower Coaster Tutorial
Press the coaster carefully with an iron to smooth out any wrinkles. After that, fold in the raw edges of the opening and press again.
For more tips on creating polished sewing projects, check out this How to Bind a Quilt tutorial.
Finally, topstitch around the entire flower about ⅛ inch from the edge. This not only closes the opening but also gives your coaster a clean, professional look.
Optional Quilting Ideas for Your Fabric Flower Coaster Tutorial
Although your coaster is already beautiful, adding quilting details can elevate it even further. For example, you can stitch lines inside each petal to create a natural flower vein effect. Alternatively, you can add a circular stitch in the center to highlight the shape.
If quilting details interest you, these Scrap Fabric Quilt Ideas offer plenty of inspiration for adding texture and dimension.
However, if you prefer a minimal look, leaving it plain also looks equally beautiful, especially when using bold or patterned fabrics.
Creative Ways to Use Your Fabric Flower Coaster Tutorial Creations
These coasters are not only decorative but also highly practical in everyday life. For instance, you can use them on coffee tables to protect surfaces while adding charm to your living space. Additionally, they work beautifully for tea parties, brunch setups, or even office desks where you want a small personal touch.
You can also pair your coasters with a handmade Mug Cozy to create a charming gift set for tea and coffee lovers.
Moreover, they make thoughtful handmade gifts when paired with mugs, candles, or small tea sets. As a result, they are perfect for birthdays, holidays, or simple “thinking of you” surprises.
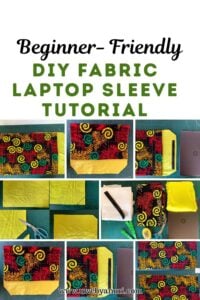
Another lovely handmade gift idea is this DIY Fabric Laptop Sleeve, which combines beauty with everyday functionality.
Final Thoughts on This Fabric Flower Coaster Tutorial
In conclusion, this Fabric Flower Coaster Tutorial is a beautiful reminder that creativity does not have to be complicated to be meaningful. With just a few simple materials and a little bit of time, you can create something that brings warmth, charm, and personality into your home.
If you enjoyed this project, you may also love sewing a Reversible Bowl Cozy, another practical handmade item that adds warmth and personality to everyday life.
Furthermore, projects like this encourage us to slow down and enjoy the process of making rather than rushing for perfection. Every stitch tells a small story, and every finished coaster becomes a reflection of your creativity and care.
Ultimately, whether you make one coaster or a full matching set, you are creating something that adds beauty to everyday life. So take your time, enjoy the process, and let your fabric scraps turn into something truly lovely.