How to Make an Organza Flower Garland
My love for garlands, especially colorful ones, made me think about making one for my house. I have always loved how soft and beautiful garlands can completely change a space without needing expensive decorations. That is one reason I enjoy creating simple Sewing Projects to Organize the Home and decorate small spaces beautifully. Whether hanging near a window, across a shelf, or around a party table, garlands always add warmth and personality to a room. One afternoon while organizing my fabric scraps, I found some leftover organza fabric, and immediately, the idea for this organza flower garland tutorial came to mind.
At first, I thought making an organza flower garland would be difficult because organza looks so delicate and fancy. However, once I started working on it, I realized it was actually a very relaxing and beginner-friendly sewing project. The soft ruffles, flowing fabric, and colorful layers made the whole process feel creative and fun. What I love most about this DIY organza flower garland is that it looks elegant while still being very affordable to make. Beginner-friendly projects like this are exactly why I love sharing Easy Sewing Projects for complete Beginners.
Another reason I enjoy this organza flower garland tutorial is because it works for almost every occasion. You can use it for birthdays, baby showers, weddings, holiday decorations, nursery decor, or even everyday home styling. Plus, you can customize the colors, beads, and fullness to perfectly match your personal style. So, if you are looking for a simple DIY decor project that is lightweight, beautiful, and beginner-friendly, this organza flower garland tutorial is definitely worth trying.
Supplies You’ll Need for This Organza Flower Garland Tutorial
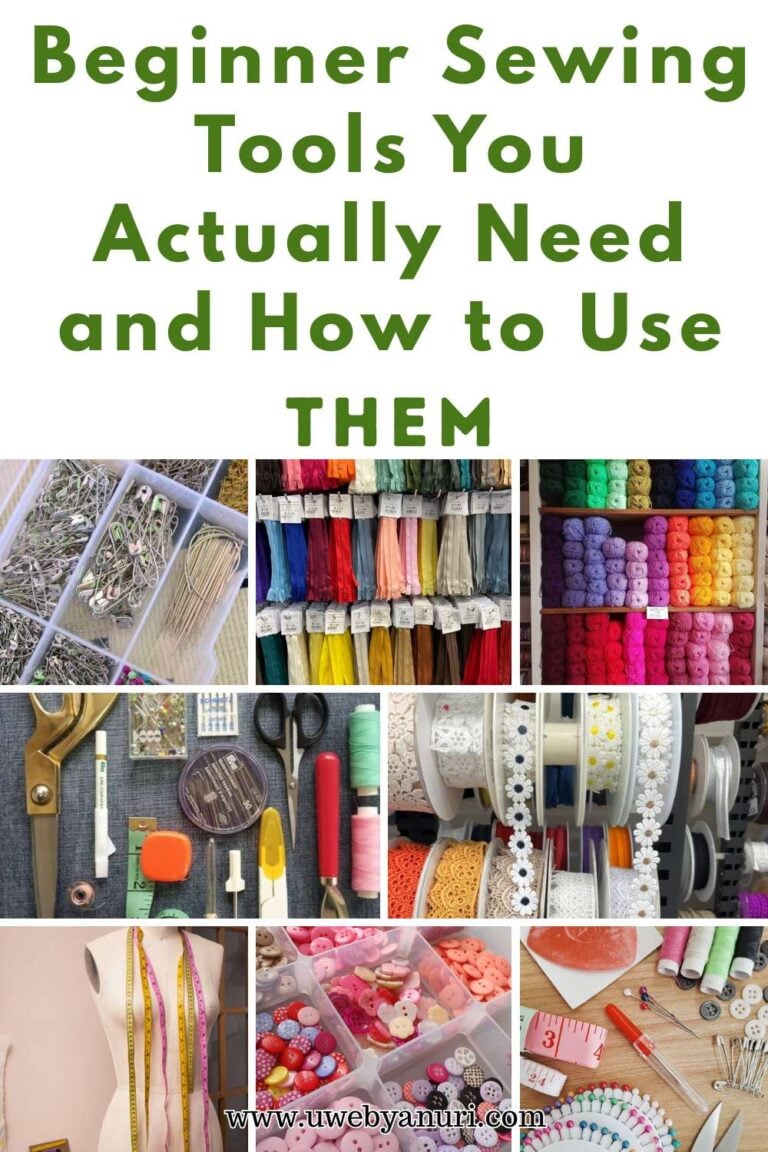
Before starting your organza flower garland tutorial, gather all your materials together. Preparing everything ahead of time makes the crafting process easier and more enjoyable. If you are still building your sewing setup, this guide on Beginner Sewing Tools You Actually Need and How to Use Them can really help.
Fabric Materials
Organza Fabric
You will need:
- About 3 yards of organza fabric
- 2–3 different colors if making a colorful garland
Using multiple colors creates a beautiful layered and rainbow-like effect.
Decorative Beads (Optional)
Beads are optional, but they add sparkle and elegance to the flower garland.
You can use:
- Pearl beads
- Clear beads
- Glitter beads
- Wooden beads
Sewing Supplies
You will also need: Small sewing tricks like this are part of what I shared in Sewing Hacks Every Beginner Should Know.
- Sewing machine
- Large hand sewing needle
- Matching sewing thread
- Fabric scissors
- Sewing pins or clips
- Measuring tape or ruler
- Tailor’s chalk
- Pressing iron
Why Organza Fabric Works Perfectly for a Flower Garland
Organza is one of the best fabrics for decorative garlands because it is lightweight, airy, and elegant.
Lightweight and Flowing
Unlike heavier fabrics, organza creates soft and fluffy ruffles that drape beautifully.
Reflects Light Beautifully
One thing I love about organza is how it catches sunlight and room lighting. This gives the garland a dreamy and delicate appearance.
Available in Many Colors
Organza comes in endless color choices, making it easy to customize your garland for any season or event.
Step-by-Step Organza Flower Garland Tutorial
Now let’s begin creating your beautiful DIY organza flower garland.
Step 1: Cut the Fabric Into Strips
The first step in this organza flower garland tutorial is preparing the fabric strips.
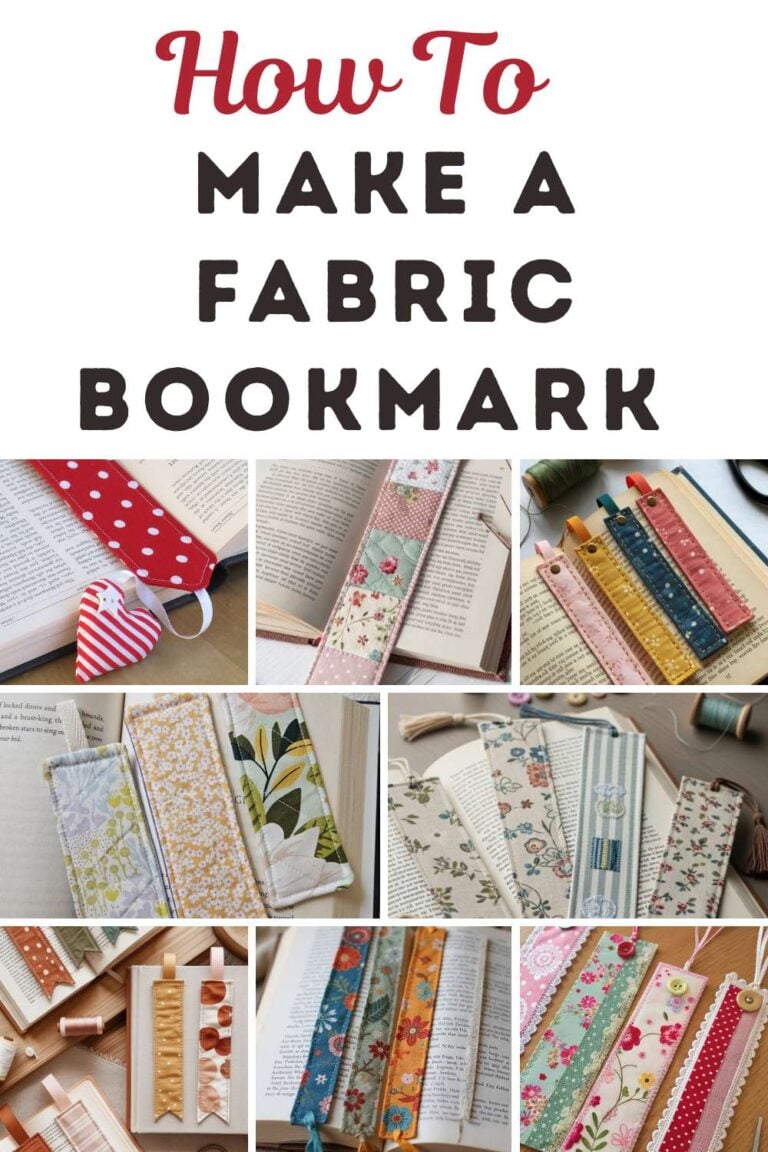
Learning neat finishing techniques on decorative projects like this also helps when sewing smaller projects such as this Fabric Bookmark Tutorial.
Cut the Organza Fabric
Cut your organza fabric into several strips measuring:
- 7 inches wide
The strip lengths do not need to be perfectly equal.
Helpful Sewing Tip
Using different colors creates a more vibrant and layered garland effect.
Step 2: Join the Fabric Pieces Together
Now it is time to connect the strips into one long fabric piece.
Sew the Strips End to End
Take your organza strips and sew them together one after another.
Alternate the Colors
If using multiple fabric colors, alternate them to create a beautiful gradient look.
Fold the Fabric Strip
Once all strips are joined:
- Fold the long strip in half lengthwise
- Place right sides together
Pin along the open edge carefully.
Sew the Fabric Tube
Using a ½-inch seam allowance, sew along the pinned edge to create a long tube.
Step 3: Turn and Press the Fabric Tube
This step gives the garland a cleaner and more polished finish.
Turn the Tube Right Side Out
Carefully pull the fabric through the tube so the seam becomes hidden inside.
Because organza is delicate, work slowly to avoid stretching the fabric.
Press the Fabric
Use an iron on a low setting to gently press the tube flat.
Why Pressing Matters
Pressing helps position the seam neatly in the center, which makes the ruffles look more symmetrical later.
Step 4: Prepare the Needle and Thread
Now the garland starts coming together beautifully.
Thread the Needle
Thread a large sewing needle with a long piece of thread.
A longer thread allows you to create a longer garland without stopping frequently.
Add Decorative Beads (Optional)
Before creating the ruffles, you can thread:
- 10–15 beads
This adds sparkle and decorative spacing between flower sections.
Step 5: Create the Ruffle Flowers
This is the most exciting part of the organza flower garland tutorial because the flowers finally begin to form. Scrap fabric projects like this always remind me of making a Handmade Scrunchie Tutorial, where small fabric pieces become something beautiful again.
Begin Pleating the Fabric
Take small sections of the organza tube and create tiny pleats or ruffles.
Stitch Through the Center
As you fold each pleat, insert the needle through the center to secure the ruffle in place.
Continue gathering and stitching the fabric along the thread.
Continue Until Desired Length
Keep pleating and stitching until:
- You use all the fabric
- Or reach your preferred garland length
Helpful Tip for Fuller Flowers
The more pleats you create, the fuller and fluffier your flower garland will appear.
Add Ending Beads
Once finished, add another 10–15 beads to the end of the garland for a decorative finish.
Step 6: Finish Your Organza Flower Garland
Now your DIY flower garland is almost complete.
Secure the Thread
Remove the needle carefully and tie a strong knot at the end to hold the pleats securely in place.
Join Both Ends Together
Bring the beginning and ending points of the garland together and tie them securely.
Fluff and Adjust the Ruffles
Gently separate and fluff the ruffles until the garland reaches your desired fullness and shape.
Why Handmade Garlands Are So Special
There is something incredibly special about handmade decorations. Unlike store-bought decor, handmade garlands feel more personal and meaningful because they reflect your creativity and style. Handmade decor also makes thoughtful presents, especially if you enjoy creating 50 Things to Sew and Give as Gifts.
Personally, I love DIY decor projects because they allow me to create beautiful decorations without spending too much money. Plus, handmade projects always make a home feel warmer and more welcoming.
Another thing I love about this organza flower garland tutorial is that it can easily become a family craft project. Kids can help choose colors, sort beads, or fluff the flowers after sewing.
Conclusion
I absolutely loved making this organza flower garland tutorial because it brought so much color and softness into my home. Even with simple materials, the final result looked elegant, cheerful, and completely unique.
If you are looking for a beginner-friendly DIY decor project, this organza flower garland tutorial is definitely worth trying. It is affordable, customizable, lightweight, and perfect for both everyday decor and special occasions.
So, gather your favorite organza fabrics, prepare your sewing supplies, and have fun creating a beautiful handmade flower garland for your home or next celebration.