DIY Fabric Sunglass Case Tutorial
If you’ve ever dealt with scratched lenses, lost sunglasses, or that frustrating moment of digging endlessly through your handbag just to find your glasses, then this DIY fabric sunglass case tutorial is going to feel like a small but meaningful upgrade to your everyday life.
Honestly, I didn’t fully appreciate the importance of a proper sunglass case until I ruined a pair I really loved. I had simply tossed them into my bag without any protection, thinking it would be fine “just this once.” Of course, that “just this once” turned into scratches that never came off. That experience pushed me to finally create something better something soft, protective, and actually beautiful.
So instead of buying another plastic or store-bought case that eventually cracks, feels generic, or doesn’t match my style, I decided to sew my own. And that’s how this DIY fabric sunglass case tutorial came to life. If you enjoy turning fabric scraps into practical accessories, you may also love this DIY Drawstring Jewelry Pouch Tutorial, another beginner-friendly project that makes great use of leftover fabric.
As we move through this tutorial, I’ll walk you step-by-step through everything you need to know, while also sharing helpful tips, personal insights, and little sewing tricks that make a big difference in your final result.
Why This DIY Fabric Sunglass Case Tutorial Is Worth Making
Before we jump into the sewing process, it’s important to understand why this simple project is actually so useful in real life. Looking for more practical handmade accessories? Check out this DIY Fabric Laptop Sleeve Tutorial for another stylish way to protect your everyday essentials.
First of all, it protects your sunglasses properly. Unlike soft bags or no protection at all, this case provides a structured padded layer that helps prevent scratches, dust, and accidental pressure damage.
Secondly, it is lightweight and compact. This means you can easily carry it in your handbag, backpack, or even your car without it taking up unnecessary space.
In addition, it helps you stay organized. Instead of constantly misplacing your sunglasses or leaving them on random surfaces, you always have a dedicated place for them.
Most importantly, it saves money in the long run. Instead of repeatedly replacing damaged sunglasses or buying multiple store-bought cases, you can create durable handmade versions at a fraction of the cost.
A Project That Builds Confidence for Beginners
If you are new to sewing, this DIY fabric sunglass case tutorial is a perfect starting point.
This is because:
- The shapes are simple and easy to cut
- The sewing lines are mostly straight or gently curved
- There are no complicated closures or zippers
- The construction process is very forgiving
As a result, even if your stitches are not perfect, the final product will still look beautiful and functional.
Many beginners find this project especially rewarding because it gives a quick sense of accomplishment without overwhelming them.If you’re building your sewing skills, this Reversible Tote Bag Tutorial is another excellent beginner project that teaches useful sewing techniques.
A Scrap-Busting Sewing Project You Will Love
One of my favorite things about this project is that it uses very little fabric. This means you can easily repurpose leftover fabric from larger projects.
Instead of letting small fabric pieces go to waste, you can transform them into something practical and stylish.
Additionally, it is a great way to experiment with fabric combinations. For example, you can mix:
- Bold prints with neutral linings
- Floral fabrics with solid colors
- Cotton with quilted textures
This makes each sunglass case unique. Need more ways to use leftover fabric? Browse these creative Scrap Fabric Quilt Ideas for even more inspiration.
Stylish, Functional, and Completely Customizable
Unlike mass-produced sunglass cases, this handmade version gives you complete creative freedom.
You can choose:
- Soft pastel fabrics for a minimal look
- Bright prints for a fun style
- Neutral tones for a classy aesthetic
- Quilted fabric for extra protection
Moreover, you can even personalize it with embroidery, buttons, labels, or decorative stitching.
Materials Needed for DIY Fabric Sunglass Case Tutorial
Before you begin sewing, it’s important to gather all your materials. This helps the process flow smoothly without interruptions.
Fabric and Sewing Supplies
- ¼ yard outer fabric
- ¼ yard lining fabric
- ¼ yard soft padding or fusible interfacing
- Sewing machine
- Matching thread
- Scissors or rotary cutter
- Pins or sewing clips
- Measuring tape
- Fabric marker or tailor’s chalk
- Iron and ironing board
- Hand sewing needle
- Snap button or clip closure
Choosing the Right Fabric Matters More Than You Think
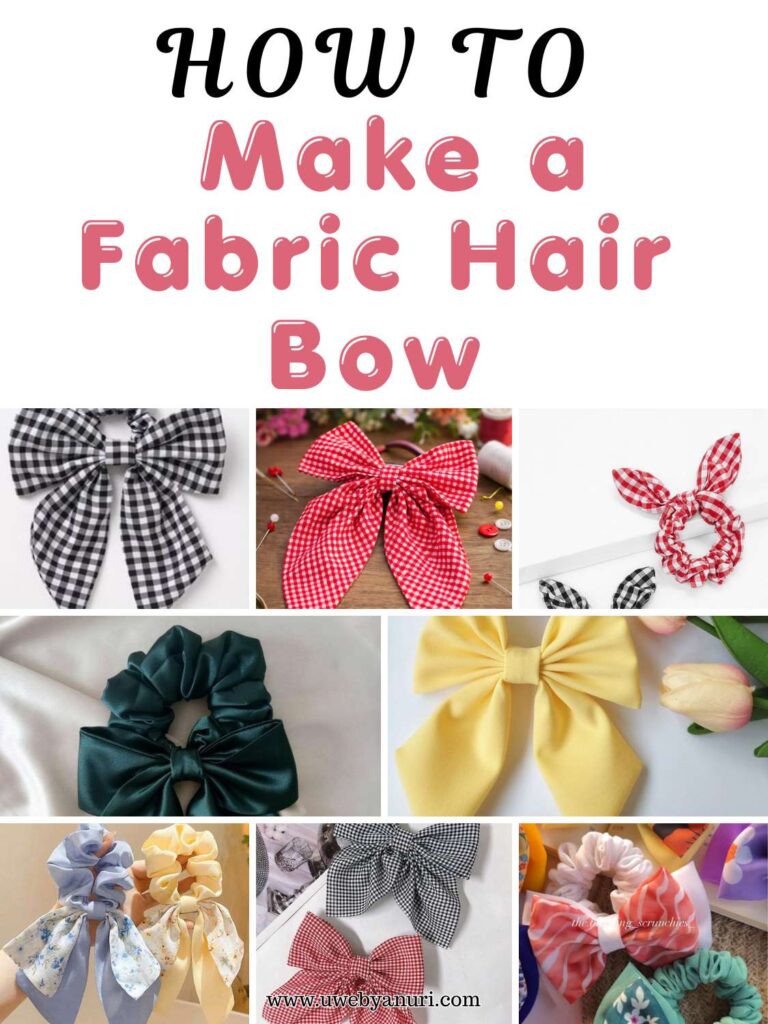
Although this project works with many fabric types, your choice of material affects durability and appearance. You can also personalize your accessories with fabric embellishments like those featured in this Fabric Hair Bow Tutorial.
For example:
- Cotton is great for beginners because it is easy to handle
- Canvas provides a stronger, more structured finish
- Quilted fabric adds softness and protection
- Linen gives a natural, relaxed look
Additionally, using interfacing or padding is highly recommended because it protects your sunglasses from scratches and impact.
Step-by-Step DIY Fabric Sunglass Case Tutorial
Now let’s move into the sewing process. Take your time with each step, and don’t rush — accuracy matters more than speed here.
Step 1: Cutting Your Fabric Pieces Carefully
The first step in this DIY fabric sunglass case tutorial is creating your base shape.
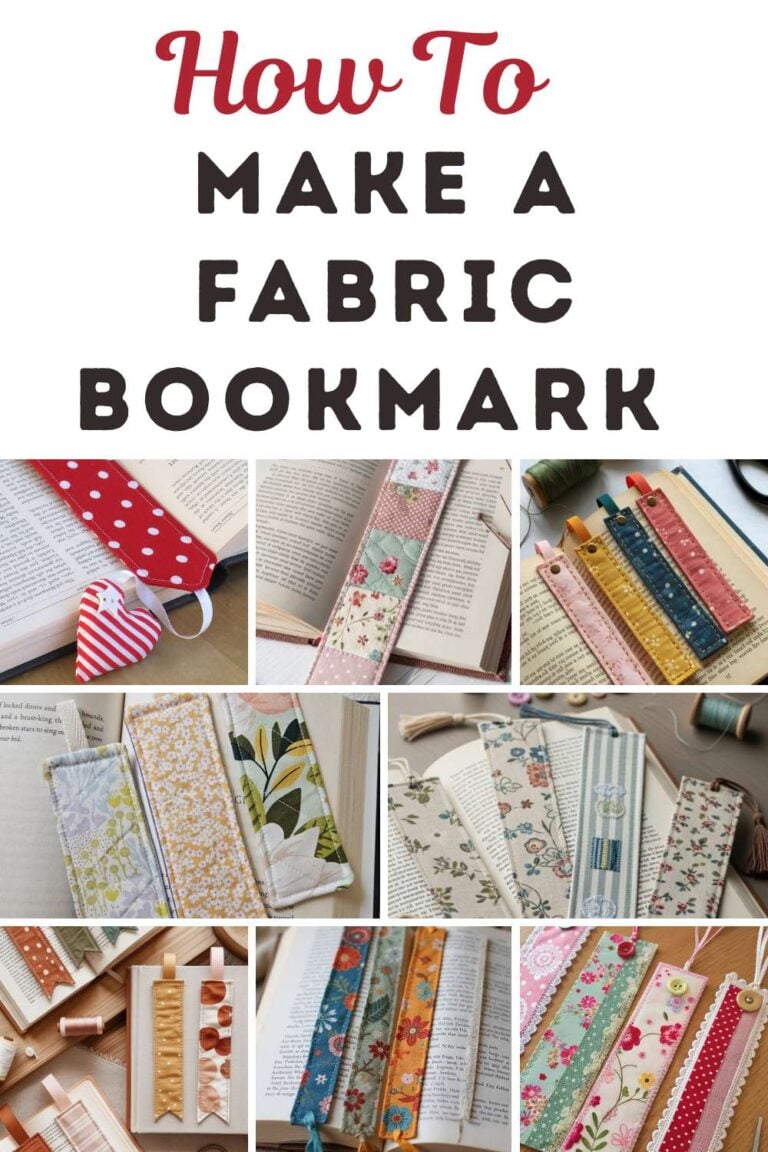
Using a ruler, string, or circular object, draw an 11-inch circle on your fabric. Many of these same supplies can also be used for this simple Fabric Bookmark Tutorial, making it another great scrap-fabric project.
Then cut out:
- One circle from outer fabric
- One circle from lining fabric
- One circle from padding
At this stage, make sure all layers are as even as possible. Even small differences can affect the final shape.
Helpful Cutting Tip
If your circle is not perfect, don’t stress too much. Fabric projects are forgiving, and small imperfections usually disappear after sewing and shaping. Accurate cutting is important in many sewing projects, including this practical DIY Makeup Brush Roll Tutorial.
Step 2: Adding Structure with Padding
Next, place your padding or interfacing on the wrong side of the outer fabric.
Then press it gently with a warm iron.
This step is important because it:
- Strengthens the case
- Helps it keep its shape
- Provides extra protection for lenses
Additionally, this step makes the final product feel more professional and durable. Padding and interfacing are also commonly used in protective sewing projects like this Reversible Bowl Cozy Sewing Tutorial.
Step 3: Preparing the Fabric Layers
Now you will start assembling the main structure.
Place:
- Outer fabric (right side up with padding attached)
- Lining fabric (right side down)
Make sure both right sides are facing each other.
Mark the Opening
Measure about 2 inches on one side and mark it.
This opening will be used later to turn the fabric right side out.
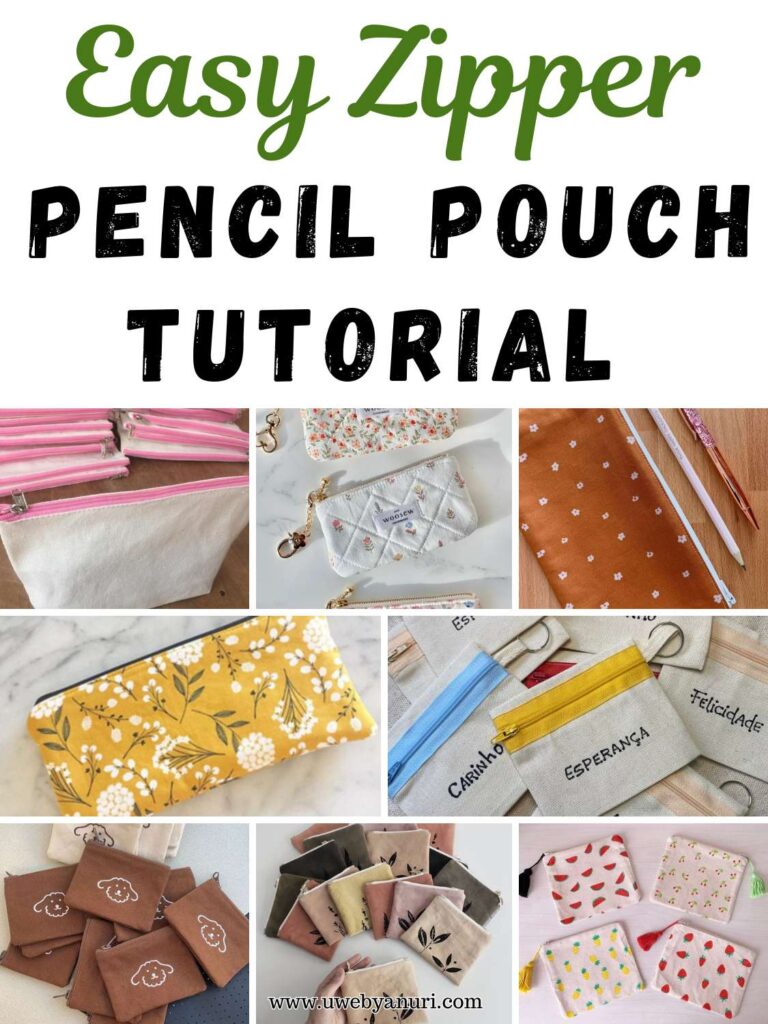
Without this step, finishing the project would be impossible, so do not skip it. Proper pressing can dramatically improve your results. You’ll use the same technique in this Easy Zipper Pencil Pouch Tutorial.
Step 4: Pinning and Sewing the Circle
Carefully pin around the entire edge of the circle.
Leave the marked opening unpinned.
Then sew around the edge using a ½-inch seam allowance.
After Sewing
- Trim excess fabric carefully
- Remove pins
- Check stitching for gaps
At this stage, your project already begins to take shape.
Step 5: Turning and Pressing the Fabric
Turn the entire piece right side out through the opening.
This step is always satisfying because the project suddenly starts to look real.
Then:
- Push out edges gently
- Press flat using an iron
Pressing is very important because it gives a clean, professional finish.
Step 6: Closing the Opening
Fold the raw edges inward and stitch them closed.
You can also topstitch around the entire circle for added structure and design.
This makes your base strong and polished.
Step 7: Creating the Flap Design
Now we begin shaping the actual case.
On both sides of the circle:
- Measure 1.5 inches inward
- Fold toward the center
- Pin in place
Then stitch along these folds.
This creates the structured sides of your sunglass case. If you enjoy functional sewing projects with storage features, you’ll also appreciate this Fabric Wall Pocket Sewing Tutorial.
Step 8: Forming the Pocket
Fold the bottom part upward until it meets the flap line.
This creates the pocket that holds your sunglasses.
Then sew both sides securely.
Now your case has shape, structure, and function.
Step 9: Adding the Button Closure
Fold the flap over and mark where it naturally falls.
Then attach a snap button or clip closure.
This ensures your sunglasses stay safely inside even when the case is inside a bag. Closures and finishing details can make a project feel polished. You can practice similar skills with this DIY Reversible Baby Bib Tutorial.
Extra Tips for a Better Finish
To improve your final result:
- Always press after every major step
- Reinforce stress points with extra stitching
- Use matching thread for a cleaner look
- Trim loose threads carefully
These small details make a big difference. For more beginner-friendly sewing practice, take a look at this DIY Oven Mitt Tutorial, which also focuses on neat finishing techniques.
Why Handmade Projects Feel So Rewarding
There is something deeply satisfying about creating something useful with your own hands.
In a world where most things are mass-produced, handmade projects bring back creativity, patience, and intention.
Every time you use your sunglass case, you are reminded that you made it yourself and that feeling is priceless. Handmade gifts always feel extra special. For another thoughtful gift idea, explore this Fabric Wine Bottle Bag Tutorial.
Final Thoughts on This DIY Fabric Sunglass Case Tutorial
This DIY fabric sunglass case tutorial is more than just a sewing project it is a simple but meaningful way to bring creativity into everyday life.
It is practical, beginner-friendly, and incredibly satisfying to complete. Whether you are making it for yourself, as a gift, or even for a small handmade business, it is a project that always delivers value.
What I love most is how customizable it is. You can make it elegant, playful, minimal, or bold depending on your fabric choices. In other words, no two cases ever need to look the same.
More importantly, it solves a real problem protecting your sunglasses in a stylish and reliable way.
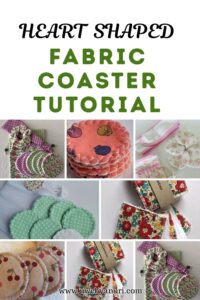
So take your time, enjoy the process, and don’t worry about perfection. Handmade beauty is never about being flawless it’s about being personal. If you enjoyed making this project, you may also love creating coordinating table accessories like this Heart-Shaped Fabric Coaster Tutorial or this Fabric Flower Coaster Tutorial.
Once you make one, you will likely find yourself making more, because it is one of those small sewing projects that is both addictive and genuinely useful.