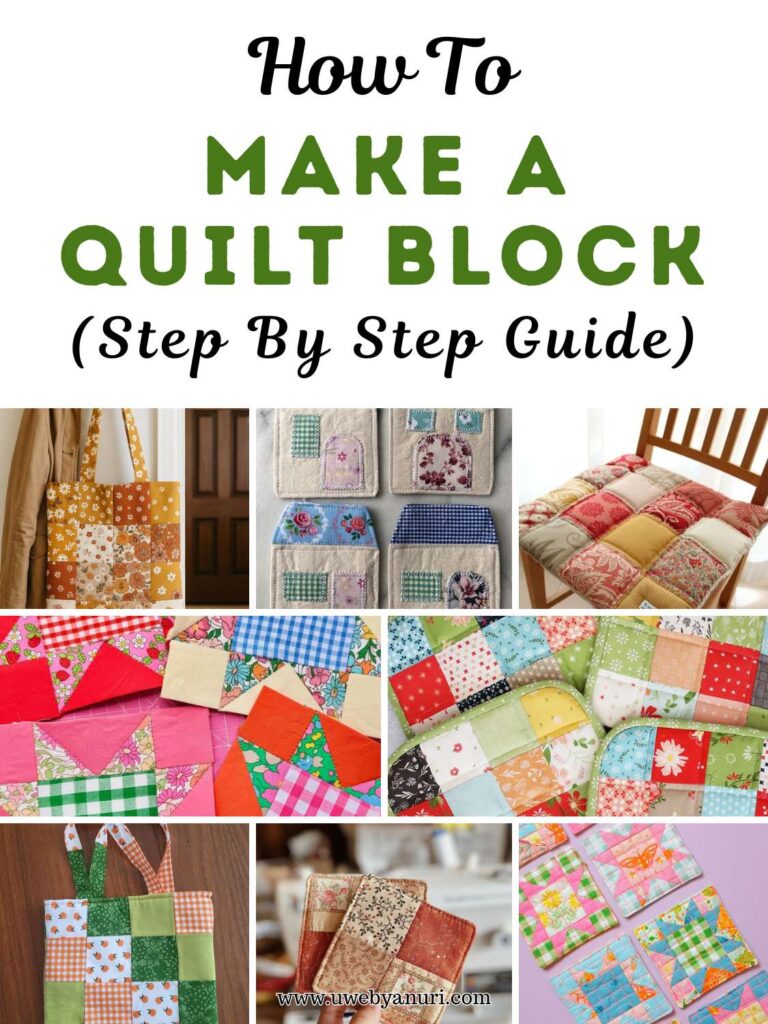
Easy Zipper Pencil Pouch Tutorial
There’s something really special about making something you’ll actually use every single day. I didn’t fully realize that until I started sewing small, practical projects things that didn’t just sit on a shelf but became part of my daily routine. One of those projects was a simple zipper pencil pouch. At first, I just wanted a place to keep my pens from rolling all over the table, but it quickly became one of my favorite things I’ve ever made. Check here for more: 21 Easy sewing projects for complete beginners
I remember the first time I made one, it wasn’t perfect. The zipper looked a little wavy, and one side wasn’t completely straight but I loved it anyway. There’s a kind of pride that comes from using something you created with your own hands. And honestly, that’s what makes this project so great, especially for beginners and even kids. You don’t need to be perfect. You just need to start.
What I love most about this zipper pencil pouch is how simple and fun it is. It’s the kind of project you can finish in one sitting, and once you’re done, you immediately start thinking, “Okay… I need to make another one.” Whether it’s for school supplies, makeup brushes, or even small toys, this pouch is practical, customizable, and just plain fun to sew.
Why This Zipper Pencil Pouch Is Perfect for Beginners
If you’ve ever felt nervous about sewing zippers, you’re not alone. Zippers can seem intimidating at first, but this project breaks it down into simple, easy steps.
Here’s why you’ll love this project:
- Beginner-friendly and easy to follow
- Great introduction to sewing zippers
- Uses small amounts of fabric
- Perfect for kids, students, and gifts
- Quick project you can finish in under an hour
Materials You’ll Need
Before you start, gather your supplies:
- ½ yard fabric (¼ yard main fabric + ¼ yard lining)
- ¼ yard fusible fleece (for structure)
- 20-inch zipper
- Sewing machine (or hand sewing needle)
- Thread
- Scissors or rotary cutter
- Pins or clips
- Measuring tape or ruler
- Iron
Tip for kids: Let them choose bright, fun fabrics with their favorite colors or characters it makes the project more exciting!
Cutting Instructions
Take your time with this step accurate cutting makes everything easier later.
- Cut 2 pieces of main fabric: 9.5” × 5”
- Cut 2 pieces of lining fabric: 9.5” × 5”
- Cut 2 pieces of fusible fleece: 9” × 4.5” (slightly smaller than fabric)
Keeping the fleece slightly smaller helps reduce bulk in the seams.
Step-by-Step Sewing Instructions
Step 1: Add Structure with Fusible Fleece
Start by attaching the fusible fleece to the back (wrong side) of your main fabric pieces.
- Place fleece on the fabric
- Use a warm iron to press and fuse it in place
This step gives your pouch a soft, padded feel and helps it hold its shape.
Step 2: Attach the Zipper (First Side)
Now comes the exciting part adding the zipper!
- Place one main fabric piece right side up
- Lay the zipper on top, facing down
- Place one lining piece on top, right side down
You should now have a “sandwich”:
- Main fabric
- Zipper
- Lining fabric
Pin or clip everything together, then sew along the edge.
After sewing:
- Flip the fabric away from the zipper
- Press it flat
- Topstitch along the zipper edge
This keeps fabric from getting caught in the zipper later.
Step 3: Attach the Zipper (Second Side)
Repeat the same process on the other side:
- Place the second main fabric piece right side up
- Place zipper face down
- Add the second lining piece right side down
Pin, sew, flip, and topstitch again.
At this point, your zipper should be neatly attached between both fabric layers.
Step 4: Prepare the Pouch for Sewing
This step is very important don’t skip it!
- Open the zipper halfway (this allows you to turn the pouch later)
Now arrange your fabric:
- Main fabrics facing each other (right sides together)
- Lining fabrics facing each other (right sides together)
Pin all around the edges.
Step 5: Sew the Pouch Together
Sew around the entire edge, but remember:
- Leave a 3-inch gap at the bottom of the lining
This gap is what you’ll use to turn the pouch right side out.
Also:
- Sew carefully over the zipper ends
- Trim excess zipper if needed
Step 6: Turn and Finish
Now for the magic moment!
- Reach through the gap in the lining
- Gently pull the pouch right side out
Push out the corners carefully for a neat shape.
To finish:
- Fold the raw edges of the lining inward
- Sew the gap closed (by machine or hand stitch)
- Push the lining inside the pouch
Give everything a good press with your iron and you’re done!
Fun Ideas to Customize Your Pencil Pouch
This is where creativity really shines, especially for kids!
You can:
- Add a cute zipper pull
- Use contrasting fabrics for a bold look
- Sew on name labels
- Add patches or embroidery
- Use glitter or patterned fabric
Creative Ways to Use Your Pencil Pouch
This pouch isn’t just for pencils you can use it for so many things:
For school:
- Pens, pencils, erasers
- Markers and crayons
At home:
- Makeup brushes
- Small sewing tools
- Chargers and cables
For kids:
- Small toys
- Stickers
- Art supplies
Beginner Tips for Sewing Success
If this is one of your first projects, keep these tips in mind:
- Always open your zipper before sewing the pouch closed
- Sew slowly especially near the zipper
- Press fabric often for a cleaner finish
- Use clips instead of pins for safer kid-friendly sewing
- Don’t stress about small mistakes they’re part of learning
Final Thoughts
This zipper pencil pouch is one of those projects that proves sewing can be both simple and incredibly rewarding. It’s quick, useful, and gives you that instant satisfaction of creating something from scratch. And the best part? You’ll actually use it every day.
Whether you’re making it for yourself, your child, or as a thoughtful handmade gift, this project is a great way to build confidence and have fun with sewing. Once you’ve made your first pouch, don’t be surprised if you start planning your next one right away.
So grab your fabric, pick your favorite zipper, and enjoy the process. Sewing doesn’t have to be complicated it just has to