DIY Fabric Laptop Sleeve Tutorial: How to Sew a Stylish and Protective Laptop Case
Laptops have become an important part of everyday life. Whether you use yours for work, school, blogging, studying, or simply browsing the internet, protecting it should always be a priority. A laptop travels with us to coffee shops, offices, classrooms, libraries, and even vacations. Because of this, it can easily get scratched, bumped, or damaged when carried in a bag. That is why a laptop sleeve is such a useful accessory. If you enjoy creating useful accessories, you may also like How to Sew a Reversible Tote Bag: Easy Step-by-Step Tutorial for Beginners.
A few years ago, I was searching for a laptop sleeve that matched my style. Most of the options I found were plain and expensive. I wanted something soft, protective, and unique. Since I already enjoyed sewing, I decided to make my own. To my surprise, the project was much easier than I expected. Not only did I end up with a laptop sleeve that fit perfectly, but I also had the freedom to choose fabrics that reflected my personality.
This DIY fabric laptop sleeve tutorial is perfect for beginners who want to create something practical and beautiful. The project requires only a few sewing supplies and basic sewing skills. By the end of this tutorial, you will have a padded laptop sleeve that protects your device while showing off your creativity.
Why Make Your Own Fabric Laptop Sleeve?
Making your own laptop sleeve offers several advantages. The biggest benefit is customization. Store-bought sleeves are designed to fit standard laptop sizes, but they may not provide the perfect fit for your specific device. When you make your own sleeve, you can measure your laptop and create a case that fits it exactly. A snug fit helps prevent unnecessary movement and provides better protection. Before starting this project, learn how to get neat and accurate cuts with this guide on How to Make a Fabric Bookmark.
Another reason many people love this project is the ability to choose their own fabric. You can select bright prints, floral patterns, neutral colors, denim, canvas, or any fabric that matches your personal style. A handmade laptop sleeve also makes a thoughtful gift for students, teachers, remote workers, and anyone who carries a laptop regularly. Best of all, this project allows you to practice basic sewing skills while creating something useful that you will enjoy every day.
Materials Needed for This DIY Laptop Sleeve
Before beginning the project, gather all your materials in one place. Being prepared makes the sewing process much smoother and helps prevent mistakes. For this project, you will need half a yard of outer fabric and half a yard of lining fabric. The outer fabric will determine the overall appearance of your sleeve, while the lining provides a neat finish on the inside. Looking for another beginner-friendly sewing project? Check out DIY Sleep Mask Tutorial: How to Make a Soft and Comfortable Sleep Mask.
You will also need thick padding or foam interfacing to help protect the laptop from bumps and scratches. Along with the fabric and padding, prepare matching sewing thread, pins, scissors, a measuring tape, a pressing iron, tailor’s chalk or a fabric marker, and a sewing machine. Finally, you will need a strip of Velcro to create a secure closure. Once everything is ready, you can begin making your custom laptop sleeve.
1. Measure Your Laptop and Cut the Fabric
The first step is determining the correct size for your laptop sleeve. Every laptop has different dimensions, so accurate measurements are essential. Begin by measuring the height and width of your laptop carefully. For this tutorial, we will use a laptop that measures eleven inches tall and fifteen inches wide. To calculate the height of the fabric, double the laptop height and add extra inches for the flap and seam allowances.
After calculating the measurements, transfer them onto both the outer fabric and the lining fabric. Carefully cut each piece using sharp fabric scissors. Accurate cutting is very important because even small mistakes can affect the fit of the finished sleeve. Once cut, place both fabric pieces side by side and check that they match perfectly. This simple preparation step helps ensure that the remaining construction process goes smoothly.
2. Create the Rounded Flap
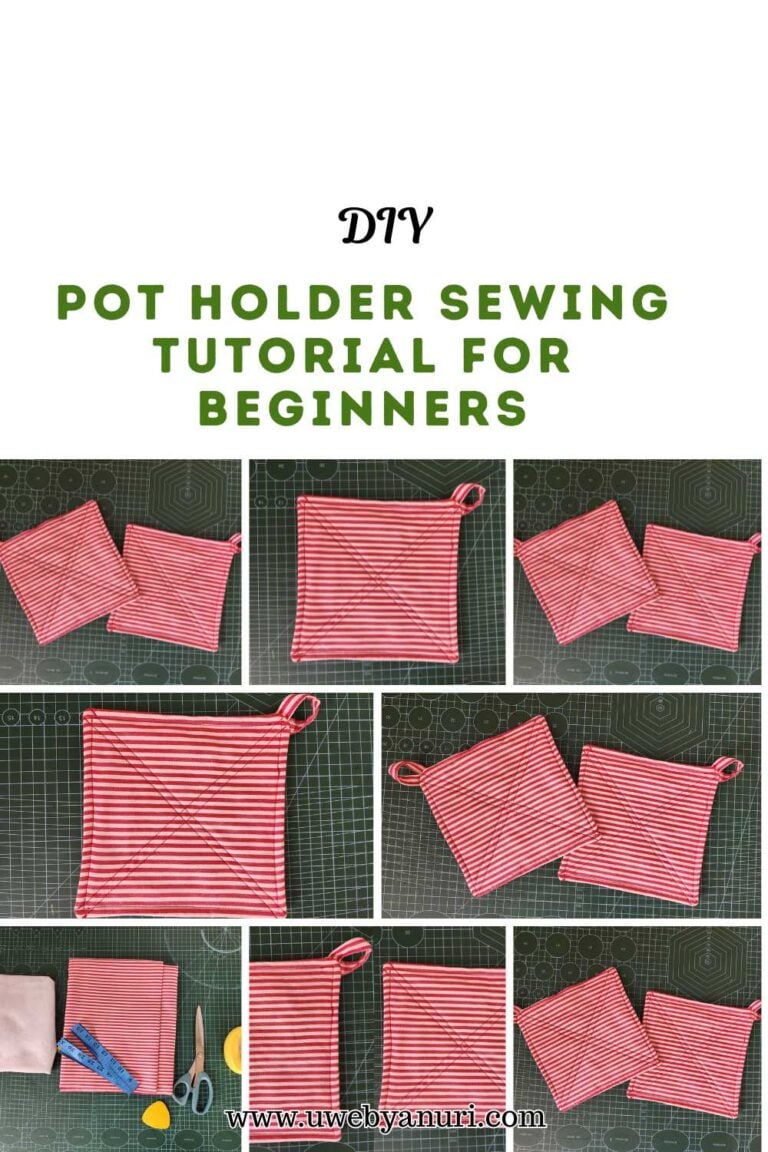
The flap is one of the most attractive features of a laptop sleeve because it creates a neat and professional appearance. Instead of leaving the corners square, rounding them gives the sleeve a softer and more polished look. Begin by measuring two and a half inches inward from each top corner of both fabric pieces. Then measure two and a half inches down from the top edge. For more sewing projects that use padding and structure, don’t miss DIY Pot Holder Sewing Tutorial for Beginners.
Use a fabric marker or tailor’s chalk to connect these points with a smooth curved line. Carefully cut along the marked line using fabric scissors. Repeat the process on both sides of the outer fabric and lining fabric. Taking your time here will create even curves that look professional once the sleeve is finished. These rounded corners also help the flap fold more smoothly when the laptop sleeve is closed.
3. Add Padding for Protection
A laptop sleeve should do more than look good. It should also provide protection for your device. The padding layer acts as a cushion that helps absorb minor impacts and prevents scratches. Begin by placing the outer fabric on top of the padding material and using it as a template. Cut the padding to match the exact shape of the outer fabric. If you love quilted details, you’ll also enjoy How to Bind a Quilt.
Position the padding on the wrong side of the outer fabric. If your padding is fusible, use a hot iron to attach it securely. Follow the manufacturer’s instructions to ensure proper adhesion. Once attached, the fabric will feel thicker and more structured. This added layer gives the sleeve a professional appearance while improving its protective qualities. Properly attached padding also prevents shifting during sewing, making the remaining steps much easier to complete.
4. Add Quilting for Extra Style
Many handmade laptop sleeves include quilting because it adds texture, beauty, and additional stability. Although this step is optional, it can transform a simple sleeve into something that looks professionally made. Begin by marking horizontal and vertical lines across the outer fabric. Space the lines approximately three inches apart to create an even pattern. Want another practical project for organizing everyday essentials? Read this next: DIY Makeup Brush Roll Sewing Tutorial.
Take the fabric to your sewing machine and stitch along each marked line. Work slowly and carefully to keep the lines straight. The stitching compresses the padding slightly, creating a quilted appearance that adds visual interest. Quilting also helps keep the padding securely in place, preventing it from shifting during everyday use. Once finished, you will notice that the fabric looks more structured and decorative. This simple detail can make your laptop sleeve look much more expensive and polished.
5. Join the Outer Fabric and Lining
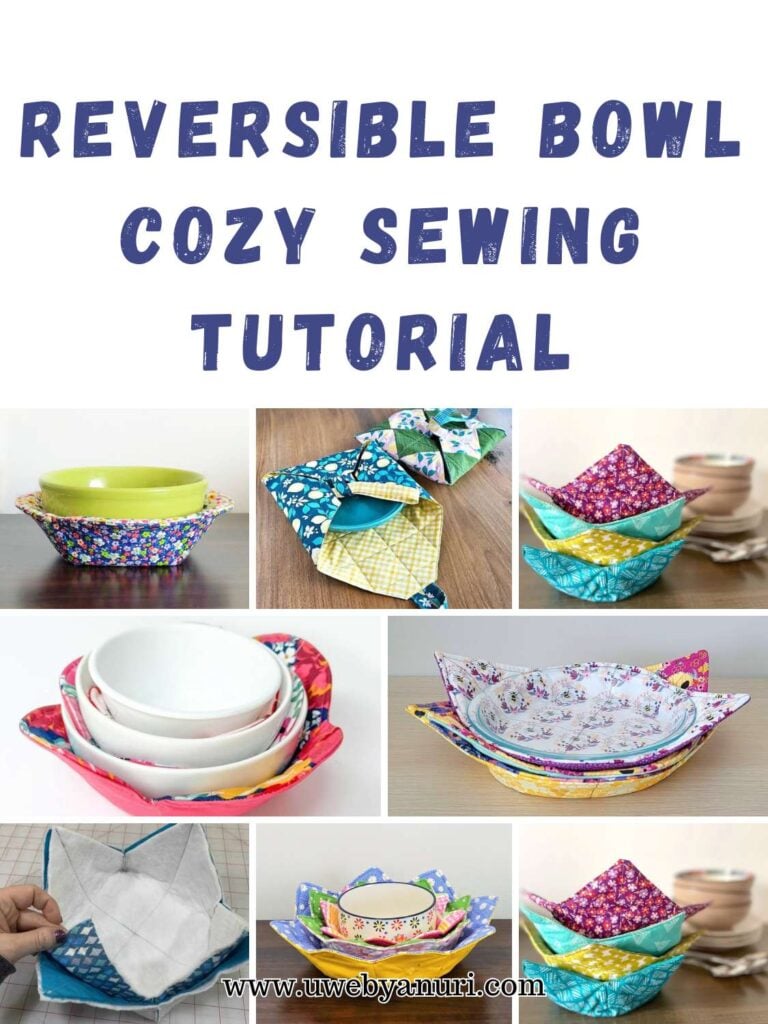
With the outer fabric prepared, it is time to attach the lining. Place the outer fabric and lining fabric together with their right sides facing each other. Carefully align all edges and secure them with pins. Matching the edges accurately helps create a clean finished product and reduces the need for adjustments later. Good pressing techniques improve every sewing project. You may also like Reversible Bowl Cozy Sewing Tutorial.
Sew along the bottom edge using a half-inch seam allowance. Leave a small opening in the center because you will need this opening later when turning the project right side out. Once the seam is complete, remove the pins and inspect your stitching. This seam connects the two layers and creates the foundation for the finished sleeve. Although it may seem like a small step, proper alignment here helps the entire project come together neatly.
6. Press and Prepare the Fabric
Pressing is one of the most overlooked steps in sewing, but it makes a huge difference in the final appearance of a project. Open the joined fabric pieces and press the seam allowance flat using a hot iron. Pressing helps remove wrinkles, reduce bulk, and create crisp edges that are easier to work with.
If you enjoy making functional fabric storage items, check out Fabric Wall Pocket Sewing Tutorial.
After pressing, place the fabrics together with their wrong sides facing each other. This creates a single layered piece that will soon become the laptop sleeve. Measure four and a half inches down from the top flap and mark the location. This mark serves as a guide for folding the sleeve later. Taking time to press carefully improves the overall quality of the finished product and makes the remaining assembly steps much easier.
7. Create the Laptop Pocket
Now the project begins to take shape. Fold the bottom section upward until it reaches the marked line. This folded section forms the pocket where the laptop will sit. Before pinning permanently, slide your laptop inside to test the fit. The sleeve should feel snug but not overly tight.
Interested in projects that use different closure methods? Take a look at Easy Zipper Pencil Pouch Tutorial.
Making adjustments at this stage is much easier than after the project has been fully sewn together. Once you are satisfied with the fit, secure the fold with pins. This pocket is the heart of the laptop sleeve because it determines how well the finished product protects your device. A properly sized pocket keeps the laptop secure while still allowing easy access whenever you need it.
8. Attach the Velcro Closure
A secure closure helps keep the laptop safely inside the sleeve. Velcro is a popular choice because it is easy to install and simple to use. Begin by positioning one piece of Velcro on the inside of the flap. Place it approximately one inch from the edge and pin it securely.
Another beginner-friendly project you’ll love is DIY Drawstring Jewelry Pouch Tutorial.
Next, position the matching piece on the outer section of the pocket. Make sure the two pieces align correctly when the flap folds down. Test the placement before sewing permanently. Once you are satisfied with the positioning, stitch both pieces securely using your sewing machine. Strong stitching is important because the closure will be opened and closed repeatedly. Properly attached Velcro ensures that the sleeve remains functional and secure for everyday use.
9. Sew the Side Seams
With the pocket folded and closure attached, it is time to sew the side seams. Pin the sides carefully to keep everything aligned during sewing. Fold the outer fabric and lining as directed so all edges match neatly. This step may seem complicated at first, but taking your time will help everything fit together correctly.
If you enjoy sewing gifts, don’t miss How to Make a Fabric Wine Bottle Bag.
Sew along the sides and around the curved flap using a half-inch seam allowance. Leave the opening at the bottom unstitched because it will be used for turning. Trim any bulky corners and excess seam allowance to reduce bulk. These adjustments help create smoother edges once the sleeve is turned right side out. Strong and even stitching along the sides contributes to the durability of the finished sleeve.
10. Turn the Sleeve Right Side Out
Turning the sleeve right side out is one of the most satisfying moments in the project because you finally get to see the finished shape. Reach through the opening left at the bottom and carefully pull the fabric through. Work slowly to avoid straining the seams or stretching the fabric.
For more handmade accessories, you may also enjoy DIY Yoga Mat Carrier Tutorial.
Once the sleeve is completely turned, use your fingers to push out the corners and smooth the curves. You can also use a blunt tool for sharper edges if desired. Check that all seams lie flat and that the sleeve looks symmetrical. This step transforms the project from a collection of fabric pieces into a recognizable laptop sleeve. Taking your time here helps create a cleaner and more professional finish.
11. Complete the Final Finishing Touches
The final stage focuses on refining the appearance of the sleeve. Begin by pressing the entire project with an iron. Pressing smooths wrinkles and helps define the shape of the sleeve. If desired, add a decorative topstitch around the flap for extra style and durability.
Have extra fabric scraps left over? Turn them into something beautiful with 15 Scrap Fabric Quilt Ideas.
Finally, close the turning opening using a hand needle and matching thread. Small, neat stitches will make the seam nearly invisible. Inspect the sleeve carefully to ensure everything looks tidy and secure. Once complete, your handmade laptop sleeve is ready to use. You now have a stylish and protective case that reflects your creativity while keeping your laptop safe from everyday wear and tear.
Ways to Personalize Your Laptop Sleeve
One of the best parts of making your own laptop sleeve is the ability to customize it. Different fabrics can completely change the look of the finished project. Denim creates a casual appearance, while canvas provides durability. Floral cotton fabrics add charm, and bold prints create a fun statement piece.
If you enjoy sewing wearable accessories, check out How to Sew a Reversible Bucket Hat.
You can also add decorative details such as embroidery, appliqué designs, fabric labels, decorative buttons, or contrasting stitching. Some sewists even include extra pockets for chargers, notebooks, or pens. Small custom touches make the sleeve feel truly unique and allow you to create something that reflects your personality.
Conclusion
Learning how to make a DIY fabric laptop sleeve is a rewarding sewing project that combines creativity and functionality. It is beginner-friendly, practical, and easy to customize. The finished sleeve helps protect your laptop while allowing you to express your personal style through fabric choices and decorative details.
Looking for your next sewing adventure? Try How to Make a Stylish Wide Brim Summer Hat for another fun and practical beginner project.
Whether you make one for yourself or as a thoughtful handmade gift, this project is sure to become one of your favorites. Once you finish your first laptop sleeve, you may find yourself creating additional versions for family members, friends, or different devices. A handmade laptop sleeve is not only useful but also a wonderful reminder of the skills and creativity that sewing makes possible.
Frequently Asked Questions
Can beginners make a fabric laptop sleeve?
Yes. This project uses simple sewing techniques and is suitable for beginners who have basic sewing experience.
Looking for your next sewing adventure? Try How to Make a Stylish Wide Brim Summer Hat for another fun and practical beginner project.
What fabric works best for a laptop sleeve?
Cotton, canvas, denim, and home décor fabrics are excellent choices because they provide durability and structure.
Do I need padding inside the sleeve?
Padding is highly recommended because it helps protect the laptop from scratches and minor impacts.
Can I use a zipper instead of Velcro?
Yes. A zipper can be used for a more secure closure, although it may require additional sewing skills.
Can I wash a handmade laptop sleeve?
Most fabric laptop sleeves can be spot cleaned or hand washed. Always follow the care instructions for your chosen fabrics.