Mug Cozy Sewing Tutorial For Beginners
There’s something incredibly comforting about cup cozy especially wrapping your hands around a warm cup of tea, coffee, or hot chocolate, especially in those quiet moments of the day. For me, it’s usually early in the morning before the house fully wakes up, or sometimes in the evening when everything finally slows down. Those small moments matter so much, and somehow, holding a warm mug just makes everything feel a little better.
If you’re completely new to sewing, please check this guide on 21 Easy Sewing Projects for Complete Beginners to get comfortable before starting.
But let’s be honest for a second some mugs get really hot. I’ve had those moments where I’m trying to enjoy my tea, but I keep switching hands because it’s just too hot to hold properly. And if you’re like me, you don’t want to rush your drink just because the mug isn’t comfortable to hold. That’s actually one of the reasons I started making mug cozies in the first place.
You can also remember this guide on Beginner Sewing Tools You Actually Need and How to Use Them so you have everything ready.
Over time, I also realized that beyond just being practical, mug cozies are such a cute and thoughtful addition to your kitchen. They add personality, they use up leftover fabric, and they make even the simplest mug feel special. Plus, they are one of those quick projects that don’t take much time but still feel very satisfying when you’re done. So if you’ve been looking for a simple, beginner-friendly sewing project, this is a perfect place to start.
Why You’ll Love This a Cup Cozy.
First of all, it’s beginner-friendly. You don’t need advanced sewing skills, and even if you’re still learning, you can follow along without feeling overwhelmed. Secondly, it’s fast. You can literally make one in under an hour once you understand the steps.
Also, it’s practical. You’ll actually use it daily, which makes it more meaningful than projects that just sit on a shelf. And finally, it’s perfect for gifting. You can easily make a few, pair them with mugs or tea, and you have a thoughtful handmade gift ready.
Materials You’ll Need For a Cup Cozy.
Before you begin, it’s always a good idea to gather everything in one place. This makes your sewing process smoother and more enjoyable.
Not sure about basic tools? This will help you please check 10 Beginner Hand Stitch Techniques if you’re sewing by hand.
- A quarter yard of fabric (two coordinating prints work beautifully)
- Scissors or rotary cutter
- Fusible interfacing (for structure and durability)
- Measuring tape
- Button (wooden, plastic, or fabric-covered)
- Flat elastic (about 3.5 inches long)
- Pins or sewing clips
- Sewing machine
- Hand sewing needle
- Pressing iron
You don’t need anything fancy here, and that’s part of what makes this project so great.
Step-by-Step Instructions
Now let’s walk through the process together. Take your time with each step, especially if this is your first time making something like this.
1. Measure Your Mug
First things first, grab the mug you want to use.
Using your measuring tape, measure:
- Around the mug (horizontal measurement)
- From top to bottom (vertical measurement)
Now here’s something important don’t just use the exact measurement. Subtract about 0.5 inch from both measurements. This helps your cozy fit snugly instead of feeling loose or slipping off.
A snug fit always looks better and works better too.
2. Cut Your Fabric
Next, use your measurements to cut your fabric.
You’ll need:
- One piece for the outer fabric
- One piece for the lining
Make sure both pieces are the same size. Also, this is a good time to think about your fabric choices. You can go for something bright and fun, or something soft and neutral depending on your style.
If you’re using scraps, this is a great way to mix and match fabrics.
3. Cut Your Interfacing
Now cut your fusible interfacing.
Make it about 0.25 inch smaller on all sides compared to your fabric pieces. This small adjustment helps reduce bulk in the seams later, which makes your final piece look neater and feel smoother.
It might seem like a small detail, but it really makes a difference in the final result.
4. Fuse the Interfacing
Take your interfacing and iron it onto the wrong side of one of your fabric pieces (usually the outer fabric).
Follow the instructions that come with your interfacing, because different types may require slightly different heat settings.
Press firmly and evenly so it sticks properly. This step gives your mug cozy structure and helps it hold its shape over time.
5. Assemble Your Layers
For a cleaner look, you might find this helpful read 10 Sewing Tips for a Perfect Finish.
Now place your fabric pieces right sides together.
At this point, it will look like a simple fabric sandwich. Make sure the edges line up properly, because this will affect your final shape.
Take a moment here to double-check everything before moving on.
6. Prepare the Elastic Loop
Cut a piece of elastic about 3.5 inches long.
Fold it into a loop and place it at the center of one short side of your fabric. The loop should face inward between the fabric layers.
This will later wrap around your button, so make sure it’s positioned neatly and securely.
Pin it in place so it doesn’t move when sewing.
7. Pin and Sew
Stitch slowly around the edges. If you struggle with straight lines, please check this beginner-friendly guide on How to Sew a Neat Straight Line.
Now pin around the entire fabric piece.
As you sew, use about a 0.25 inch seam allowance. Go slowly, especially around the corners.
Very important:
Leave about a 3-inch opening on one side. This is what you’ll use to turn the piece right side out later.
Take your time here neat stitching will really improve your final result.
8. Trim and Turn
If this is one of your first projects, don’t worry I’ve shared helpful lessons in 15 Things I Wish I Knew Before I Started Sewing.
Once sewn, trim the corners and any bulky areas.
This helps reduce thickness and gives you sharper edges when turned.
Now carefully turn the cozy right side out through the opening. Use something blunt (like the end of a pencil) to gently push out the corners.
You’ll start to see your project come together at this stage, and it’s always a nice moment.
9. Press
Next, use your iron to press everything flat.
Fold the raw edges of the opening inward so they line up with the rest of the seam.
This step is very important. Pressing makes your project look clean and professional, even if you’re still learning.
10. Topstitch
Now topstitch all around the edges.
This does two things:
- Closes the opening
- Gives your mug cozy a neat, finished look
Try to keep your stitching even and close to the edge. It doesn’t have to be perfect, just neat.
11. Attach the Button
Finally, sew your button onto the opposite side of the elastic loop.
Make sure it lines up properly so the loop can easily go around it.
You can use a hand sewing needle for this, and take a few extra stitches to secure it well.
Just like that, your fabric mug cozy is ready to use.
Wrap it around your mug, loop the elastic over the button, and enjoy your drink comfortably no more switching hands because of heat.
This project makes a perfect handmade gift. For more ideas, check out 50 Things to Sew and Give as Gifts.
Final Thoughts
Projects like this always remind me why I love sewing in the first place. It’s not always about making something big or complicated. Sometimes, it’s the small, everyday items that bring the most joy. A simple mug cozy might not seem like much at first, but when you actually start using it, you realize how useful and comforting it is.
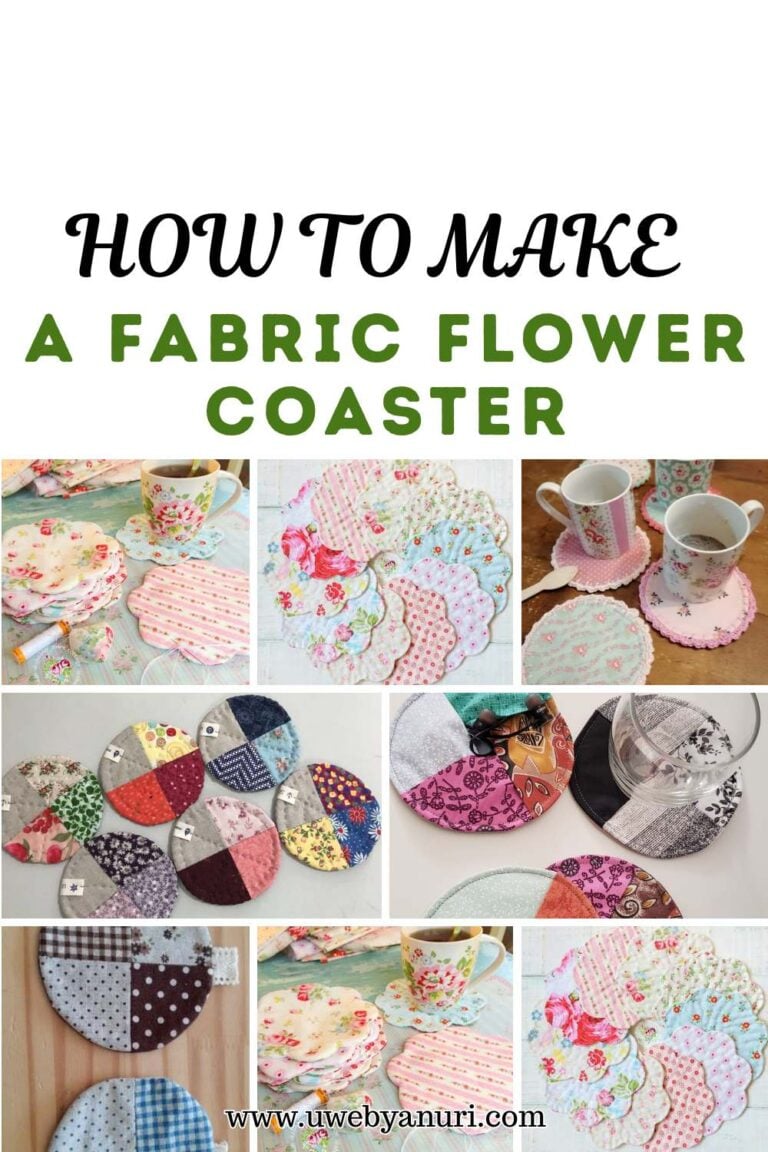
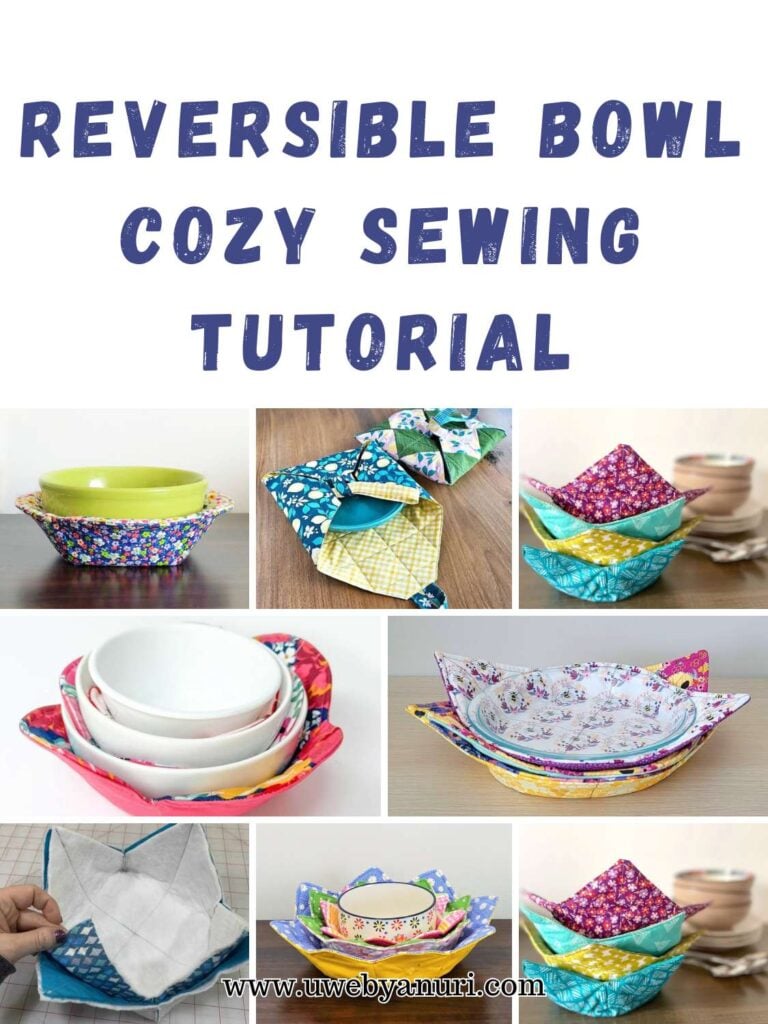
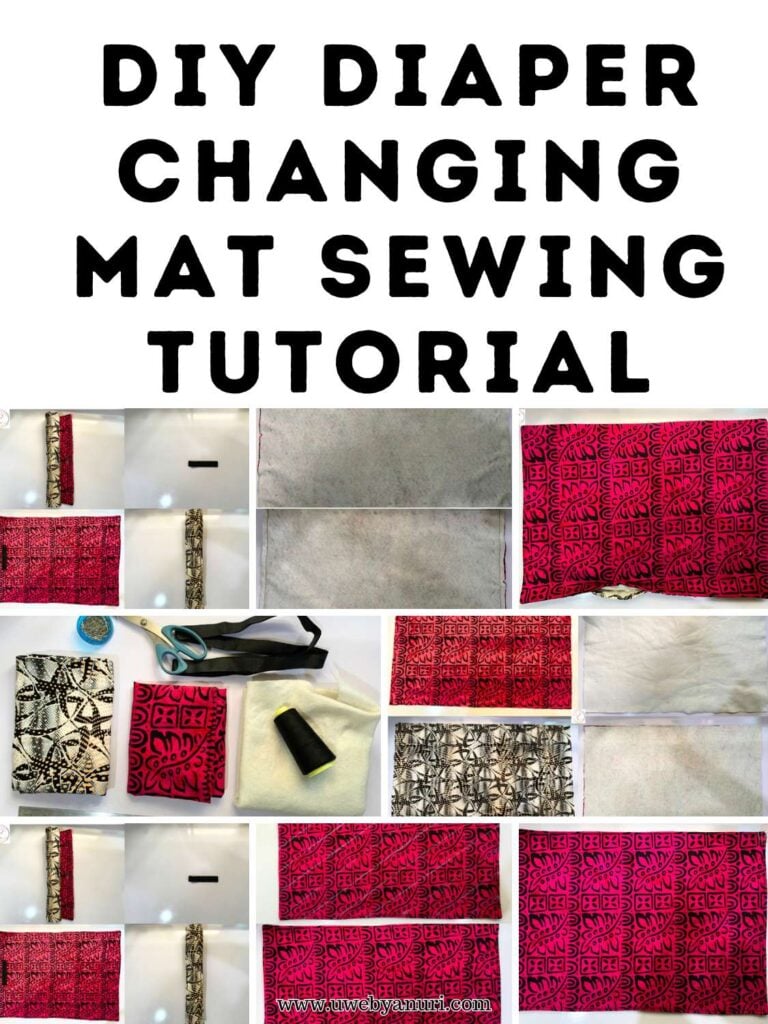
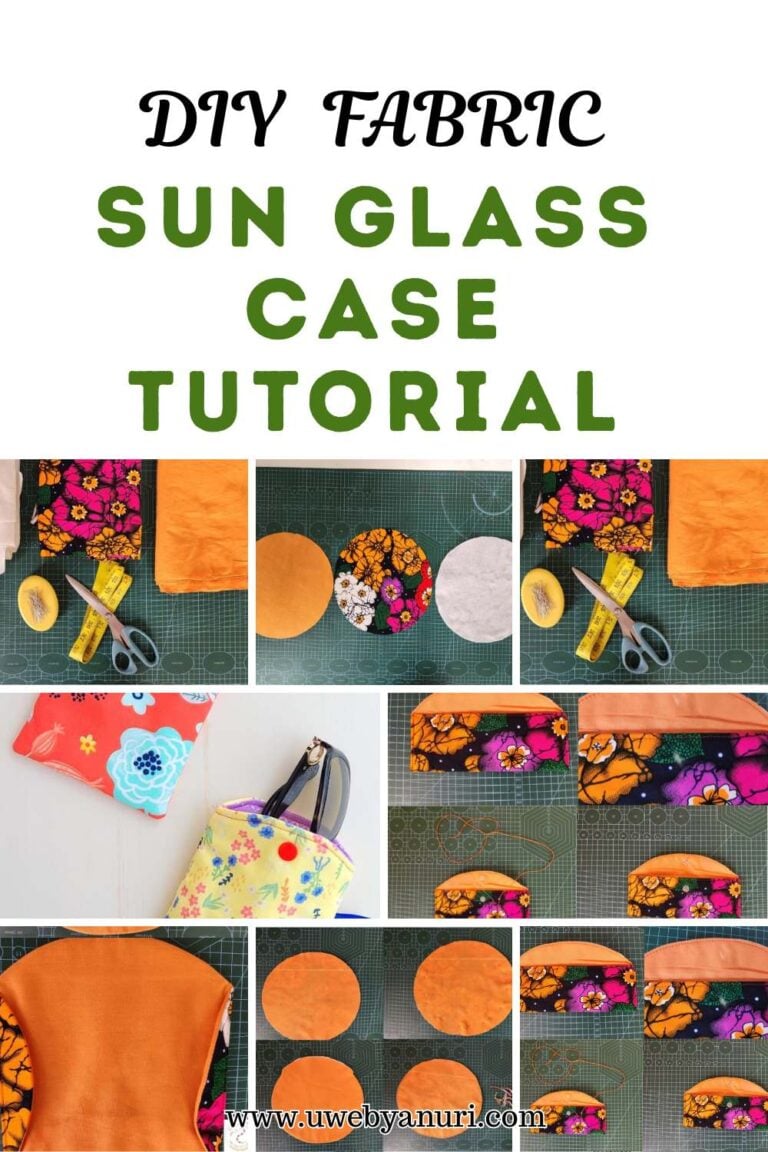
If you enjoyed this tutorial, you might also like:
What I love most is that it turns an ordinary moment like drinking tea into something a bit more special. And when you’ve made it yourself, it feels even better. You start to notice the little things more, like the fabric you chose, the stitches you made, and the time you took to create something with your hands.
If you’re just starting out with sewing, this is a really good confidence booster. It’s simple enough not to overwhelm you, but still teaches you useful skills like measuring, layering, sewing curves, and finishing neatly. And the more you practice, the more natural everything will start to feel.
And if you’re already experienced, this is one of those quick and satisfying projects you can come back to anytime. It’s perfect for using up scraps, making gifts, or even creating items to sell. You can easily make a few in one sitting, and each one can have its own unique look.
So take your time, enjoy the process, and don’t rush it. Sewing should feel calm, not stressful. And when you’re done, sit down with your favorite drink, wrap your mug in your cozy, and just enjoy that moment. You made something useful, beautiful, and completely your own and that’s always worth it.