How to Make a Baby Dress (6–12 Months)
There’s something so special about baby dress. especially sewing for my baby, and I don’t think I’ll ever get tired of it. As a mum, I pay attention to the tiniest details soft fabrics, neat seams, and those little finishing touches that make an outfit feel extra beautiful. I love seeing little girls dressed up in something handmade, something that didn’t just come from a shop but was made with patience and love. It just feels more personal.
If you’re new to sewing, please check this guide on 21 Easy Sewing Projects for Complete Beginners before starting this project.
I remember the first time I made a baby frock dress. Honestly, I kept doubting myself the whole time. The pieces looked so small, and I kept wondering if I had measured correctly. But when I finished and held it up, I couldn’t stop smiling. It wasn’t perfect, but it was neat, cute, and something I made with my own hands. That moment gave me so much confidence, especially as a mum who loves making things for her girls.
You may also remember this guide on How to Take Accurate Body Measurement so the dress fits perfectly.
If you’ve been wanting to sew a baby dress but feel unsure, don’t worry you’re not alone. This tutorial will guide you step by step in a simple and practical way. This baby dress is perfect for babies aged 6–12 months and features a lined bodice, a gathered skirt, and a zipper at the back. Just take your time, follow along, and enjoy the process.
Materials You’ll Need
Before you start, gather everything so you don’t have to stop halfway:
If you’re unsure about sewing tools, please check Beginner Sewing Tools You Actually Need and How to Use Them to get started easily.
- 2 yards of fabric (1 yard main fabric, 1 yard lining)
- Sewing machine
- Matching thread
- Scissors
- Pins or clips
- Measuring tape or ruler
- Iron and ironing board
- Paper and pencil (for drafting)
- 8–9 inch zipper
Baby dress measurements for (6–12 Months Guide)
You may also remember this guide on How to Take Accurate Body Measurement so the dress fits perfectly.
- Chest: 18–19 inches
- Shoulder to waist: 6–7 inches
- Full dress length: 15–17 inches
Step-by-Step Sewing Guide
1. Draft the Pattern
If you don’t fully understand patterns yet, please check this guide on How to Read a Sewing Pattern for better clarity.
Front Bodice
- Start with a paper size around 11” × 8”
- Mark 0.5” down from the top for seam allowance
- Measure 4” across for shoulder width
- Drop shoulder by 0.5” and slope it
- Mark 2” down for the neckline and draw a curve
- Measure 4.5” down for armhole depth and shape it
- Mark 7” down for the waistline
- Extend 5” outward for width and shape the bodice
- Add seam allowance all around (except fold edge)
Back Bodice
- Trace the front pattern onto new paper
- Add 0.5” at the center back for zipper allowance
- Make the neckline shallower (about 1” deep)
- Cut out your pattern
2. Cutting the Fabric
- Fold your fabric and place the front bodice on the fold
- Place the back pieces separately (not on fold)
- Cut the same pieces for lining
For the skirt:
- Main fabric: 60” × 12”
- Lining: 60” × 11”
3. Sew the Bodice
Sew slowly along the edges for a neat finish. If you need help, please check How to Sew a Neat Straight Line (Beginner-Friendly Guide).
- Join front and back pieces at the shoulders (right sides together)
- Repeat for lining
Attach lining:
- Place lining and main bodice right sides together
- Sew neckline and armholes
- Clip curves, turn inside out, and press neatly
4. Sew the Side Seams
Sew slowly along the edges for a neat finish. If you need help, please check How to Sew a Neat Straight Line (Beginner-Friendly Guide).
- Open the bodice flat
- Match main to main and lining to lining
- Sew side seams in one continuous stitch
- Turn right side out and press well
5. Prepare and Attach the Skirt
Hem the skirt:
- Fold bottom edge twice (0.5” each)
- Sew for a clean finish (both main and lining)
Gather the skirt:
- Sew two rows of loose stitches at the top
- Pull threads gently to gather
- Adjust gathers to match bodice width
Attach skirt:
- Place skirt and lining together (treat as one)
- Pin to bodice (right sides together)
- Sew and press seam upward
6. Add the Back Zipper
- Sew the back seam from the bottom up, stopping about 6” from the top
- Insert zipper into the opening
- Sew using a zipper foot
- Press neatly
7. Finishing Touches
- Topstitch neckline and armholes if you like
- Add bows, lace, or embroidery for a personal touch
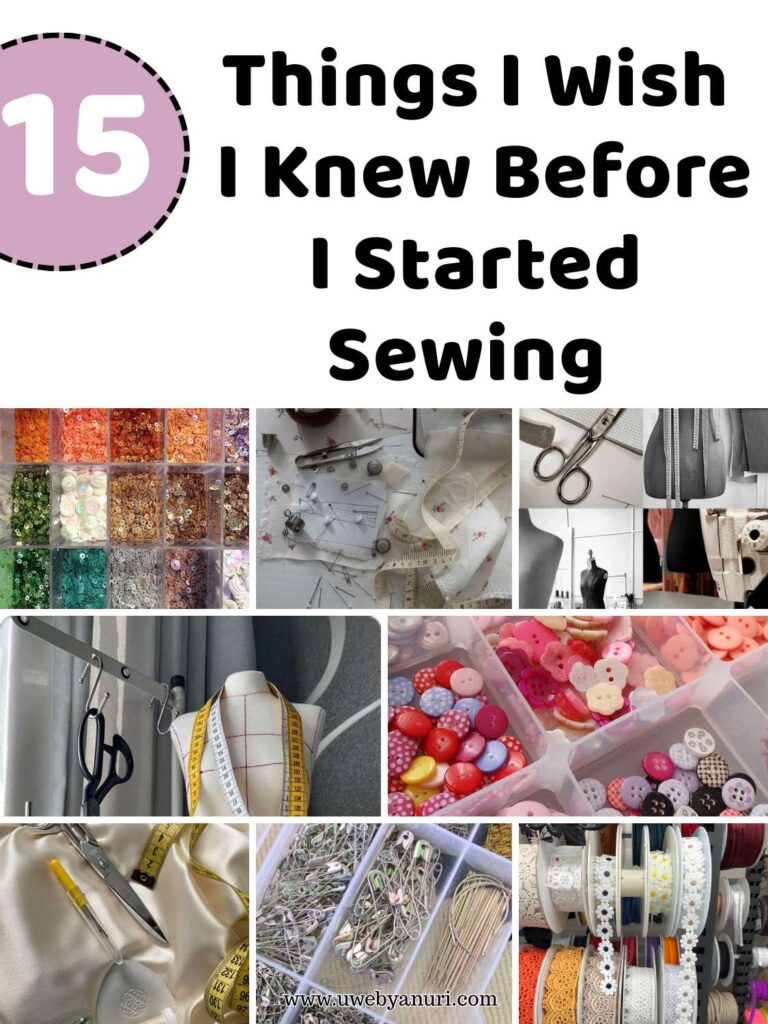
- Give the dress a final press If you’re new to making clothes, don’t worry I’ve explained helpful basics in 15 Things I Wish I Knew Before I Started Sewing.
Whether it’s for your child, a gift, or something to sell, this is one of those projects that always feels rewarding. Don’t worry if it’s not perfect each one you make will get better and better.
And trust me, there’s nothing like seeing a little one wear something you made with your own hands
Final Thoughts
Finishing a project like this always brings a different kind of joy, especially when it’s something made for a baby. It’s not just about sewing fabric together it’s about creating something soft, comfortable, and full of care. Every stitch you make adds to that feeling, and even if your seams are not perfectly straight or your gathers are not exactly even, it truly doesn’t take away from the beauty of what you’ve made.
You might also enjoy:
As a mum, I’ve learned that handmade pieces carry a kind of meaning you just can’t buy in stores. When your child wears something you made, it feels personal. You remember the fabric you chose, the time you spent cutting and sewing, and even the little mistakes you fixed along the way. Those are the things that make the dress special, not perfection.
If this is your first time making a baby frock, don’t overthink it. Go at your own pace, pause when you need to, and enjoy the process. The more you sew, the more confident you’ll become. You might even find yourself wanting to try different fabrics, add sleeves, or experiment with new designs. That’s how growth happens in sewing one simple project at a time.
And if you’re already experienced, this is still one of those projects that never gets old. Baby dresses are quick, satisfying, and always appreciated whether you’re making them for your own child, as a gift, or even to sell. It’s a beautiful way to use your skill and creativity in something meaningful.
So take a moment to admire your finished dress. You made that. And that’s something to be proud of.