Heart Shaped Fabric Coaster Tutorial
If you’ve ever wanted to bring a little more warmth, personality, and handmade charm into your home, then this Heart-Shaped Fabric Coaster Tutorial is going to feel like one of those simple but surprisingly meaningful sewing projects that you’ll keep coming back to again and again. There is something timeless about heart shapes that instantly softens a space and makes even the most ordinary table setting feel thoughtful and intentional.
That is exactly why this Heart-Shaped Fabric Coaster Tutorial is not just another sewing project, but a creative way to turn small fabric scraps into something beautiful, functional, and emotionally expressive.
In my own experience, I never planned to get excited about coasters, but the moment I made my first heart-shaped set, I realized how much difference these small handmade pieces can make in everyday life. A simple cup of tea suddenly feels more comforting, a shared coffee moment feels more personal, and even a quiet morning alone feels more intentional when your table carries something you created yourself. That is the quiet magic behind this Heart-Shaped Fabric Coaster Tutorial, and it is exactly what makes it so special for beginners and experienced sewists alike.If you enjoy quick scrap-busting sewing projects, you may also love this Hexagon Fabric Coaster Tutorial.
Why This Heart-Shaped Fabric Coaster Tutorial Matters More Than You Think
At first glance, a coaster might seem like a very small and simple item, but once you begin exploring this Heart-Shaped Fabric Coaster Tutorial, you start to realize that even the smallest handmade objects can carry a surprising amount of meaning and purpose. These coasters are not just decorative items placed under a cup; they are part of how you shape the atmosphere of your home. Need more inspiration for using fabric leftovers? Explore these creative Scrap Fabric Quilt Ideas.
A. Firstly, they help you transform leftover fabric into something useful instead of letting it go to waste, which makes this project both sustainable and satisfying in a very practical way. Instead of throwing away scraps, you are intentionally repurposing them into something that can be used daily.
B. Secondly, they bring emotional value into everyday routines. When you sit down with a cup of coffee or tea and place it on a handmade coaster, there is a small but noticeable shift in how the moment feels. It becomes slower, warmer, and more intentional, even if only for a few minutes.
C. Thirdly, they serve as incredibly thoughtful handmade gifts. Unlike store-bought items, these coasters carry time, effort, and personal care, which makes them perfect for special occasions such as anniversaries, bridal showers, Valentine’s Day, or even simple “thinking of you” gifts.
D. Lastly, they are extremely beginner-friendly, which means you do not need advanced sewing experience to complete them successfully. This makes the Heart-Shaped Fabric Coaster Tutorial a perfect entry point for anyone who is still building confidence with sewing projects. These coasters pair beautifully with handmade gifts like this Drawstring Gift Bag Tutorial.
Materials Needed for Heart-Shaped Fabric Coaster Tutorial
Before beginning the sewing process, it is important to gather your materials in a way that keeps everything simple, organized, and easy to access. This helps you avoid interruptions once you start sewing and allows you to stay focused on the creative flow of the project. If you’re building your sewing skills, you might also enjoy making this simple Fabric Bookmark.
Fabric and Sewing Supplies
- Cotton fabric (¼ yard or fabric scraps)
- Soft batting or padding
- Sewing thread
- Sewing machine
- Fabric scissors or rotary cutter
- Pins or sewing clips
- Measuring tape or ruler
- Iron and ironing board
- Fabric marker or tailor’s chalk
- Heart-shaped template (paper or cardboard)
Step-by-Step Heart-Shaped Fabric Coaster Tutorial
Step 1: Cutting the Fabric and Preparing the Base Layers
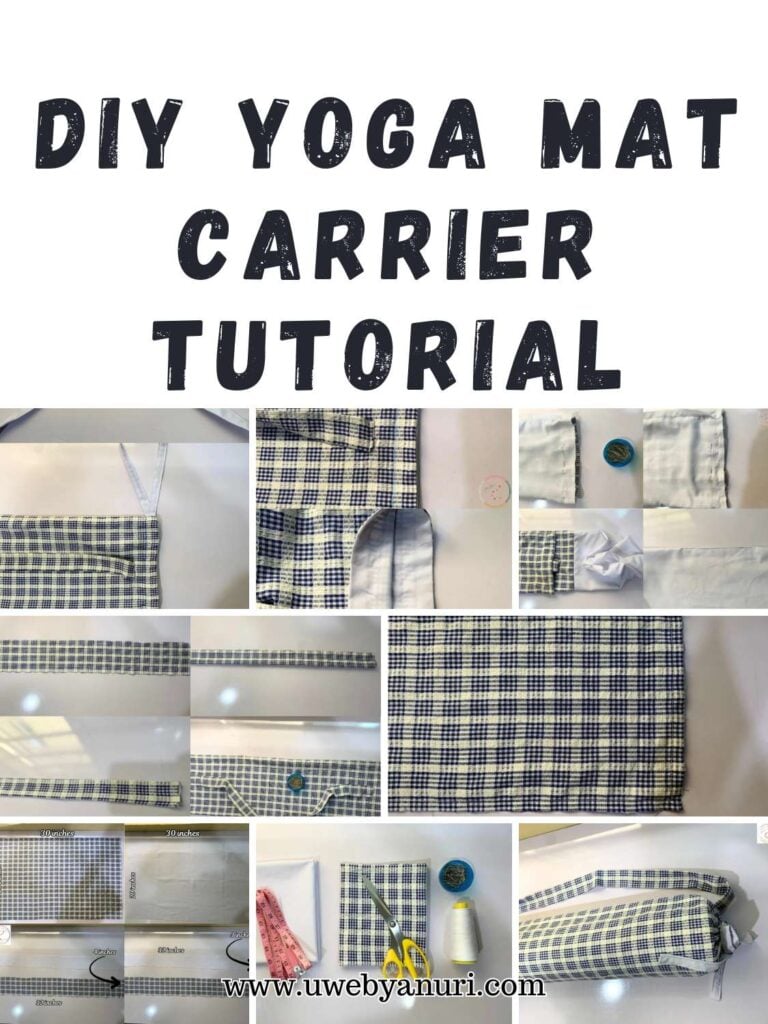
The first step in this Heart-Shaped Fabric Coaster Tutorial involves preparing your fabric and batting in a way that creates a strong foundation for the rest of the project. You begin by cutting two fabric squares, each measuring approximately seven inches by seven inches, and one slightly smaller batting piece, which helps reduce bulk around the edges the coaster is turned and finished. Small projects like this are perfect for using leftovers from larger projects such as a Reversible Tote Bag.
At this stage, accuracy is helpful but not overly strict, because the heart shape will naturally smooth out small imperfections during the sewing process.
What matters most is that your layers are roughly even so that your final coaster does not appear lopsided or uneven.
Step 2: Creating and Positioning the Heart Template
your fabric pieces are prepared, the next step in this Heart-Shaped Fabric Coaster Tutorial is to create your heart template. This template is essentially the guide that shapes your entire project, so it should be balanced, symmetrical, and proportionate to your fabric size. If you enjoy working with shapes and patterns, you may also like these 9 Patch Quilt Block Tutorials.
When drawing your heart, it is important to ensure that it fits comfortably within your fabric square, leaving enough space around the edges for seam allowance. This ensures that once sewn and turned, the heart maintains its shape without feeling cramped or distorted.
Step 3: Cutting the Heart Shapes with Care and Precision
After preparing your template, you will carefully place it on top of your fabric and batting layers and begin cutting out the heart shapes. This is one of the most visually satisfying parts of the Heart-Shaped Fabric Coaster Tutorial, because you begin to see the actual design taking shape.
It is important to secure your template with pins before cutting, as this prevents shifting and ensures consistency across both fabric pieces. While cutting, take your time around the curves, especially at the top dip of the heart, because this area defines the overall look of the coaster.
Accurate cutting is an important skill you’ll also use when creating a DIY Fabric Sunglass Case.
Step 4: Attaching the Batting for Structure and Durability
Next, you will attach the batting to the wrong side of one fabric heart. This step plays a very important role in the overall durability of your coaster because it gives the final product thickness, softness, and heat resistance.
Once positioned correctly, gently press the layers with an iron so they bond together more smoothly. This helps prevent shifting during sewing and ensures that your coaster remains flat and stable during use.
The same layering technique is useful when sewing a cozy Reversible Bowl Cozy.
Step 5: Sewing the Layers Together Securely
Now you will place both fabric hearts right sides together, making sure the batting remains on the outside. Carefully pin the layers to keep them aligned, and then sew around the edges using a consistent seam allowance.
As you sew, remember to leave a small opening along one side, because this gap will later allow you to turn the coaster right side out. This step is essential in almost all fabric turning projects, and it ensures a clean and professional finish.
Learning to sew smooth curves will also help when making a DIY Sleep Mask.
Step 6: Trimming, Turning, and Shaping the Heart
After sewing, the next step is to trim excess fabric from the seam allowances, especially around curved areas and pointed edges. This helps reduce bulk and allows the heart shape to turn more smoothly.
Once trimmed, carefully turn the coaster right side out through the opening. This is often the most exciting part of the Heart-Shaped Fabric Coaster Tutorial, because the shape suddenly becomes visible and the project starts to feel complete.
Take time to gently push out the edges and smooth the curves, especially the top center of the heart, because this area defines the final appearance.
These turning techniques are also useful when sewing a Reversible Baby Bib.
Step 7: Pressing, Closing, and Finishing the Coaster
Once the coaster is fully turned, press it carefully with an iron to flatten all edges and create a crisp, clean shape. Then close the opening using a neat topstitch, ensuring that the seam blends naturally with the rest of the design.
At this point, your coaster already looks complete, but pressing gives it a more professional and polished appearance that makes a noticeable difference in the final result.
For another beginner-friendly project that benefits from careful pressing, try this Handmade Scrunchie Tutorial.
Optional Step: Adding Quilting for Texture and Style
If you want to elevate your Heart-Shaped Fabric Coaster Tutorial project further, you can add quilting stitches across the surface. This could include outlining the heart shape, adding diagonal lines, or even creating decorative patterns such as swirls or floral-inspired stitching.
Quilting not only enhances the visual appeal but also strengthens the coaster, making it more durable for long-term use. If quilting interests you, you’ll enjoy learning How to Bind a Quilt.
Why You Will Love This Heart-Shaped Fabric Coaster Tutorial
A. This project is quick, satisfying, and beginner-friendly, making it perfect for short creative sessions.
B. It allows you to fully personalize your home décor in a subtle but meaningful way.
C. It turns simple fabric scraps into functional art that you can use every day.
D. It creates opportunities for thoughtful handmade gifting that feels personal and heartfelt. You can even create matching home décor accessories such as this Mug Cozy Sewing Tutorial.
Final Thoughts on Heart-Shaped Fabric Coaster Tutorial
This Heart-Shaped Fabric Coaster Tutorial is more than just a sewing guide; it is a reminder that creativity does not have to be complicated to be meaningful. These coasters make wonderful additions to handmade gift baskets alongside a Fabric Wine Bottle Bag.
When you finish your first set of coasters, you will likely notice how something so simple can completely change the feel of a space. Your table becomes warmer, your daily routines feel softer, and your home begins to reflect more of your personal touch.
Most importantly, this project encourages you to slow down and enjoy the process rather than rush toward perfection. Every stitch becomes part of a larger experience of creativity and mindfulness.
So take your time, choose fabrics that make you happy, and enjoy the process of turning something simple into something beautiful.