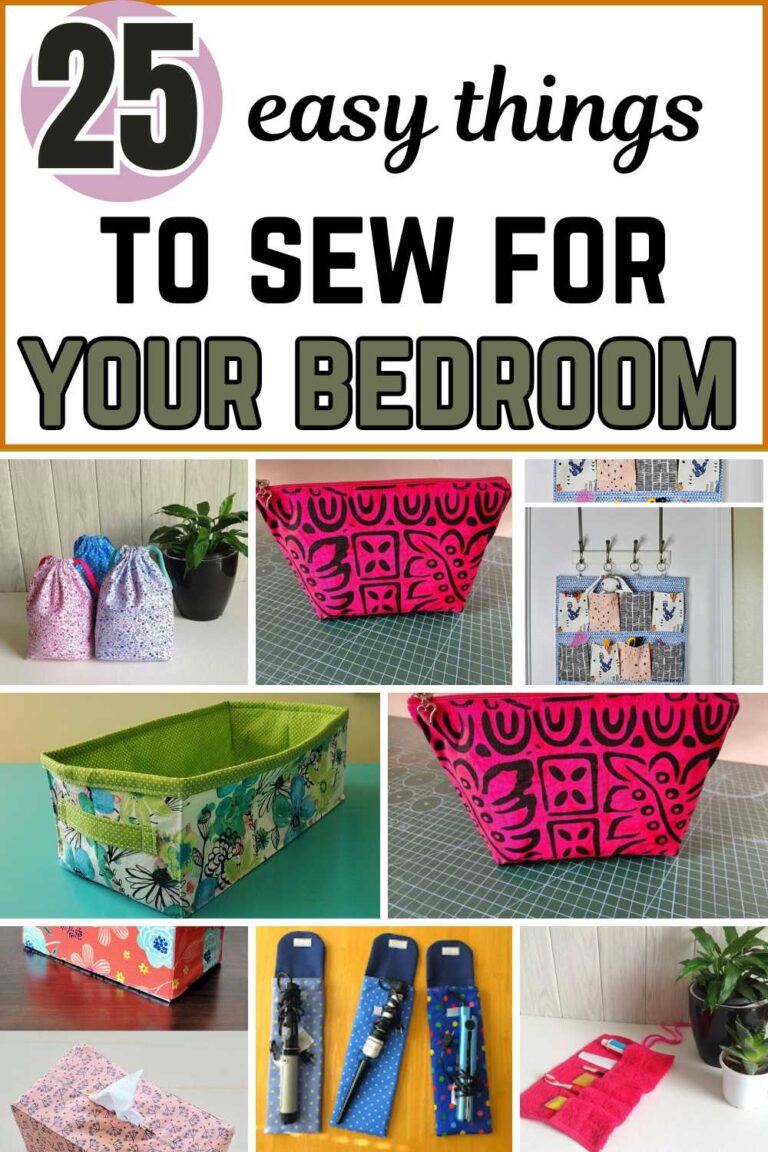
DIY Pot Holder Sewing Tutorial for Beginners (Step-by-Step Guide)
I almost burned my hand in the kitchen because I did not have a proper pot holder. I grabbed a kitchen towel instead, but the heat passed right through it. That moment made me realize how important a good pot holder is. Instead of rushing to buy one, I decided to sew my own, and it was easier than I expected.
Making a pot holder at home is one of the simplest sewing projects you can try. It is beginner-friendly, quick, and very useful. You can also personalize it with your favorite fabrics and colors. In this tutorial, I will show you how to sew a strong, heat-resistant pot holder step by step, even if you are just starting your sewing journey.
Why You Should Sew Your Own Pot Holder
A handmade pot holder is more than just a kitchen tool. It is something you create with your own hands, and that makes it special. Store-bought ones can be plain, but when you sew your own, you choose the fabric, the thickness, and the design.
It also saves money because you can use leftover fabric pieces from other projects. Many people enjoy sewing pot holders because they are fast to complete and help build confidence for bigger sewing projects. It is also a great way to make useful gifts for friends and family who love cooking.
Materials You Will Need
Before starting, it is important to gather everything you need. This helps the sewing process go smoothly and keeps you organized.
You will need two pieces of cotton fabric for the front and back of the pot holder. Cotton works best because it handles heat well and is easy to sew. You will also need batting or heat-resistant padding to protect your hands from hot surfaces. A small strip of fabric will be used to create a hanging loop so you can store your pot holder easily in the kitchen.
You should also prepare sewing tools such as scissors, pins, a measuring tape, a sewing machine, thread, a fabric marker, and an iron for pressing your fabric. Having everything ready before you start will make your project much easier and more enjoyable.
Step 1: Cut Your Fabric and Padding
Start by cutting two equal squares of fabric. These will form the front and back of your pot holder. Make sure the squares are the same size so everything aligns properly later.
Next, cut two matching squares of batting or heat-resistant padding. This layer is very important because it protects your hands from heat while cooking. Take your time with this step because neat cutting makes sewing easier and gives a better final result.
When everything is cut correctly, you will already start to see your pot holder taking shape.
Step 2: Attach the Padding to the Fabric
Now place the batting on the wrong side of each fabric piece. The wrong side is the back of the fabric, not the side with the pattern.
If your batting is fusible, use an iron to press it gently so it sticks to the fabric. If not, you can secure it with a few pins or light stitching. This step helps keep the layers in place while you sew.
The padding is what makes your pot holder strong and safe to use in the kitchen. Without it, heat would pass through easily.
Step 3: Make the Hanging Loop
Cut a small strip of fabric and fold it in half lengthwise with the right sides facing each other. Sew along the open edge carefully, then turn it inside out. Press it flat with an iron to make it neat.
After that, fold it into a small loop. This loop will allow you to hang your pot holder on a hook in your kitchen. It is a small detail, but it makes your pot holder more practical and organized.
Step 4: Assemble the Pot Holder
Place the two fabric pieces together with the right sides facing each other. Make sure the edges match perfectly.
Insert your fabric loop between the layers in one corner, making sure the raw edges are lined up. Pin everything carefully so nothing shifts while sewing.
At this stage, your project already looks like a real pot holder. It is important to check alignment before moving to the next step.
Step 5: Sew Around the Edges
Using your sewing machine, sew around all four sides of the pot holder. Leave a small opening on one side so you can turn it right side out later.
Go slowly around the corners so your stitches stay neat and even. This step holds everything together, so take your time and focus on accuracy.
Once you finish sewing, your pot holder will be fully structured and almost complete.
Step 6: Turn It Right Side Out and Press
Carefully turn the pot holder through the opening you left. Use your fingers or a blunt tool to push out the corners so they look sharp and clean.
After turning, press the pot holder with an iron. This helps flatten the seams and gives it a professional finish. It also makes the fabric look smooth and well-shaped.
At this stage, your pot holder already looks finished, but there is one final step to make it stronger and more beautiful.
Step 7: Topstitch for a Clean Finish
Sew around the edges again to close the opening and secure the layers. This is called topstitching.
You can also add simple decorative stitching across the surface, such as straight lines or an X shape. This not only looks nice but also keeps the padding in place so your pot holder lasts longer.
This step gives your project a polished, handmade look that feels professional and strong.
Step 8: Make a Matching Set
One pot holder is good, but two are even better. Since most cooking involves handling hot pots and pans, having a pair is very useful.
Once you finish the first one, the second will be much faster because you already know the steps. You can also mix different fabrics to create a matching kitchen set.
This is also a great idea if you want to give handmade gifts to friends or family.
Final Thoughts
Sewing your own pot holder is a simple but rewarding project. It teaches you basic sewing skills while also giving you something useful for your kitchen. You do not need advanced experience to complete it, just patience and creativity.
Every time you use your handmade pot holder, you will feel proud knowing you made it yourself. It is practical, beautiful, and personal. Once you finish this project, you may even feel inspired to sew more kitchen items like aprons, oven mitts, or table accessories.
Handmade sewing projects like this bring comfort, creativity, and joy into everyday life.