Mother’s Day Apron
Mother’s Day always has a way of bringing back the softest, most meaningful memories the smell of your mum’s cooking filling the kitchen, the sound of laughter during family meals, and those quiet moments where love is felt more than spoken. It’s not just another holiday; it’s a reminder of everything she’s done, often without asking for anything in return.
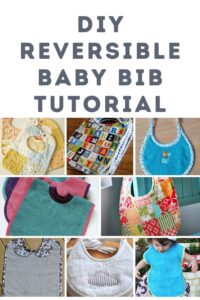
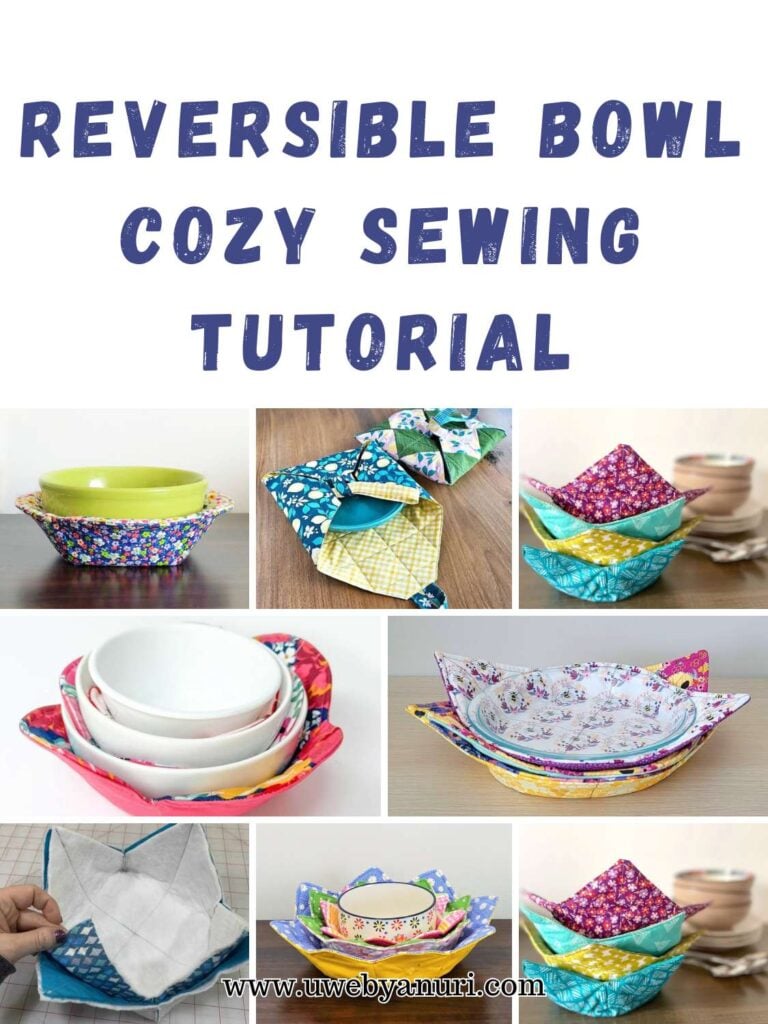
Pin this guide: DIY reversible baby bib tutorials
And when it comes to showing appreciation, store-bought gifts can feel a little… impersonal. That’s why handmade gifts carry so much more weight. They take time, effort, and intention. They say, “I thought about you while making this,” and that’s something you simply can’t buy.
You may want to check this: Fabric wall pocket sewing tutorials
This DIY Mother’s Day apron is one of those gifts that feels both personal and practical. It’s something she can actually use whether she’s cooking, baking, gardening, or just moving around the house while also carrying the warmth of something made just for her. The best part? You don’t need to be an expert to make it. With just a bit of fabric and some simple steps, you can create something truly meaningful.
Why a handmade mother’s apron makes the perfect gift
There are plenty of gift ideas out there, but this one stands out for a few reasons.
It’s personal
You get to choose the fabric, color, and style based on what your mum loves.
It’s practical
Unlike decorative gifts, an apron gets used often so it becomes part of her daily routine.
It’s beginner-friendly
Even if you’re still learning how to sew, this project is simple enough to follow.
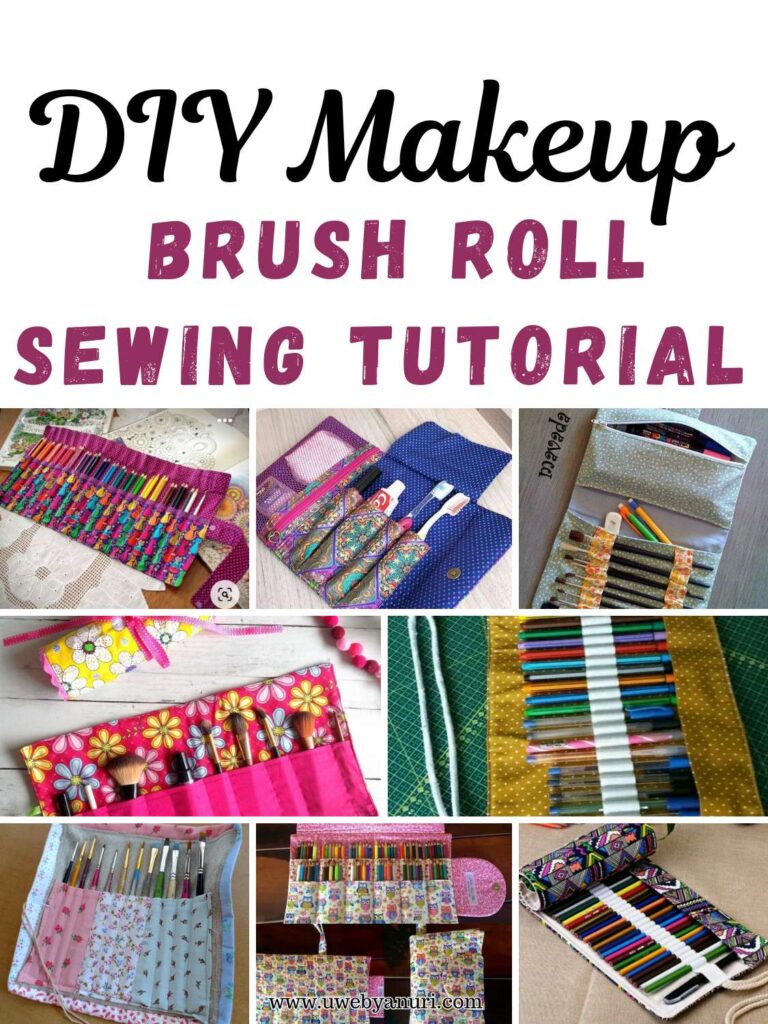
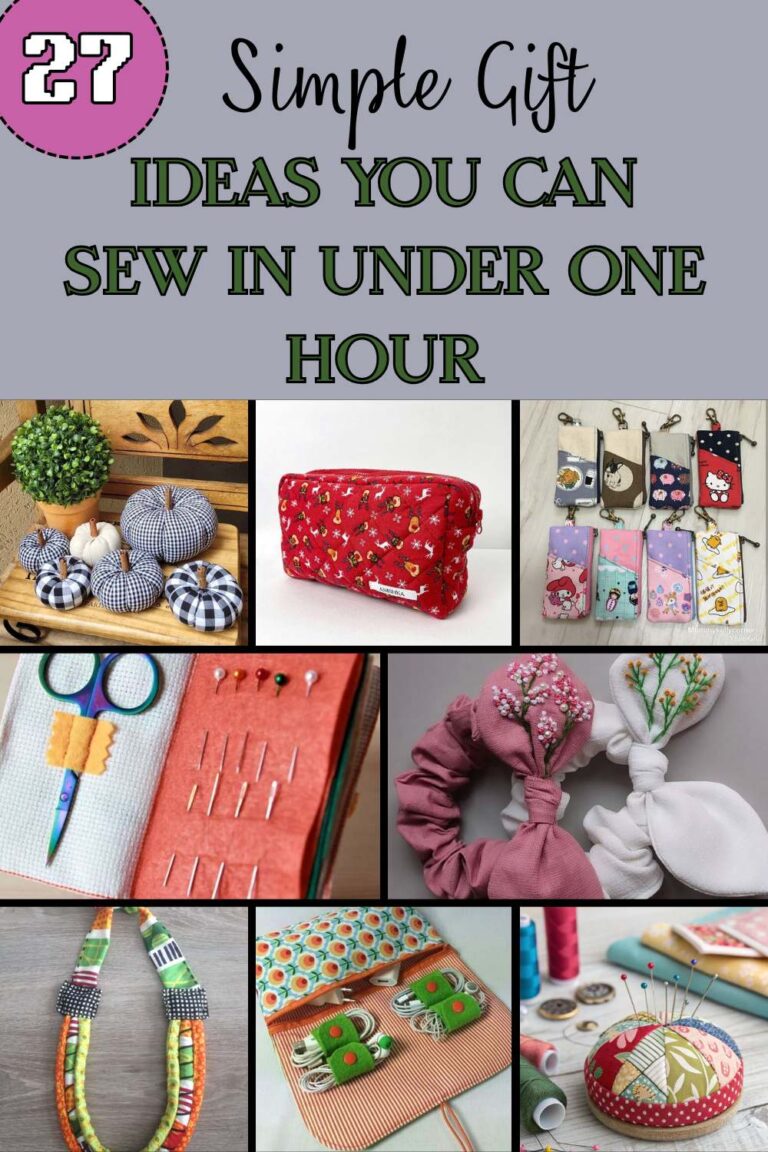
Recommended for you: 27 simple ideas you can sew under an hour.
When you can make this apron
While this is perfect for Mother’s Day, it’s not limited to just one occasion:
- Birthdays
- Housewarming gifts
- Christmas presents
- Gifts for grandmothers
- Even something special for yourself
Materials You’ll Need
This project keeps things simple. No complicated tools or expensive materials required.
Fabric:
- 1 yard of fabric (main apron body)
- ½ yard of fabric (for straps)
Tools:
- Sewing machine
- Measuring tape
- Fabric scissors
- Pins
- Tailor’s chalk or fabric marker
- Iron
- Matching thread
Choosing the Right Fabric (Very Important)
The fabric you choose will completely change how your apron looks and feels.
Best fabric options:
- Cotton (easy to sew and breathable)
- Linen (more premium feel)
- Cotton blends (durable and soft)
Design tips:
- Floral prints for a soft, feminine look
- Bold patterns for a modern style
- Neutral tones for a minimalist feel
Pro tip:
Choose something that reflects her personality. That’s what makes the gift feel personal.
Step-by-Step: How to Make a Mother’s Day Apron
Step 1: Cut Your Fabric Pieces
Start by cutting your fabric to size:
- Main apron body: 32″ × 22″
- Waist straps (2 pieces): 30″ × 3″
- Neck strap (1 piece): 20″ × 3″
Take your time here accurate cutting makes everything easier later.
Step 2: Shape the Apron
Fold the main fabric in half, right sides facing inward.
From the folded top edge:
- Measure 9 inches across
- Measure 11 inches down
Draw a soft curve connecting these two points. This creates the armhole shape.
Cut along the curve carefully.
Keep this handy: 21 Easy sewing projects for complete beginners
Step 3: Hem the Edges
Neat edges make all the difference.
- Fold top and sides inward by ¼ inch, then fold again
- Pin and sew in place
- For the bottom edge, fold ¾ inch, then fold again
Sew all edges and press flat with an iron.
Step 4: Create and Attach the Pocket
Cut a rectangle measuring 14″ × 11″.
- Fold all edges inward twice (¼ inch each fold)
- Sew around to finish edges
Position the pocket:
- Measure 5 inches up from the bottom
- Center it horizontally
Pin the sides and bottom only, then sew in place.
Step 5: Make the Straps
Fold each strap piece lengthwise into quarters (edges tucked inside).
Sew along the edge to secure.
This creates strong, neat straps.
Step 6: Attach the Straps
- Attach waist straps to each side of the apron
- Attach neck strap to the top corners
Make sure they are securely stitched, as these areas take the most strain.
Step 7: Final Press and Finish
Give the entire apron a final press with your iron.
This step brings everything together and makes your project look polished and professional.
Ways to Personalize Your Apron
Want to make it even more special? Try these ideas:
Add embroidery
Write “Best Mom Ever” or her name
Add lace or trim
For a more decorative finish
Use contrast stitching
Adds a stylish, modern touch
Mix fabrics
Use different prints for pocket and straps
Beginner Tips for a Better Finish
- Always press your seams after sewing
- Use pins generously to keep fabric in place
- Sew slowly around curves
- Double stitch straps for durability
Common Mistakes to Avoid
Skipping measurements
This leads to uneven shapes
Rushing the hemming
Neat edges make a huge difference
Weak strap attachment
Reinforce these areas well
Can You Sell This Apron?
Absolutely.
This apron is simple but highly marketable.
Why it sells:
- Handmade appeal
- Practical use
- Customizable designs
Where to sell:
- Etsy
- Local markets
- Instagram shops
Tip:
Bundle with kitchen towels or oven mitts for higher value sets.
Final Thoughts
There’s something incredibly powerful about giving a handmade gift. It’s not about perfectionit’s about effort, care, and love stitched into every part of it.
This DIY Mother’s Day apron is more than just a sewing project. It’s a way to say “thank you” in a way that feels real and lasting. Every time she wears it, she’ll remember that it was made just for her.
And honestly, that’s what makes it special.