How to Make a Fabric Knot Headband (Easy DIY Sewing Tutorial for Beginners)
One of my favorite ways to add personality to an outfit without spending a lot of money is by making my own accessories. While dresses, bags, and hats often get all the attention, a simple fabric headband can completely transform your look in just seconds.
A fabric knot headband is one of those sewing projects that is both practical and stylish. It keeps hair neatly away from your face, adds a fashionable touch to everyday outfits, and can be customized to match almost anything in your wardrobe. Whether you’re dressing up for a special occasion, heading to work, running errands, or simply enjoying a casual day at home, a handmade headband is a beautiful accessory to have on hand. or learn how to make a fabric hair bow for another stylish handmade accessory.
Today I’ll show you exactly how to make a beautiful fabric knot headband using a basic Alice band and a small piece of fabric. Once you make one, you’ll probably find yourself creating several more in different colors and prints. DIY fabric hair clip tutorial
Why You’ll Love This Fabric Knot Headband
Before we start sewing, let’s talk about why this project is worth trying.
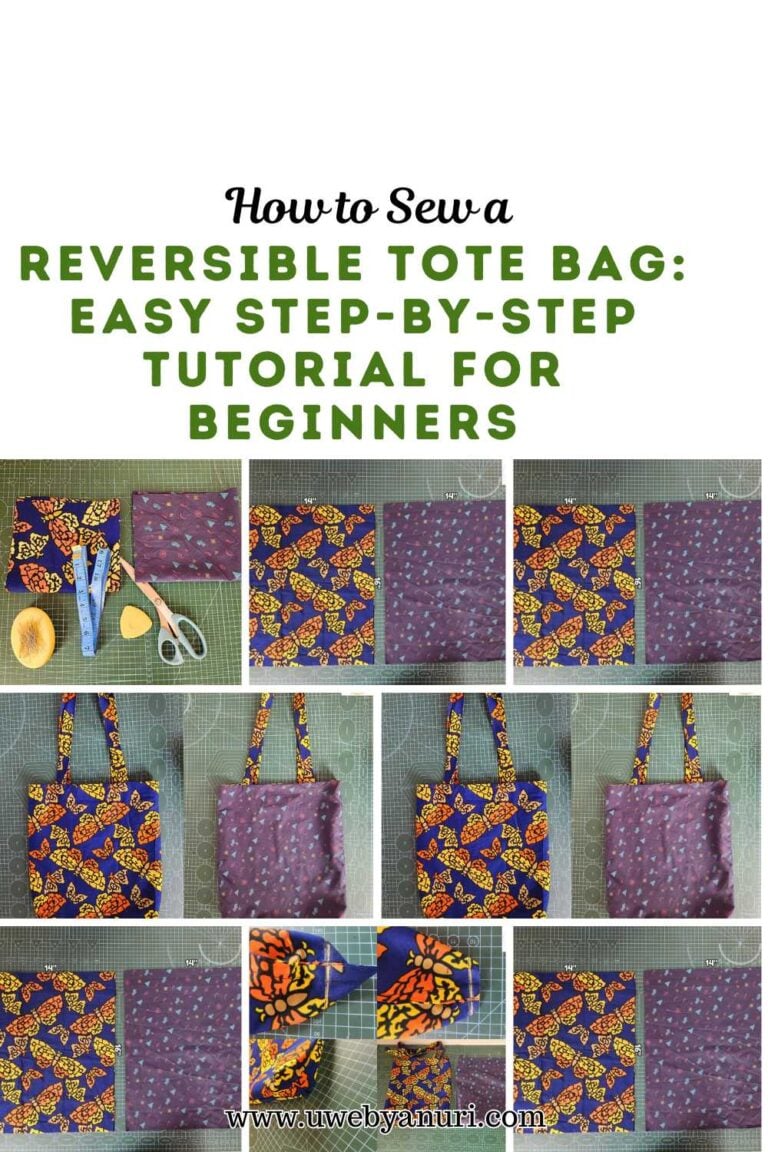
A fabric knot headband is incredibly versatile. You can make one for yourself, create matching versions for your daughters, sew a few as handmade gifts, or even sell them at local craft fairs and online marketplaces. check this project for more: reversible tote bag tutorial
They’re also a fantastic scrap fabric project. If you’ve recently completed larger sewing projects such as a reversible tote bag or a reversible bucket hat, this is a great way to use up leftover fabric pieces.
The best part is that you can customize your headband endlessly. Floral fabrics create a feminine look, bright colors make a fun statement, while neutral fabrics can complement your everyday wardrobe.
Materials Needed
Gather the following supplies before you begin: You may also enjoy: handmade scrunchie tutorial
- ½ yard stretchy fabric (jersey knit, cotton knit, or any fabric with slight stretch)
- Alice band (plastic or metal)
- Sewing machine
- Matching thread
- Sewing pins
- Fabric scissors
- Measuring tape
- Hand sewing needle
- Fabric marker or chalk
If you enjoy quick accessory projects like this, you may also enjoy making a handmade scrunchie or this beginner-friendly DIY sleep mask. keep this guide for next If you’re looking for more ways to use leftovers, explore these scrap fabric quilt ideas.
Step 1: Cut Your Fabric
Start by cutting a rectangle measuring 27 inches long and 10 inches wide.
Stretchy fabrics work especially well because they wrap smoothly around the headband and create a softer, more comfortable finish. Jersey knit fabric is my personal favorite because it doesn’t fray easily and provides a professional-looking result with minimal effort.
When selecting your fabric, think about where you’ll wear the finished headband. Floral prints work beautifully for spring and summer, while velvet and darker colors are perfect for autumn and winter. Solid fabrics are versatile enough for everyday wear.
Take your time while cutting to ensure the edges are straight and even. Accurate cutting helps the final headband look polished and professional. you may also love creating a stylish wide brim summer hat
Step 2: Create the Center Knot
Fold your fabric in half lengthwise with the right sides together. Then fold it again to create a long rectangle.
Position the center of the fabric around your Alice band and gently tie a knot. This step helps you visualize how the finished headband will look.
Make sure both sides of the fabric are evenly distributed before tightening the knot. A balanced knot creates a symmetrical and attractive finished appearance.
The knot is what gives this headband its stylish boutique-inspired look. It’s simple but adds enough detail to make the accessory stand out.
If you enjoy sewing fashionable accessories, you may also love creating a wide brim summer hat to complement your handmade headbands.
Step 3: Mark the Sewing Area
With the knot positioned in the center, measure approximately 1.5 inches away from the knot on both sides.
Use sewing pins or fabric chalk to mark these points. These marked sections will remain open temporarily so the Alice band can be inserted later.
This step might seem small, but it plays an important role in ensuring the headband sits properly around the band without creating bulky seams near the knot.
Double-check your measurements before moving forward. Even markings on both sides help maintain balance and symmetry throughout the project.
Step 4: Sew the Fabric Tube
Carefully untie the knot while keeping your markings visible.
With right sides together, sew from each marked point all the way to the ends of the fabric using a ½-inch seam allowance. for more: fabric wine bottle bag tutorial
This creates a tube on both sides while leaving the center opening available for the Alice band.
After sewing, trim any excess bulk from the seam allowance if necessary. This helps create a smoother finish once the fabric is turned right side out.
This technique is similar to the construction methods used in projects like a fabric wine bottle bag where clean seams help create a polished finished product.
Step 5: Turn the Fabric Right Side Out
Carefully turn the sewn fabric tubes right side out.
You can use a safety pin, loop turner, or even a pencil to help pull the fabric through.
Once turned, gently press the fabric using an iron if appropriate for your fabric type. Pressing helps flatten the seams and gives your headband a crisp professional appearance.
Take a moment to inspect your stitching and ensure everything looks neat before proceeding.
This small step makes a huge difference in the final appearance of your project.
Step 6: Re-Tie the Knot and Insert the Alice Band
Now comes the exciting part.
Recreate the center knot exactly as before, making sure it sits neatly in the middle.
Next, slide each end of the Alice band into the open fabric tubes. Adjust the fabric carefully until the entire band is covered smoothly.
Take your time here because proper positioning determines how comfortable and attractive the finished headband will be.
Smooth out any wrinkles and make sure the knot remains centered.
Step 7: Finish the Ends
Trim away any excess fabric around the ends of the Alice band.
Fold the raw edges inward and hand stitch them closed using a matching thread.
Small invisible stitches work best for creating a clean finish. Once both ends are secured, check that the fabric sits snugly around the band.
At this stage, your headband is essentially complete.
If you enjoy practical sewing projects that combine beauty and function, you may also enjoy these tutorials:
- DIY Drawstring Jewelry Pouch
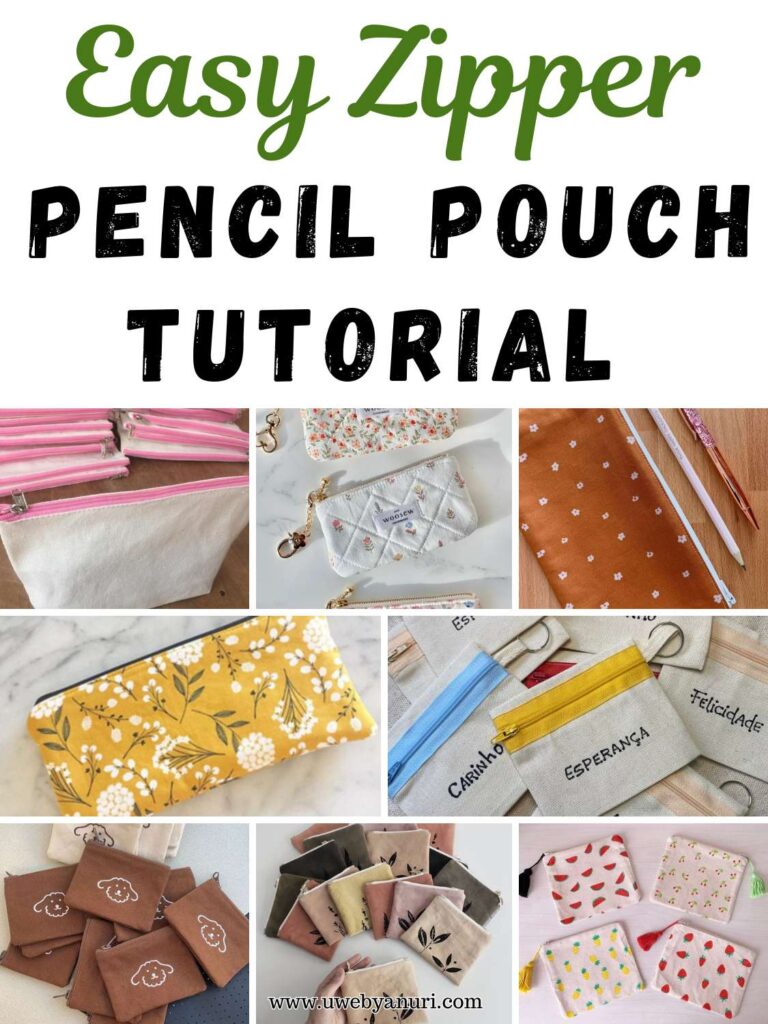
- Easy Zipper Pencil Pouch Tutorial
- DIY Fabric Laptop Sleeve Tutorial
Final Thoughts
And just like that, you’ve created your very own fabric knot headband.
This simple project proves that you don’t need complicated patterns or advanced sewing techniques to create something beautiful and useful. A handmade headband is a wonderful way to express your personal style while using fabrics you already have in your sewing stash.
One of the things I love most about this project is how easy it is to customize. You can make matching headbands for different outfits, create coordinating sets for your children, or even sew several to give as thoughtful handmade gifts.
Once you’ve mastered this project, you’ll find yourself looking for more fun beginner sewing ideas. If that’s the case, don’t miss these tutorials:
- How to Make a Mother’s Day Apron
- DIY Fabric Bookmark
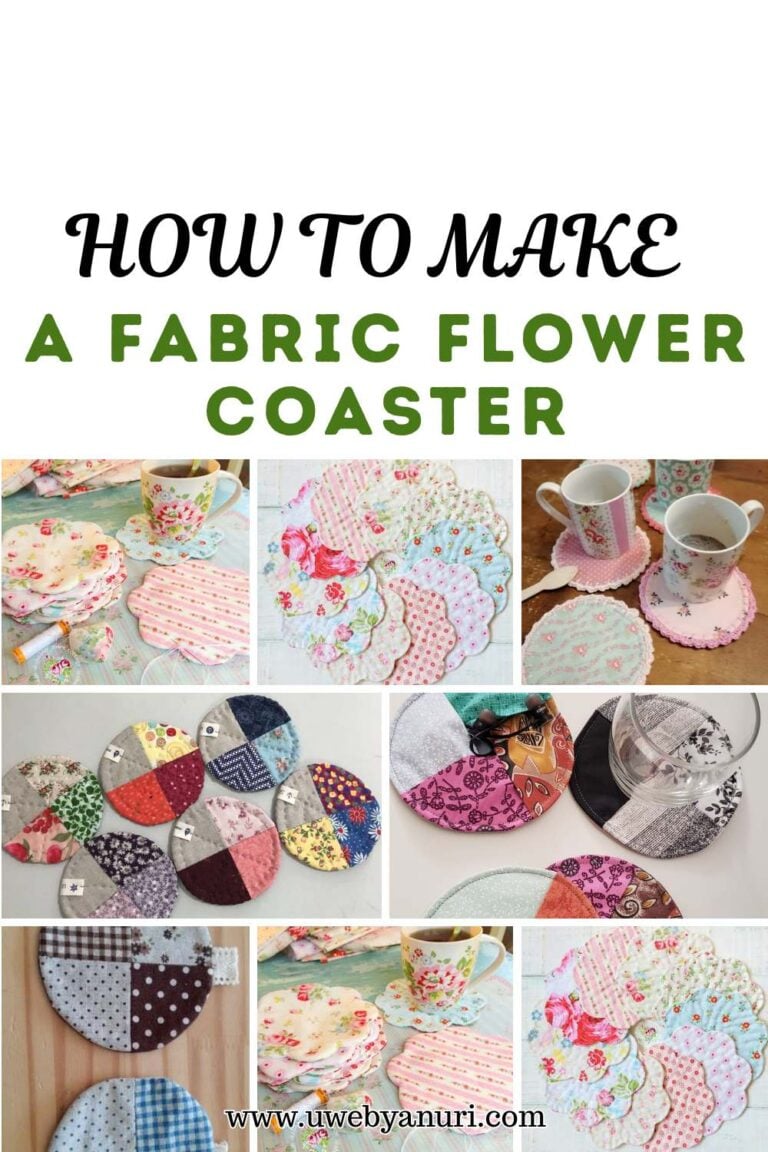
- Fabric Flower Coaster Tutorial
Happy sewing!