
22 Creative Paper Crafts You Can Make in Under 30 Minutes
Disclosure: Some of the links in this post are affiliate links. This means if you click on the link and purchase an item, I will receive an affiliate commission at no extra cost to you.
You have 20 minutes before dinner, a quiet afternoon at home, or a child asking for something fun to do. You look around and find a few sheets of colored paper, some glue, and a pair of scissors. That little pile may not look like much, but it can turn into a tiny paper bakery, a funny monster, or a colorful decoration for your room. You do not need a big craft room or a long list of supplies to make something lovely.
The secret is choosing projects that do not take too many steps. Simple folds, easy shapes, and small paper details can make a craft look special without taking your whole afternoon. You can also use leftover wrapping paper, old magazines, and scraps from other projects to add color and patterns.
These 22 creative paper crafts you can make in under 30 minutes are perfect for busy days when you want to make something with your hands. Kids can enjoy the playful designs, and adults can use the finished pieces to decorate a desk, wrap a gift, or brighten a room. Most projects need only basic supplies, so choose one that catches your eye and get started.
22 Creative Paper Crafts You Can Make in Under 30 Minutes
1. Tiny Paper Succulent Garden
A tiny paper succulent garden can bring a fresh touch to a desk or shelf without taking up much space. You can make several little plants in different shades of green and place them in colorful paper pots. This craft is great for kids who enjoy making small things and adults who want a cheerful desk decoration.
Cut short, pointed leaf shapes from green paper. Fold each leaf down the middle to give it a little shape, then glue the leaves together in small groups. Place each group inside a tiny pot made from folded cardstock. Add a few pink or yellow paper tips for extra color. Arrange the pots on a small tray to create a mini garden.
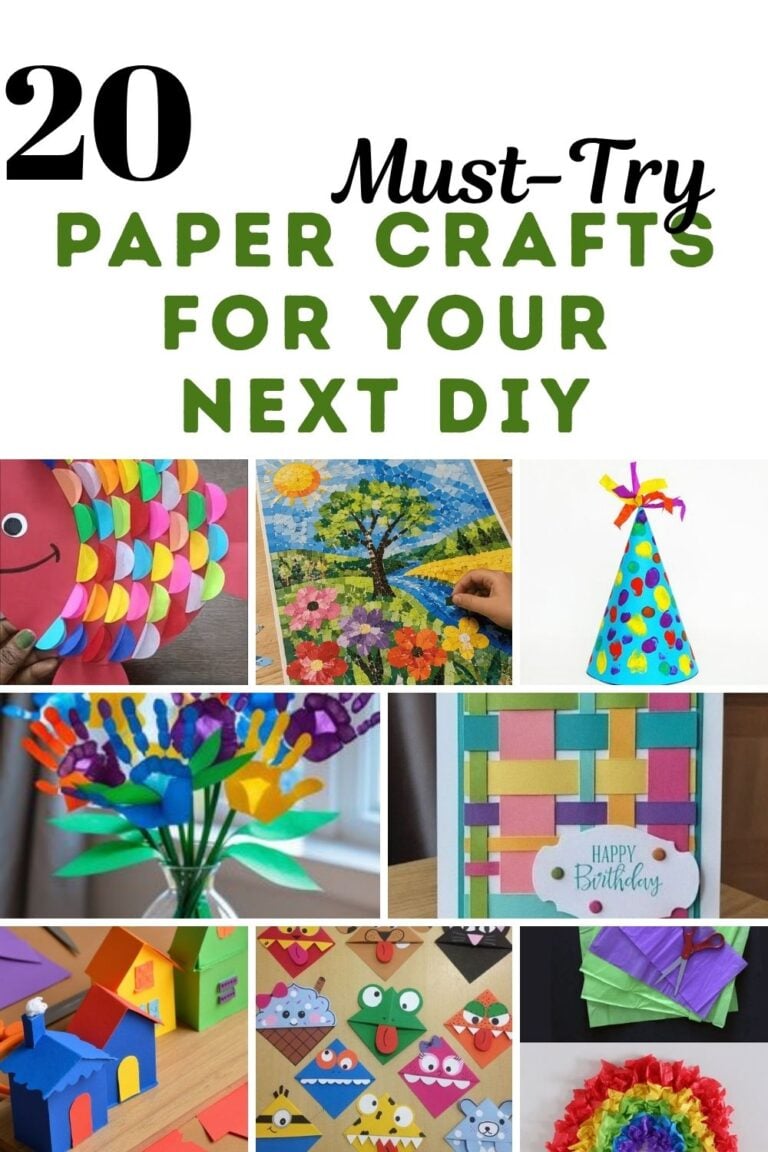
2. Paper Monster Corner Bookmarks
These funny monster bookmarks peek out from the corners of your book pages. They are easy to make, and each one can have a different face. Kids can create friendly monsters with big eyes, while adults can make silly designs for journals, planners, or gifts for book lovers.
Start with a square sheet of paper and fold it into a corner bookmark pocket. Use a simple corner-bookmark template if you need help with the folds. Cut out small teeth, horns, ears, or eyes from colored paper and glue them onto the front. Try a purple monster with green teeth or a yellow monster with three eyes. Let the glue dry before sliding the bookmark over a page corner.
3. Folded Paper Rainbow Fan
A folded paper rainbow fan is a quick way to add color to a bedroom or craft corner. It can also work as a cheerful decoration for a birthday party. You can make one large fan or several small fans in different colors.
Choose a long sheet of colored paper and fold it back and forth like an accordion. Fold the strip in half and glue the two inner edges together to form a fan shape. Repeat the steps with other colors if you want a layered rainbow. Add a small paper circle in the center to hide the join. Attach the finished fan to a piece of card or display it on a shelf.
4. Mini Paper Takeaway Food Boxes
Small paper takeaway boxes are fun to make for pretend play, party decorations, or tiny gifts. Kids can use them in a pretend restaurant, while adults can fill them with wrapped sweets or small craft supplies.
Draw a simple box template on sturdy paper, including a square base, four sides, and small tabs. Cut out the shape, fold along the lines, and glue the tabs to hold the box together. Add a paper handle or fold the top edges inward. Decorate the sides with dots, stripes, or a pretend restaurant name. Keep the contents light so the paper box holds its shape.
5. 3D Paper Lightning Bolts
Bright paper lightning bolts make a fun wall decoration for a child’s room, gaming corner, or study space. Their sharp shapes look bold, and you can make them in almost any color.
Draw a lightning bolt on thick colored paper and cut it out. Make another matching shape, then fold both pieces down the middle. Glue one half of each piece together so the bolt has a raised center. You can add a contrasting paper layer behind it to create a shadow effect. Make several bolts in yellow, blue, pink, or orange and arrange them in a small wall display.
6. Paper Chain Snake
This playful paper snake is made from little loops linked together. Its body bends and twists, making it a fun toy for children who like animal crafts. Adults can help younger kids cut the strips and join the loops.
Cut colored paper into short strips. Form one strip into a loop and glue the ends together. Thread the next strip through the first loop and join its ends. Continue until the snake reaches the length you want. Add a paper head with eyes, a mouth, and a small tongue. Finish with a paper tail and give your snake a funny name.
7. Mini Paper Picture Easels
Make a tiny paper easel to hold a photo, drawing, or small piece of artwork. It is a useful decoration for a desk or bedside table, and you can make one in just a few simple steps.
Cut a rectangle from thick cardstock and fold it into three sections, leaving one section to form the back support. Bend the back section outward so the stand can balance on a flat surface. Cut a small paper ledge and glue it across the front to hold the picture. Decorate the easel with dots, stripes, or tiny paper shapes. Use a lightweight picture so the stand stays upright.
8. Colorful Paper Ice Cream Garland
This ice cream garland is perfect for summer parties, birthdays, or a bright craft corner. You can make different flavors using colored paper and add tiny toppings to each scoop.
Cut triangle shapes from brown paper for the cones. Cut rounded shapes from pink, yellow, green, purple, and blue paper for the scoops. Glue one scoop above each cone and add paper sprinkles or small circles. Make a small hole near the top of each ice cream shape or attach them to a long strip of paper. Hang the finished garland across a shelf or party table.
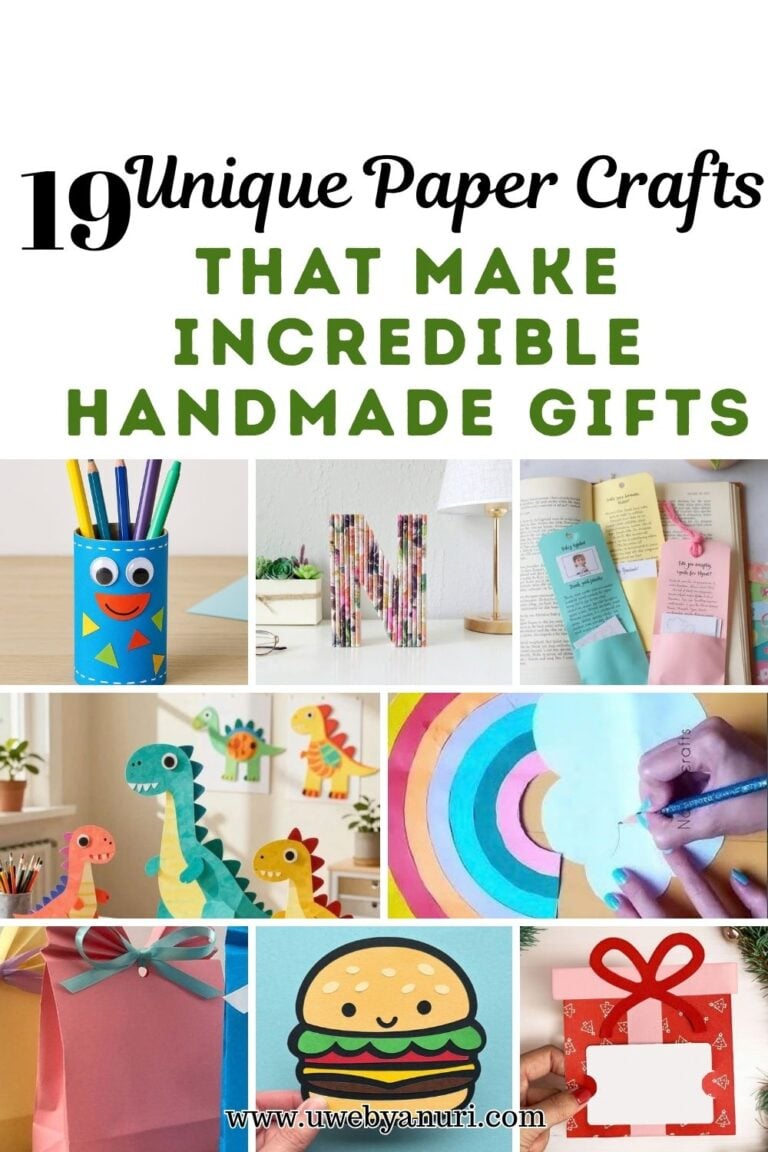
9. Paper Roll-Up Pencil Holder
Keep your desk tidy with a paper pencil holder made from a small cardboard tube. It is a simple way to reuse a tube from paper towels or another suitable paper product. Kids can decorate the outside, while adults can make matching holders for pens, pencils, and craft tools.
Cut the tube to the height you want. Trace its bottom onto thick card, cut out the circle, and glue it to the tube. Cover the outside with colored paper or patterned scraps. Add paper shapes, a name label, or a simple design. Let the glue dry before adding pencils. For extra stability, use a heavier cardboard base and avoid putting sharp tools within reach of young children.
10. Folded Paper Fish Bowl
Create a little fish bowl picture without using glass or water. This craft makes a cute decoration for a desk or bedroom and gives children a chance to build their own underwater scene.
Cut a large bowl shape from blue or pale aqua paper. Glue it onto a sheet of cardstock. Cut out tiny fish in different colors and add eyes, fins, and tails. Place the fish inside the bowl shape, then add paper bubbles, seaweed, and small stones along the bottom. You can fold the fish slightly down the middle to make them stand out from the background.
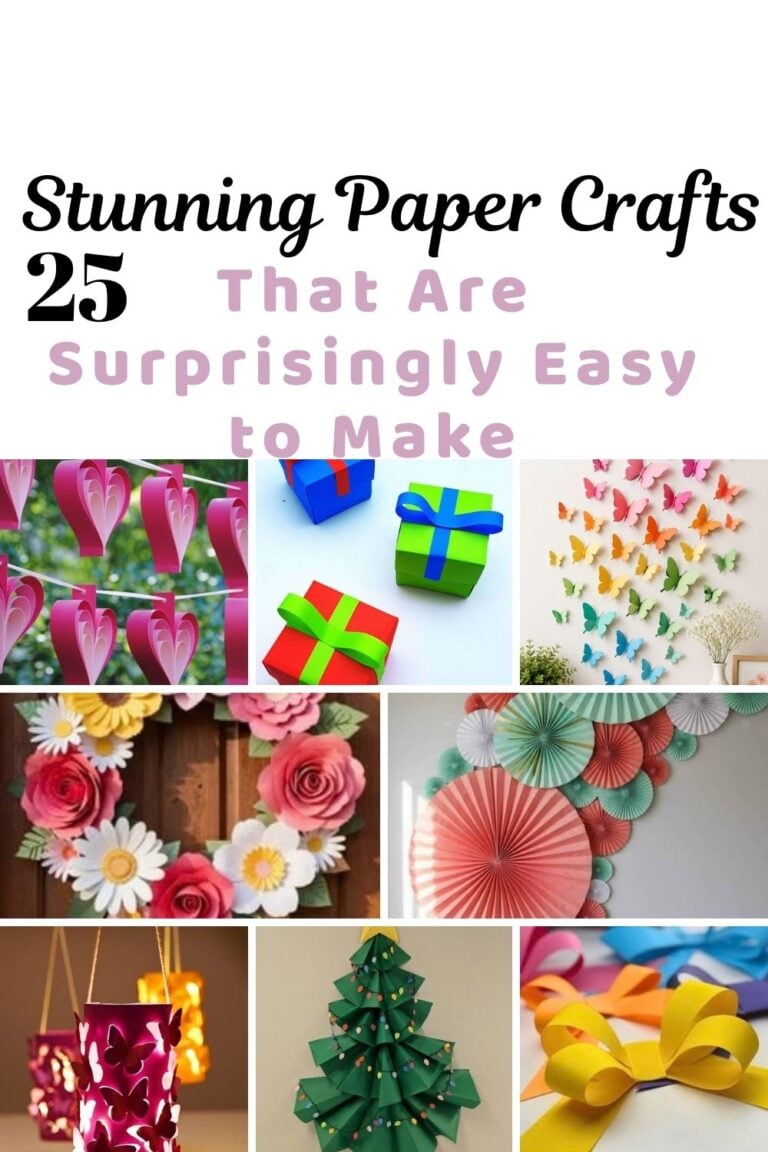
11. Paper Gift Bow in Three Minutes
A paper gift bow can make a plain gift bag or wrapped box look special. You can use leftover wrapping paper, magazine pages, or colored cardstock to match the gift.
Cut several paper strips of different lengths. Fold each strip into a loop and glue the ends together. Arrange the loops in a circle, placing the larger ones underneath and the smaller ones on top. Add a small paper circle in the center to cover the joins. Glue the bow onto your gift or attach it to a paper gift tag. Use thin paper if you want soft loops and thicker paper for a bold shape.
12. Mini Paper Window Scene
A mini paper window scene looks like a tiny view into another world. You can create a sunny garden, a night sky, a beach, or a little city street. It works well as a small decoration for a shelf or desk.
Cut a rectangle from cardstock and cut a smaller rectangle from the center to make a window frame. Place a second sheet of paper behind it as the background. Add small paper shapes to create the scene, such as clouds, houses, trees, or stars. Glue the frame around the edges and add a small paper sill at the bottom. Try different backgrounds to make a collection of tiny views.
13. Paper Crown With Colorful Shapes
A paper crown is a fun craft for birthdays, pretend play, or a family dress-up afternoon. Kids can make themselves a royal crown, while adults can create party crowns for guests or photos.
Cut a long strip of cardstock and make a row of triangle points along one edge. Wrap the strip around your head to check the size, then glue or tape the ends together. Decorate the crown with paper circles, stars, hearts, or zigzag shapes. You can use gold paper for a royal look or bright colors for a playful design. Make sure the crown fits comfortably and does not press tightly against the head.
14. Paper Confetti Wall Art
Turn tiny paper scraps into a cheerful piece of wall art. This is a great project when you have leftover paper from other crafts and want to use every little piece.
Cut paper into small circles, squares, hearts, or triangles. Draw a large outline on cardstock, such as a heart, initial, rainbow, or simple fruit shape. Glue the paper pieces inside the outline, mixing colors and patterns. You can keep the shapes close together for a full look or leave small spaces between them. Place the finished artwork in a frame or stand it on a shelf.
15. Tiny Paper Plant Labels
Paper plant labels are useful for a pretend paper garden or for labeling small craft pots. They are easy to personalize and can match the colors of your room or garden-themed display.
Cut small rectangles or flag shapes from thick paper. Glue each one to a short craft stick, or make a folded paper stand for a display that stays indoors. Write a plant name or a fun label on each piece, such as Mint, Happy Plant, or Tiny Garden. Decorate the edges with small leaves or dots. For real outdoor plants, use a more durable, weather-resistant material because ordinary paper can get wet and tear.
16. Accordion Paper Picture Frame
An accordion paper frame adds a fun border to a favorite drawing or photo. Its folded edges create texture, and you can make it in bright colors or soft shades.
Cut a rectangular opening from a piece of cardstock to create the main frame. Fold a long strip of paper back and forth like an accordion, then glue it around the frame edges. Trim the corners neatly and add small paper decorations if you like. Attach another sheet of card behind the frame, leaving one side open so you can slide a picture inside. Place it on a desk or hang it on a wall.
17. Paper Hot Dog and Burger Stand
Make a tiny pretend food stand using paper and a small cardboard box. This craft is great for kids who enjoy playing shop or restaurant, and it can be finished with simple shapes and colors.
Cut paper shapes for a burger bun, cheese, lettuce, and a patty. Make a hot dog from a long brown shape with a red paper strip for the sauce. Cover the small box with colored paper and add a sign with your pretend shop name. Place the paper foods on top or inside the box. You can also make a little menu from folded card and write the pretend prices beside each item.
18. Paper Starburst Desk Decoration
A paper starburst makes a bright little decoration for a desk, shelf, or bedside table. You can create it with bold colors or use patterned paper for a more detailed look.
Cut several long triangles from colored paper. Arrange the triangles in a circle with the pointed ends facing outward and glue them onto a round cardstock base. Add another paper circle in the middle to hide the joins. If you want a fuller look, make a second layer of smaller triangles and glue it on top. Stand the finished starburst against a small folded-card support or attach it to a larger piece of artwork.
19. Mini Paper Books for a Shelf
Tiny paper books look adorable on a dollhouse shelf, craft display, or desk. You can make them with blank pages, colorful covers, or little pretend titles.
Cut several small rectangles from plain paper and stack them together. Fold the stack in half to create the pages. Cut a slightly larger rectangle from cardstock for the cover and wrap it around the folded pages. Glue the spine carefully and press the book flat until the glue dries. Decorate the cover with a title, a tiny picture, or a simple pattern. Make a set of books in different colors and arrange them in a small stack.
20. Paper Rainbow Door Sign
A rainbow door sign can brighten a bedroom or playroom. You can write a name, a greeting, or a short message on the sign and decorate it with small paper clouds and stars.
Cut a large arch shape from thick cardstock. Add smaller colored arches across the front to create a rainbow. Cut out letters and glue them along the bottom or across the center. Add small clouds at the ends and decorate them with dots or tiny hearts. Attach a paper loop at the back if you want to hang the sign. Keep the design simple enough for children to make their own version.
21. Paper Butterfly Shadow Box
This craft creates the look of butterflies floating inside a small frame. Unlike flat butterfly pictures, the raised wings create shadows that make the artwork look more detailed.
Choose a shallow box frame or make one from sturdy cardstock. Cut several butterfly shapes from colored paper and fold each one gently down the center. Glue only the middle of each butterfly to the background so the wings lift slightly. Arrange the butterflies in a swirl or a loose group. Add a simple background in a contrasting color and place the frame on a shelf or hang it on the wall.
22. Colorful Paper Candle-Free Table Lanterns
These paper lanterns are simple decorations for a table, shelf, or party display. Their cut-out patterns allow light to pass through if you place a battery-powered LED light nearby, but the paper itself should stay away from heat.
Fold a rectangular piece of cardstock in half lengthwise. Cut simple shapes or lines along the folded edge, leaving a border around the outside. Open the paper, roll it into a cylinder, and glue the ends together. Add a paper base and a handle if you like. Decorate with stars, circles, or small hearts. Use only battery-powered LED lights nearby, and never put a real candle inside or next to a paper lantern.
Final Thoughts
You do not need a whole afternoon to enjoy crafting. A few sheets of paper can become a tiny garden, a colorful crown, a mini book, or a cheerful piece of wall art in less than 30 minutes. These projects are simple enough for a quick craft break and flexible enough for kids and adults to make them their own.
Before you start, gather your paper, glue, scissors, markers, and any scraps you want to reuse. Choose one project and keep the design simple if you are short on time. Children may need help with cutting or tricky folds, but they can still choose the colors and add their own details.
Save your favorite ideas for days when you need something fun to do at home. You can also make a few projects ahead of a party or use them as handmade gifts. A little paper and a bit of imagination can turn an ordinary afternoon into a colorful one.