
25 Eye-Catching Paper Crafts That Will Instantly Upgrade Your Decor.
Disclosure: Some of the links in this post are affiliate links. This means if you click on the link and purchase an item, I will receive an affiliate commission at no extra cost to you.
A plain wall, an empty shelf, or a boring corner can make a room feel unfinished. You may look around your home and wish you could add something pretty without buying new decorations. The good news is that colorful paper, a little glue, and a few simple tools can help you turn those dull spaces into something special.
Paper crafts offer so many ways to decorate your home. You can make a bright wall display, a cute desk decoration, a playful piece of art, or a lovely hanging ornament. The best part is that you can choose colors that match your room and change the designs whenever you want. You can even use old magazines, gift wrap, and leftover cardstock to keep costs low.
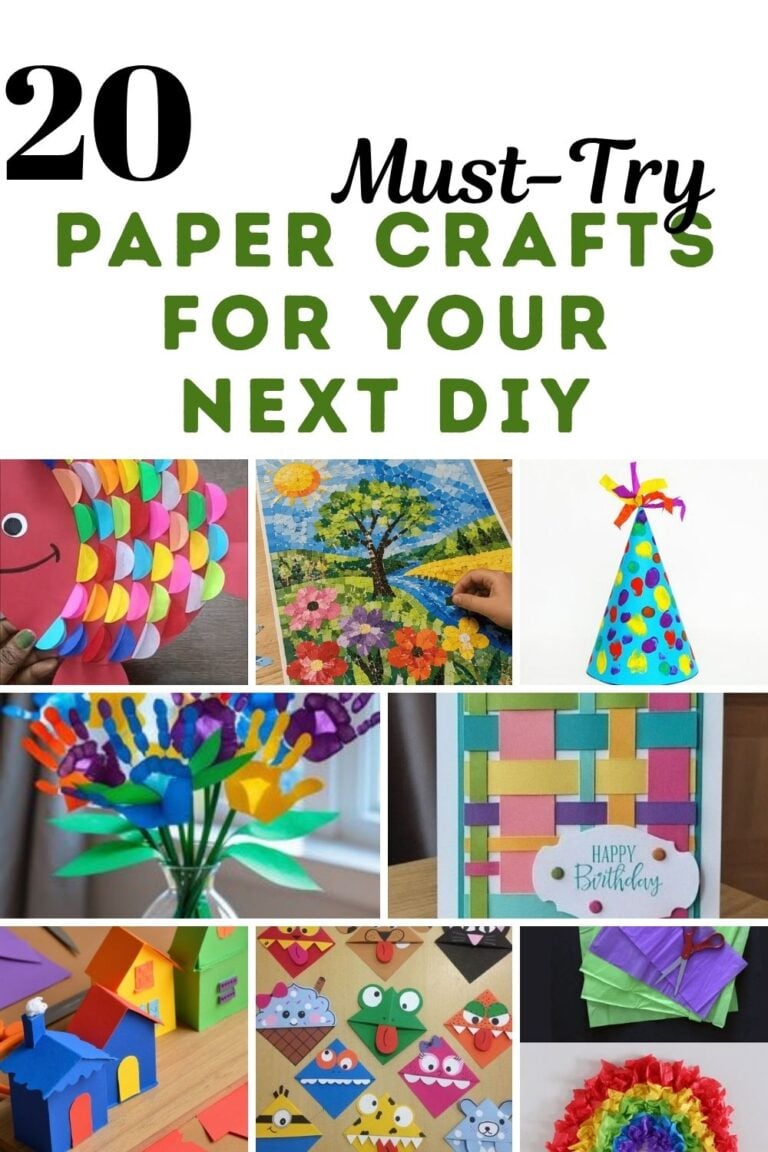
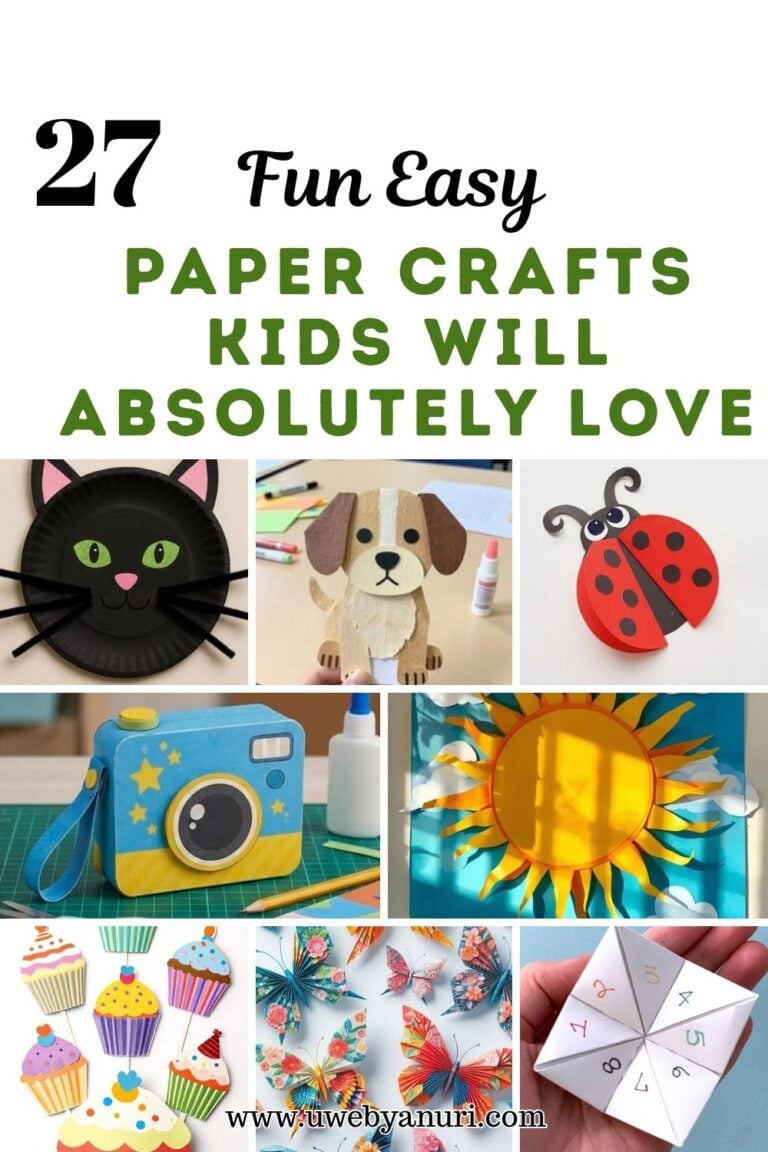
These 25 eye-catching paper crafts that will instantly upgrade your decor are perfect for kids and adults who enjoy making things by hand. Each project brings something different, from colorful paper hot air balloons to tiny paper houses and playful 3D wall art. Children can help with the cutting, folding, coloring, and decorating, while adults can handle tricky steps when needed. Get your favorite paper ready and find a new way to make your home feel cheerful.
25 Eye-Catching Paper Crafts That Will Instantly Upgrade Your Decor
1. Colorful 3D Paper Wall Cubes
Plain walls can look much more interesting with a collection of colorful paper cubes. These little shapes pop out from the wall and create a fun display that looks great in a playroom, bedroom, or craft corner. Kids can choose their favorite colors and help arrange the cubes into a pattern.
Cut squares from thick colored paper or lightweight cardstock. Fold each square into a simple cube using a paper cube template, then glue the tabs together. Make cubes in different sizes and colors. Arrange them on a large sheet of backing paper before attaching them to the wall with removable adhesive. Try a rainbow pattern, a checkerboard design, or a mix of your favorite shades.
2. Mini Paper Houses for a Cute Shelf Display
Tiny paper houses can turn an ordinary shelf into a charming little village. You can make colorful cottages, tall townhouses, or small shops with bright roofs and tiny windows. Children will love adding doors, curtains, and other little details to their buildings.
Draw a simple house shape with a roof, walls, and folding tabs on cardstock. Cut it out, fold along the lines, and glue the tabs to form the house. Add paper windows, a front door, and a small chimney. Make several houses in different colors and arrange them together on a shelf. You can even give each house a name and create a tiny paper street.
3. Rainbow Paper Wall Arches
Rainbow arches make a bright and playful decoration for a bedroom or children’s reading corner. You can use soft pastel shades for a calm look or bold colors for a lively display. The layered arches also add depth to a plain wall without needing heavy materials.
Draw several arch shapes on colored paper, making each one slightly smaller than the last. Cut out the arches and layer them from largest to smallest. Glue the pieces onto a sturdy backing sheet. You can add small paper clouds, stars, or hearts around the edges. Place the finished design in a frame or attach it to the wall with suitable removable strips.
4. Hanging Paper Hot Air Balloons
Paper hot air balloons bring a dreamy touch to a bedroom, nursery, or playroom. Their rounded shapes and tiny baskets make them look like they are floating in the air. You can use bright patterns for a playful room or soft colors for a gentle display.
Cut several matching balloon shapes from colored paper. Fold each shape in half and glue the folded halves together until you have a rounded 3D balloon. Add thin paper strips for the ropes and a tiny folded basket underneath. Attach a loop of string at the top and hang the balloon from a suitable hook. Make a few balloons in different sizes to create a lovely floating display.
5. Paper Mosaic Wall Art
Paper mosaic art lets you turn tiny scraps into a colorful picture. You can make a rainbow, a smiling sun, a fruit bowl, or a simple house. The small pieces give the artwork an interesting texture, and children can enjoy choosing where each color belongs.
Draw a large shape on thick paper or cardstock. Cut colored paper into small squares, triangles, or other simple shapes. Glue the pieces inside the outline, leaving small gaps if you like the mosaic look. Mix several shades to give the picture more depth. Once the glue dries, place the artwork in a frame and display it on a wall or shelf.
6. Giant Paper Sunbursts
A paper sunburst can bring a burst of color to an empty wall. Its pointed rays create a bold shape that looks lovely above a desk, beside a mirror, or in a child’s room. You can make one large sunburst or several small ones in matching colors.
Cut a large circle from cardstock for the center. Make long triangles from colored paper to form the rays. Glue the triangles around the back of the circle, with the pointed ends facing outward. Add another paper circle in the middle to hide the joins. Decorate the center with a smiling face, a bright pattern, or a contrasting color. Hang the sunburst with removable wall tape.
7. Layered Paper Mountain Art
Paper mountain art is a lovely way to decorate a bedroom, study area, or reading nook. The layered shapes create the look of distant mountains, while the colors can make the scene feel sunny, calm, or playful. This project is easy to change to suit different room styles.
Cut long, uneven mountain shapes from blue, green, purple, or pink paper. Place the largest shapes at the back and smaller ones in front. Glue the layers onto a large sheet of cardstock. Add white paper peaks, tiny paper trees, or a paper sun. Use soft colors for a gentle display or bright colors for a cheerful wall picture.
8. Paper Jellyfish Ceiling Decorations
Paper jellyfish can turn a plain corner into a fun underwater scene. Their rounded heads and curling tentacles create movement, making them a lovely choice for children’s bedrooms, playrooms, or ocean-themed spaces.
Cut a half-circle or dome shape from colored paper for the head. Add eyes and a smile, then cut long strips of paper for the tentacles. Curl the strips around a pencil to make them twist. Glue the tentacles underneath the head and attach a string to the top. Hang several jellyfish at different heights, making sure they stay well away from ceiling fans and lights.
9. Tiny Paper Hot Air Balloon Planters
These miniature paper balloon decorations look sweet on a desk or shelf. They are not real planters for living plants, but you can add tiny paper leaves or pretend flowers to the little baskets for a garden-inspired display.
Make a rounded paper balloon by folding and joining several matching balloon shapes. Create a small basket from cardstock and attach it underneath with thin paper strips. Cut tiny leaves, flowers, or simple plant shapes and place them inside the basket. Use bright colors for a playful look or choose cream, green, and brown for a natural style. Display a group of balloons together to create a little paper garden in the sky.
10. Paper Lantern Clusters
Paper lanterns can add color and shape to a room without taking up shelf space. A group of small lanterns looks lovely above a craft table, in a party corner, or along a covered porch. Children can decorate the paper before folding, while adults help assemble the lanterns.
Fold a rectangular sheet of paper in half lengthwise. Cut several lines from the folded edge toward the open edge, leaving a border at the top. Open the paper, roll it into a cylinder, and glue the ends together. Add a paper handle and decorate the outside with dots, stars, or strips of contrasting paper. Hang the lanterns with string. Use them as decorations only, and keep real candles and other heat sources away from the paper.
11. 3D Paper Clouds With Raindrops
Paper clouds with hanging raindrops make a sweet decoration for a nursery, bedroom, or reading corner. You can use blue and white for a sky theme or choose pink, yellow, and purple for a more playful look.
Cut several cloud shapes from white cardstock. Fold matching cloud shapes down the middle and glue them together to create a rounded effect. Cut raindrops from colored paper and attach them to thin strings. Glue or tape the strings to the back of the cloud, then add a hanging loop. Make several clouds with different colored raindrops and hang them where they can move gently in the air.
12. Paper Cactus Garden
A paper cactus garden brings a fun splash of green to a desk, shelf, or windowsill. These tiny plants do not need water, and kids can make them in unusual colors to match their rooms. You can even create a small collection of cactus shapes with funny faces.
Cut cactus shapes from green cardstock. Make a few narrow and tall, while others can have rounded arms or short, wide bodies. Fold and join matching pieces to create a little 3D shape. Make small paper pots from strips of cardstock and glue the cactus bases inside. Add tiny paper spikes, flowers, or faces. Arrange the pots on a tray or shelf to create a cheerful paper garden.
13. Paper Rainbow Mobiles
A paper rainbow mobile is a colorful decoration that can hang above a reading chair or in a child’s room. The hanging pieces move gently when the air changes, making the display feel lively. This project also lets kids practice sorting colors and cutting simple shapes.
Cut two rainbow arches from cardstock and decorate them with colored paper strips. Glue the matching pieces together, leaving a small opening to attach strings. Cut clouds, stars, or raindrops from paper and hang them at different lengths. Attach the strings to the rainbow and add a loop at the top. Keep the mobile out of reach of babies and young children, especially when it uses long strings.
14. Paper Accordion Fish Wall Art
Accordion fish add texture and color to a wall without requiring complicated tools. Their folded bodies look fuller than flat paper shapes, and children can make fish in all kinds of bright colors. A group of fish can create a fun underwater display for a playroom or bathroom.
Cut a fish body from colored paper and fold a separate strip of paper back and forth like an accordion. Glue the folded strip onto the body to create a raised middle section. Add a paper tail, fins, and a round eye. Make several fish in different sizes and colors. Arrange them on a blue backing sheet and add paper seaweed and bubbles to complete the scene.
15. Mini Paper Window Boxes
Paper window boxes are a creative way to make a little display that looks like a flower box outside a house. They can decorate a shelf, sit on a desk, or become part of a handmade paper village. Children can choose the flowers and colors, while adults can help build the box.
Cut a long strip of thick paper and fold it into a shallow rectangular box. Glue the tabs to hold the shape. Cut small flower shapes, leaves, and stems from colored paper. Arrange the flowers inside the box so they stand above the edge. Add a paper window frame behind the flowers to create the look of a tiny window box. Use removable adhesive if you want to attach it to a wall.
16. Colorful Paper Pinwheel Wall Display
Paper pinwheels are a fun way to decorate a plain wall with shapes that look like they are ready to spin. A group of pinwheels in different sizes can make a cheerful backdrop for a desk, party table, or playroom.
Cut squares from patterned or colored paper. Draw lines from each corner toward the center, stopping before they meet. Cut along the lines, then bring alternate corners to the center and secure them with a paper fastener. For wall decor, glue the pinwheels onto a backing sheet instead of using sharp pins. Mix large and small designs, then arrange them in a loose circle or a colorful cluster.
17. Paper Flowerpots With Folded Leaves
This project gives paper plants a different look by focusing on the leaves rather than the flowers. The folded leaves stand out from the background and create a little 3D garden that works well on a bedroom wall or shelf.
Cut a flowerpot shape from brown, terracotta, or colorful cardstock. Make several leaf shapes from different shades of green paper. Fold each leaf down the middle to create a crease, then glue only part of each leaf to the backing so the edges lift slightly. Add paper stems and arrange the leaves so they spread upward from the pot. You can add tiny flowers or leave the plant green for a simple, modern look.
18. Paper Castle Shelf Decor
A paper castle can turn an ordinary shelf into a tiny fairy-tale scene. Kids can make a pink princess castle, a blue ice castle, or a bright fantasy castle with colorful towers. Adults can help make the structure strong enough to stand upright.
Use cardstock to make a main castle building from a folded rectangle. Add smaller towers from rolled paper tubes and create pointed roofs from paper cones. Cut small windows and a large front door. Glue the pieces together and add flags, paper bricks, or little stars. Make a few paper trees to place beside the castle. Keep the design simple enough for children to decorate with their own ideas.
19. Paper Birdhouses With Bright Roofs
Tiny paper birdhouses add a cheerful touch to a shelf, desk, or craft room. You can make a collection of birdhouses in different colors and decorate each one with its own roof pattern. They look lovely as part of a nature-themed display.
Fold cardstock into a small box shape and add a triangle-shaped roof. Cut a small circle or oval for the entrance, then glue a tiny paper perch below it. Decorate the walls with dots, stripes, or little paper leaves. Add a thin paper loop if you want to hang the birdhouse. You can also make a paper bird to sit beside it. These are decorative crafts, not real outdoor birdhouses.
20. Paper Checkerboard Wall Art
A checkerboard design can look modern and playful at the same time. You can use two bold colors, soft pastels, or several shades to create a custom pattern for a bedroom or study space. It is also an easy project for children who enjoy arranging shapes.
Cut a collection of equal-sized squares from colored paper. Arrange them in rows on a larger sheet of cardstock, alternating colors to create a checkerboard. Glue each square in place after you are happy with the layout. You can add a border around the edges or use different shades in each row. Place the finished artwork in a frame for a neat wall decoration.
21. Paper Mushroom Village
A paper mushroom village brings a playful woodland look to shelves and craft corners. Make small mushrooms with red, yellow, pink, or purple caps, then arrange them among paper grass and tiny trees. Children can invent their own little forest and give each mushroom a funny name.
Cut a rounded cap shape and a narrow stem from cardstock. Fold the cap slightly or use two matching pieces to make it stand out from the background. Glue the stem underneath and add small circles to decorate the cap. Make mushrooms in different heights and place them on a green paper base. Add paper leaves, tiny stones, or little doors to create a magical-looking village.
22. Folded Paper Fan Wall Flowers
These wall decorations use folded paper to create large round shapes that look like fans. They are different from flat flower cutouts and work well as colorful backdrops for a bedroom, craft area, or celebration. Kids can choose the colors and help fold the paper.
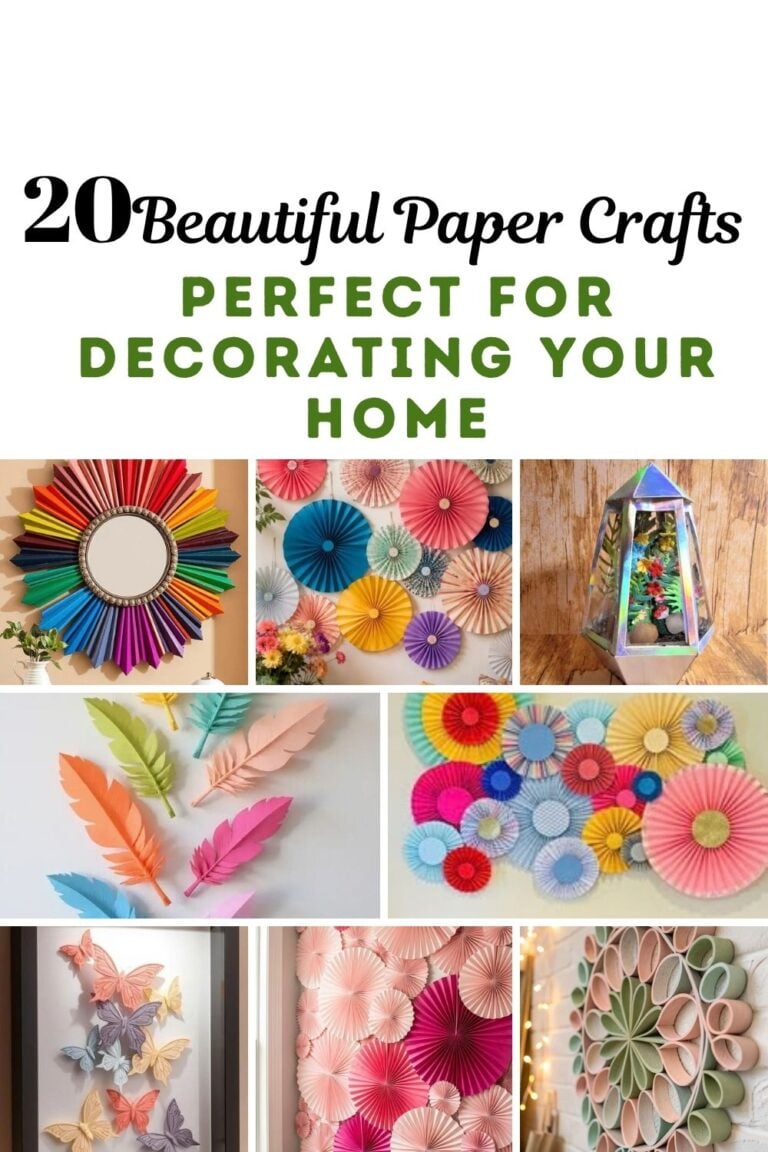
Take a long rectangle of colored paper and fold it back and forth like an accordion. Fold the finished strip in half and join the inner edges to create a fan shape. Make two or three fans and join them into a full circle. Add a paper circle in the center and decorate it with dots or a simple pattern. Make several sizes and arrange them together on a wall for a bold display.
23. Paper Rainbow Name Plaques
A paper name plaque is a personal decoration for a child’s bedroom door, desk, or study corner. It can feature a name, nickname, or short word in bright colors. Kids can help design the letters, making this project a lovely way to create decor that feels special to them.
Cut a large shape from thick cardstock to use as the base. Add a rainbow, clouds, stars, or other small paper decorations. Cut the letters of the chosen name from contrasting paper and glue them across the center. You can also use large paper letters with patterns such as stripes or dots. Add a loop at the back if you want to hang the plaque on a wall or door.
24. Paper Garden Fence With Tiny Flowers
A paper garden fence makes a sweet display for a desk, shelf, or child’s room. The little fence can stand in front of paper plants, mushrooms, or tiny animals to create a mini garden scene. This project is easy to personalize with different colors and shapes.
Cut several long strips of cardstock for the fence rails and shorter pieces for the fence posts. Glue the posts along the rails to create a simple fence. Make a folded strip of paper for the base so the fence can stand upright. Add paper grass, small flowers, leaves, and tiny bugs. You can make the fence white for a classic garden look or use bright colors for a playful display.
25. 3D Paper Star Wall Cluster
A group of 3D paper stars can make a plain wall look cheerful and special. Use large stars as the main pieces and smaller ones to fill the gaps. This decoration works well in a bedroom, playroom, reading corner, or above a desk.
Cut star shapes from cardstock and mark a line from each point toward the center. Fold along the lines to create raised ridges. Press the folds gently until the star takes on a 3D shape. Make stars in several colors and sizes, then arrange them on a backing sheet or attach them to the wall with removable adhesive. Try a rainbow arrangement or mix metallic-looking paper with bright colors for extra sparkle.
Final Thoughts
Decorating your home does not have to mean buying new items every time a room feels dull. A few sheets of paper can help you create colorful wall art, tiny houses, playful animals, and pretty decorations for shelves and desks. These projects give children a chance to make something with their hands while helping adults add a personal touch to the home.
Start with one craft that matches your room and the supplies you already have. Use leftover cardstock, old magazines, gift wrap, and paper packaging when suitable. Let children choose the colors and add their own details, even when their designs look different from the example. That is part of the fun.
You can also change the decorations with the seasons or your mood. Make rainbow arches for a bright bedroom, paper mushrooms for a woodland corner, or 3D stars for a playful wall display. Keep your favorite designs, try new colors, and enjoy making your space feel more like home.