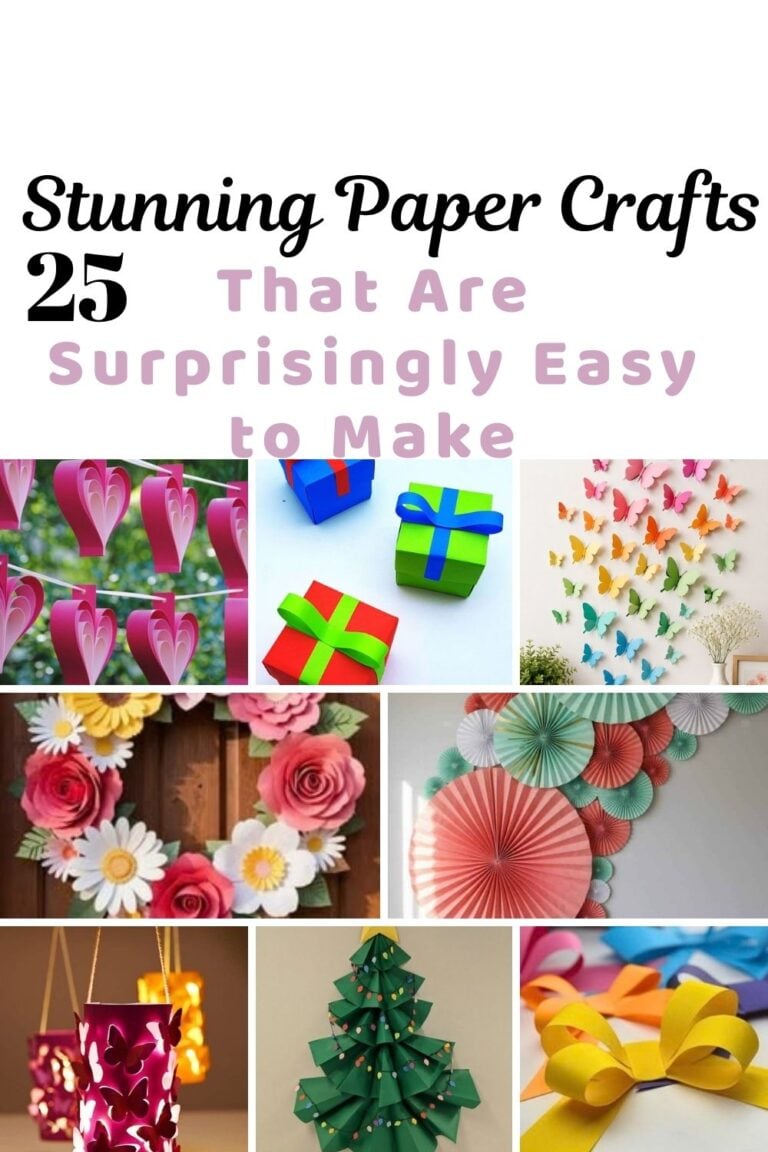

30 Creative Paper Crafts That Will Keep You Busy for Hours.
Disclosure: Some of the links in this post are affiliate links. This means if you click on the link and purchase an item, I will receive an affiliate commission at no extra cost to you.
Some craft days start with one simple idea and somehow turn into an entire afternoon at the craft table. A few sheets of paper can do that. You start cutting one shape, make a second one, and soon you are surrounded by little pieces waiting to become something fun. Paper gives you plenty of room to play because you can change the color, size, shape, and details as you go.
One rainy afternoon, a stack of colorful paper sitting in a drawer caught my attention. It had been there for ages, waiting for the right project. Instead of putting it back, I spread the sheets across the table and started looking for ways to use them. Before long, the table was full of little paper pieces, and the afternoon had disappeared.
That is the magic of a good paper craft session. You do not need expensive supplies to stay busy. A few basic tools can give you hours of cutting, folding, gluing, decorating, and creating. These 30 paper crafts include playful projects, home decorations, handmade gifts, and little creations that can keep your hands busy for a long time.
30 Creative Paper Crafts That Will Keep You Busy for Hours
1. DIY Paper Dollhouse
photo credit
Create a tiny house from cardstock and fill it with handmade paper furniture. Make little beds, chairs, tables, lamps, rugs, and wall decorations for each room.
You can design the whole house around a theme. A cozy cottage, modern apartment, or colorful children’s room can make the project even more fun.
2. Paper Doll Family
photo credit
Make a collection of paper dolls with different hairstyles, outfits, and accessories. Give each character a name and create a little story for the family.
Designing the clothes can take just as much time as making the dolls. Try dresses, pajamas, jackets, hats, shoes, and tiny bags.
3. Paper Aquarium
photo credit
Build an underwater scene inside a shoebox or shallow cardboard box. Cover the back with blue paper and fill the space with handmade fish, seaweed, shells, and bubbles.
Use different shades of paper to give the aquarium more depth. This can become a fun room decoration or children’s craft project.
4. Paper Hot Dog Stand
photo credit
Create a tiny paper food stand for pretend play. Make the counter, sign, menu, hot dogs, buns, drinks, and little paper trays.
The small details make this project especially fun. You can even create paper money for the pretend shop.
5. DIY Paper Train
photo credit
Build a colorful paper train with several carriages. Each carriage can have a different color or purpose.
Add windows, doors, wheels, and tiny passengers. Connect the carriages with paper tabs or small pieces of string.
6. Paper Garden Scene
photo credit
Make a miniature garden from paper. Add flower beds, stepping stones, garden tools, pots, benches, and tiny plants.
A cardboard base can give you enough space to build the whole scene. Add small details as you go and turn it into a little paper world.
7. Paper Robot
photo credit
Create a robot using rectangles, circles, and other simple paper shapes. Add buttons, antennas, arms, legs, and a funny face.
Use silver, gray, blue, or bright colors. Each robot can have a different personality.
8. DIY Paper Aquarium Tunnel
photo credit
Take the aquarium idea further by creating a long underwater tunnel. Cut fish and sea creatures from paper and hang them inside a curved cardboard structure.
The fish can appear to swim above and around the viewer. This project takes more time but makes a fun display.
9. Paper Picnic Basket
photo credit
Make a small picnic basket from strips of sturdy paper. Fill it with handmade sandwiches, fruit, cookies, plates, and cups.
The tiny food pieces give you plenty of room to add details. This project can become part of a larger pretend picnic scene.
10. Paper Clothing Boutique
photo credit
Create a miniature paper clothing shop with racks, shelves, dresses, shirts, trousers, shoes, and accessories.
Make several outfits for your paper dolls. You can spend hours designing new clothes and changing the shop display.
11. DIY Paper Lighthouse
photo credit
Build a tall paper lighthouse with a striped tower and a small light room at the top. Add rocks, waves, boats, and seagulls around the base.
A dark blue paper background can make the lighthouse stand out. This can become part of a larger seaside display.
12. Paper City
photo credit
Turn several sheets of cardstock into a tiny city. Make buildings, roads, shops, houses, traffic signs, trees, buses, and cars.
Leave enough space between the buildings for roads. You can keep adding new places until the city feels complete.
13. Paper Airport
photo credit
Create a miniature airport with a terminal, runway, airplanes, luggage carts, signs, and tiny passengers.
Use a large piece of cardboard as the base. Add more planes and buildings as you continue working on the project.
14. DIY Paper Aquarium Fish Mobile
photo credit
Cut different fish shapes from colorful paper and decorate each one with scales, fins, and patterns. Hang them from a paper or cardboard circle.
Use different lengths of string so the fish sit at different heights. The finished mobile can make a cheerful decoration.
15. Paper Treasure Map
photo credit
Create an old-looking treasure map from paper. Draw islands, mountains, rivers, paths, and a large X marking the treasure.
Crumple the paper gently and smooth it out to give it an aged look. This can be a fun project for children or a prop for a themed party.
16. Paper Pirate Ship
photo credit
Build a small pirate ship from cardstock and cardboard. Add a hull, mast, sails, flags, and tiny paper pirates.
Create a paper ocean underneath the ship. Add a treasure chest and a small island to make the scene more exciting.
17. DIY Paper Camping Scene
photo credit
Make a tiny paper campsite with a tent, campfire, trees, sleeping bags, backpacks, and little campers.
Brown and green paper can create a natural look. Add stars to a dark paper background for a nighttime scene.
18. Paper Dinosaur Park
photo credit
Create a prehistoric paper park filled with dinosaurs, trees, rocks, and volcanoes. Use different dinosaur shapes and sizes to make the scene interesting.
You can spend plenty of time designing each dinosaur. Give every one a different color and pattern.
19. Paper Bakery
photo credit
Build a miniature bakery filled with paper cakes, bread, cookies, cupcakes, pies, and pastries.
Create shelves and a counter for the baked goods. Tiny signs and menus can make the shop feel even more realistic.
20. DIY Paper Book Nook
photo credit
Create a tiny reading corner from paper. Add a bookshelf, chair, lamp, rug, plants, and tiny books.
This makes a sweet miniature display. The little books can have their own covers and titles.
21. Paper Space Station
photo credit
Take your paper crafts into space by building a miniature space station. Add control panels, sleeping areas, windows, equipment, and tiny astronauts.
Silver and dark-colored cardstock can create a futuristic look. Add planets and stars around the station.
22. Paper Rocket Launch Pad
photo credit
Build a paper rocket standing on a launch pad. Add flames underneath, a control tower, signs, and tiny astronauts.
You can create several rockets with different shapes. A countdown board can add a fun finishing detail.
23. DIY Paper Aquarium Castle
photo credit
Make a fantasy underwater castle from paper and place it inside an ocean scene. Add towers, flags, windows, rocks, fish, and sea plants.
Purple, blue, turquoise, and silver paper can create a magical look.
24. Paper Monster Collection
photo credit
Create a collection of funny paper monsters. Give each monster a different number of eyes, teeth, horns, arms, or funny hairstyles.
This project is perfect for using leftover paper scraps. Let the shapes guide the design instead of trying to make every monster look perfect.
25. Paper Music Band
photo credit
Create paper characters playing different instruments. Make tiny guitars, drums, microphones, keyboards, and other instruments.
Place the band on a small paper stage. Add lights, speakers, and a handmade sign for the group.
26. DIY Paper Train Station
photo credit
Build a miniature train station to go with your paper train. Add a platform, benches, ticket booth, clock, signs, and waiting passengers.
The station can become part of a much larger paper town. Add new buildings whenever you want to expand the scene.
27. Paper Amusement Park
photo credit
Create a miniature amusement park with a Ferris wheel, ticket booth, food stand, games, and tiny visitors.
The Ferris wheel can take some time to build, which makes it perfect for a long crafting session. Bright paper can make the whole park feel cheerful.
28. Paper Farm
photo credit
Build a tiny farm from paper and cardboard. Add a barn, fence, tractor, crops, chickens, cows, sheep, and a farmer.
Create different sections for the animals and crops. Small details can turn a simple base into a busy little farm.
29. DIY Paper Aquarium Submarine
photo credit
Make a small paper submarine and place it inside an underwater scene. Add round windows, a periscope, propeller, and tiny explorers.
Surround it with fish, coral, bubbles, and sea plants. The scene can become a fun display for a child’s room.
30. Paper Fairy-Tale Village
photo credit
Finish your crafting session with an entire fairy-tale village. Create tiny houses, bridges, trees, paths, shops, towers, and characters.
Give each house its own shape and color. You can keep adding new buildings whenever you have more paper and time.
Final Thoughts
A good paper craft does not have to end after ten minutes. Some projects become much more enjoyable when you give yourself time to add tiny details and build a whole scene around the main idea.
The best part is that you can keep changing these projects to suit your own style. Make a tiny city bigger. Add more rooms to the dollhouse. Give your paper bakery another shelf. Create a new character for the fairy-tale village.
Grab your paper scraps, clear a little space on the table, and choose the project that makes you want to start cutting first. You may sit down for one craft and end up spending the whole afternoon creating.