
20 Clever Paper Crafts That Turn Simple Paper Into Beautiful Decor
Disclosure: Some of the links in this post are affiliate links. This means if you click on the link and purchase an item, I will receive an affiliate commission at no extra cost to you.
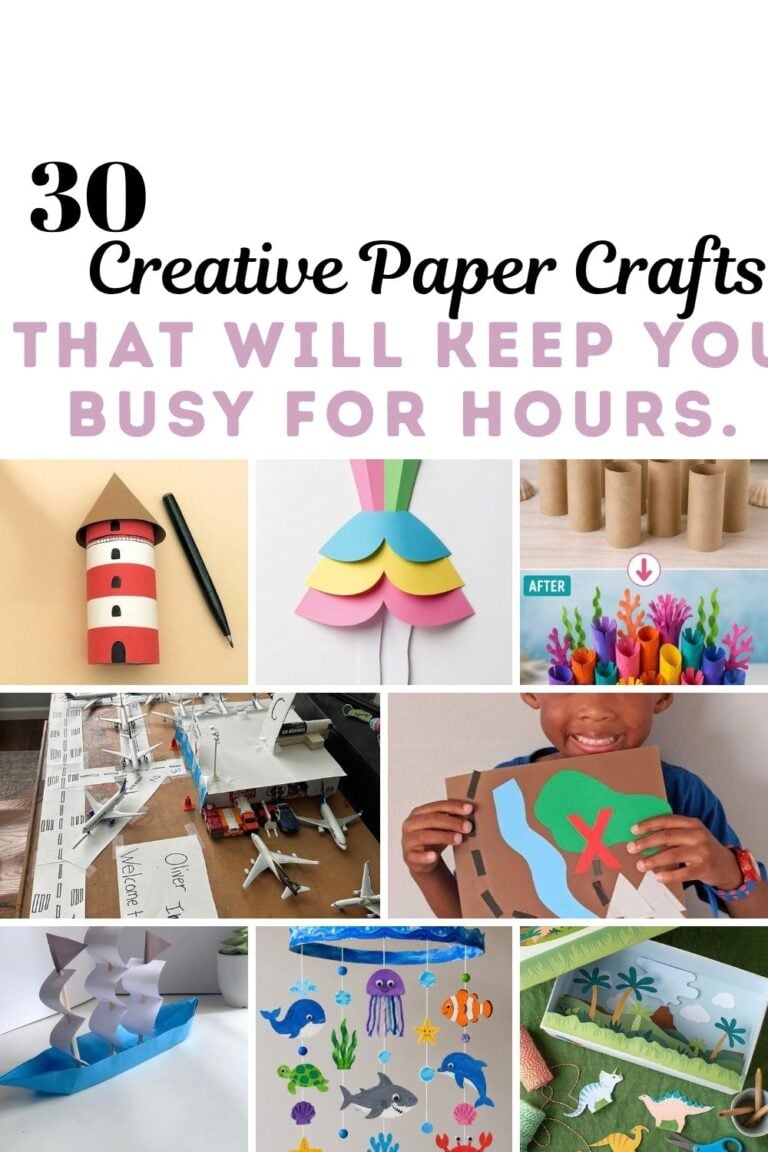
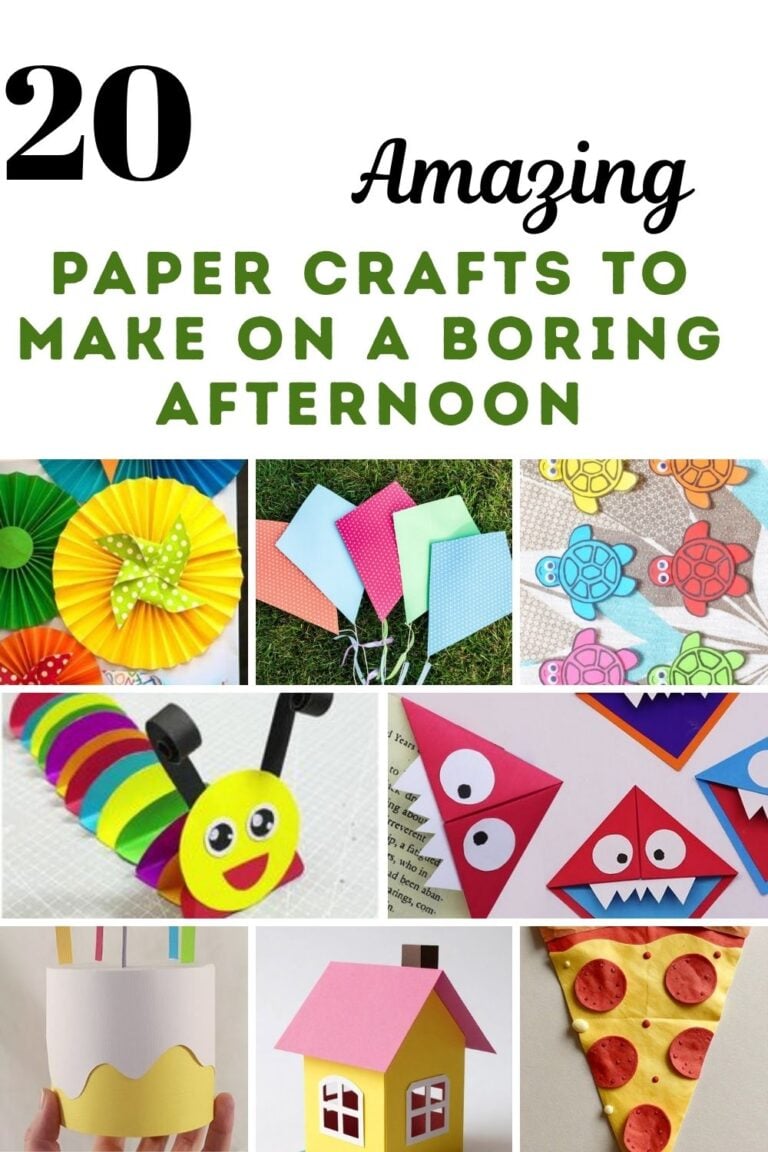
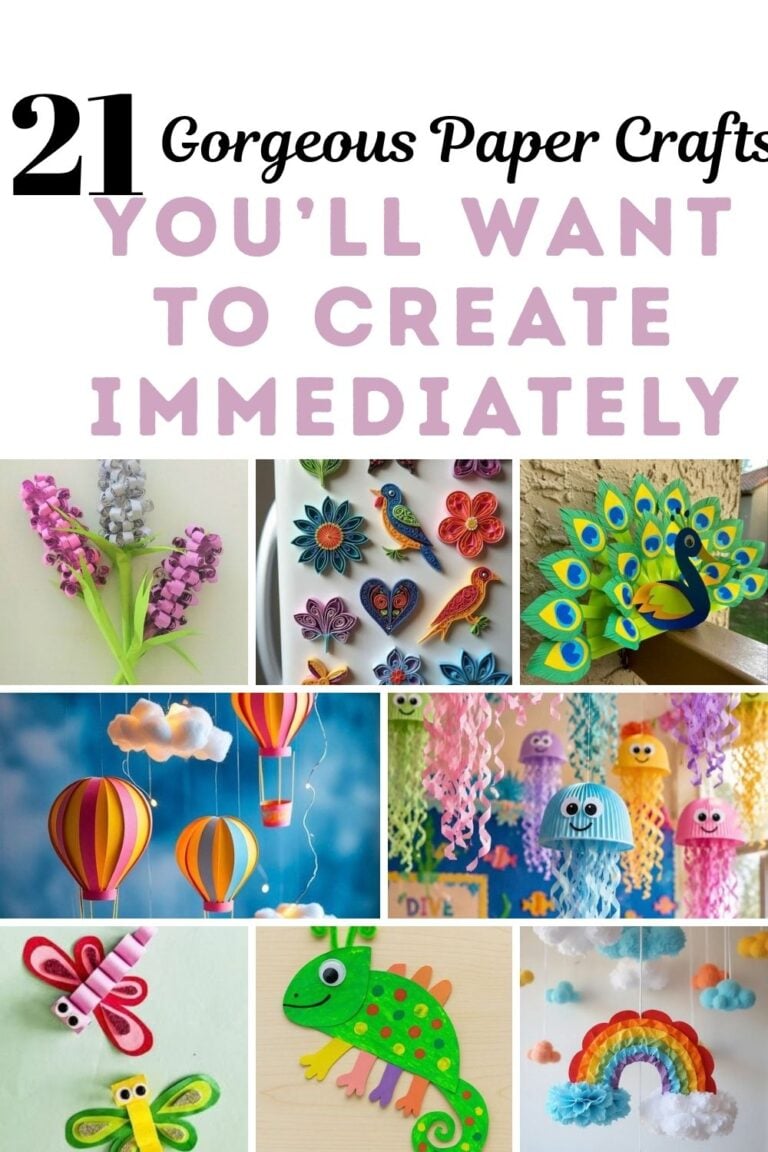
A plain sheet of paper might not look like much at first, but give it a few folds, some bright colors, and a little imagination, and it can become something worth showing off. Think of tiny paper houses on a shelf, cheerful wall decorations above a desk, or colorful hanging ornaments that make a room feel warm and happy. You do not need costly supplies to give your home a fresh look. Simple paper can do so much more than you might expect.
One of the best things about paper crafts is that kids can join in the fun. They can cut out funny faces, build little paper gardens, make pretend candles, and decorate their creations with stickers or markers. These projects give children a chance to use their hands and share their own ideas. You might start with one small craft and end up with a whole afternoon of laughter, glue sticks, and colorful paper scraps on the table.
If you want to brighten a bedroom, decorate a party table, or make something special for a quiet afternoon at home, these paper crafts are a great place to start. The ideas below mix pretty home decorations with playful projects children will love. Some look lovely on a shelf, while others add color to a wall or table. Gather your favorite paper colors and get ready to turn simple supplies into beautiful creations.
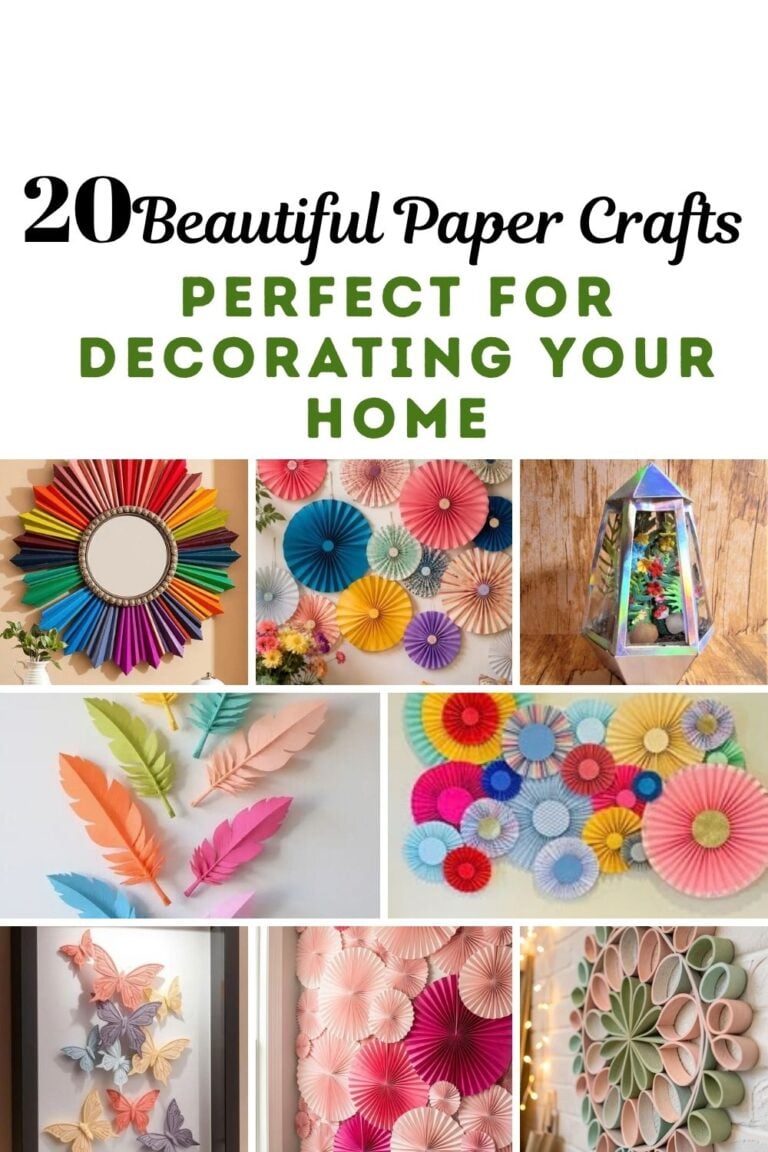
20 Clever Paper Crafts That Turn Simple Paper Into Beautiful Decor
1. Colorful Paper Candle Holders
Paper candle holders can bring a warm, cozy look to a table or shelf. Kids can enjoy making these little decorations with bright construction paper, patterned paper, and fun cutout shapes. For safety, use battery-operated LED tea lights instead of real candles. Paper can catch fire easily, so keep actual flames away from every paper craft.
Cut a strip of sturdy paper and fold it into a small lantern shape. Add stars, hearts, circles, or tiny windows along the sides. Join the ends to make a holder, then place an LED tea light nearby or inside only if the light fits safely without heating the paper. Try yellow and orange paper for a sunny look or blue and purple for a dreamy display.
2. 3D Paper Butterfly Wall Decor
Paper butterflies can make an empty wall feel cheerful and full of life. They look especially pretty above a child’s bed, around a reading corner, or beside a craft table. You can make a whole group in different sizes and arrange them as if they are flying across the wall.
Fold a piece of colored paper in half and draw half a butterfly along the fold. Cut out the shape and open it to reveal matching wings. Fold the wings slightly upward so the butterfly looks raised. Add small paper bodies and antennae, then attach the butterflies with removable wall-safe adhesive. Mix pink, yellow, purple, and blue for a bright display.
3. Tiny Paper Houses for a Mini Village
A tiny paper village can turn an ordinary shelf into a charming little scene. Kids can design houses with bright roofs, tiny doors, square windows, and funny patterns. Each house can have its own style, so no two need to look the same.
Draw a simple house template on cardstock, including the walls, roof, and small tabs for joining the pieces. Cut it out, fold along the edges, and glue the tabs to build the house. Add paper doors, windows, and roof tiles. Make several houses in different sizes and arrange them together with paper trees or a paper road. The finished village looks lovely on a bookshelf or bedroom dresser.
4. Paper Rainbow Cloud Hangers
These rainbow cloud hangers bring a soft, happy look to a bedroom or playroom. They are simple enough for children to help make and colorful enough to brighten a quiet corner. You can choose pastel shades for a gentle look or bold colors for a playful display.
Cut two matching cloud shapes from white cardstock. Cut long strips of colored paper for the rainbow. Glue the strips to the back of one cloud so they hang down, then attach the second cloud over the ends for a neat finish. Add a smiling face, rosy cheeks, or tiny paper stars. Hang it securely on a wall or from a suitable display hook, out of reach of very young children.
5. Folded Paper Fan Wall Flowers
Folded paper fan flowers add texture and color to plain walls. They work well for birthday parties, spring decorations, craft rooms, and children’s bedrooms. You can make one large flower for a simple accent or create a group in matching colors.
Take a long strip of paper and fold it back and forth like an accordion. Join the ends to form a circle, then press the folds toward the center to create a flower shape. Glue a paper circle over the center to hold it together. Add a second layer in another color for a fuller look. Arrange several flowers on a backing board or attach them to a wall using removable adhesive.
6. Paper Mushroom Garden
A paper mushroom garden looks like something from a fairy tale. The little mushrooms can sit on a shelf, decorate a child’s desk, or become part of a pretend forest. Their bright caps and tiny spots make them especially fun for children to design.
Cut small rectangles from paper and roll them into short stems. Make mushroom caps from circles or half-circles, then curve them into shallow domes. Glue each cap onto a stem and add white dots or tiny patterns. Attach the mushrooms to a green paper base and surround them with paper grass, flowers, and leaves. Use red, orange, purple, or pink caps to create a colorful mini garden.
7. 3D Paper Stars for Shelves and Walls
Paper stars can make a room feel festive without much effort. They look pretty on shelves, work well as party decorations, and can even decorate a child’s study area. Choose gold and white for a simple style or bright rainbow colors for a playful room.
Cut two matching star shapes from thick paper. Fold each star gently along the points and inward toward the center to create a raised effect. Glue the matching shapes together, adding a small paper loop between them if you want to hang the star. Make a mix of large and small stars, then arrange them on a wall or place them on a shelf as a colorful display.
8. Paper Garden Pots With Happy Faces
These cheerful paper pots look like tiny plants with personalities. Children can give each one a different face, hairstyle, or set of leaves. They make a sweet decoration for a desk, a classroom shelf, or a pretend garden.
Roll construction paper into a short cylinder and glue the edge to hold its shape. Cut a circle for the base and attach it securely. Make paper leaves, cactus arms, or flower stems, then glue them inside the pot. Draw a happy face on the front and add cheeks, glasses, or funny eyebrows. Create a whole group of paper plants and give each one a name.
9. Paper Jellyfish Ceiling Decorations
Hanging paper jellyfish add a playful underwater feel to a room. Their long tentacles move gently when the air shifts, and their bright colors look lovely in an ocean-themed bedroom or party space.
Cut a half-circle from colored paper for the jellyfish’s head. Add big eyes and a curved smile, then cut long strips of paper for the tentacles. Glue the strips along the flat edge of the head. Curl a few strips around a pencil for extra shape. Attach a string to the top and hang the jellyfish from a secure point, away from fans, lights, and areas where children might pull them down.
10. Paper Lanterns With Cutout Shapes
Paper lanterns are classic decorations that can look fresh with a few creative details. You can make them for a birthday table, a school celebration, or a cozy reading corner. Their cutout shapes create a lovely pattern, especially when you place them near soft room lighting.
Fold a rectangular sheet of construction paper in half lengthwise. Cut a row of slits from the folded edge toward the open edge, leaving a border at the top and bottom. Open the sheet, roll it into a cylinder, and glue the ends together. Add a paper handle and cut out shapes such as stars, hearts, or circles. Use an LED light nearby for a decorative glow, and never put a real candle inside a paper lantern.
11. Paper Hot Air Balloons
Paper hot air balloons make charming decorations for a bedroom, baby shower, or travel-themed party. Their rounded shapes and colorful panels give them a cheerful look, and children can choose any color combination they like.
Cut several matching balloon shapes from different colors of paper. Fold each shape in half and glue the halves together one by one to build a rounded 3D balloon. Attach a small paper basket underneath with thin paper strips for ropes. Add little clouds or stars around it. You can place the balloon on a shelf or hang it from a secure point to create a floating effect.
12. Paper Accordion Fish
Accordion fish have fun, bouncy bodies that make them stand out from flat paper cutouts. They look great in an ocean-themed display, on a classroom wall, or in a child’s craft collection.
Cut a fish head and tail from construction paper. Fold a long strip of paper back and forth like an accordion and attach it between the head and tail to create the body. Add large eyes, paper fins, and colorful scales. Make a few fish in different sizes and place them around a paper sea scene with seaweed and bubbles.
13. Paper Sunbursts With Smiling Faces
A smiling paper sun can bring a cheerful touch to a playroom, bedroom, or craft corner. Its bright rays make it a lovely decoration for spring and summer, and children can give the sun a funny or sweet expression.
Cut a large circle from yellow construction paper. Cut several long triangles for the rays and glue them around the back of the circle. Draw a smiling face on the front and add paper cheeks or sunglasses. Use orange and gold paper for extra layers. Hang the sun on a wall or attach it to a sturdy backing so it keeps its shape.
14. Paper Birdhouses With Colorful Roofs
Paper birdhouses bring a sweet cottage feel to a shelf or windowsill. You can make a row of tiny houses with different roof colors, little doors, and paper flowers around the base. Children can design a birdhouse for an imaginary bird and give it a name.
Fold cardstock into a simple house shape with a pointed roof. Add a small round entrance, square windows, and a colorful roof made from paper strips. Glue the house onto a firm paper base and add paper grass or flowers around it. Make a few houses to create a tiny paper neighborhood. Keep the finished decorations indoors and away from moisture.
15. Paper Pinwheel Wall Display
Paper pinwheels add movement and bright colors to a party wall or craft room. They are easy to make in different sizes, and the patterns can be as simple or bold as you want.
Cut a square of paper and draw diagonal lines from each corner toward the center, stopping before the lines meet. Cut along the lines and fold alternate corners toward the middle. Secure the corners with a paper fastener or glue them onto a small paper circle. For wall decor, attach the pinwheels to a firm backing instead of using sharp or loose fasteners. Mix different colors and sizes for a playful display.
16. Paper Castle Shelf Decor
A paper castle can turn a simple shelf into a little storybook scene. Children can make a pink fairy castle, a blue royal castle, or a bright rainbow fortress. Add tiny flags, windows, and paper towers to give each castle its own look.
Use small cardboard tubes or rolled paper for the towers. Cut rectangles and triangles from cardstock for the walls and pointed roofs. Join the pieces with glue and attach the castle to a sturdy base. Add paper flags, doors, and tiny windows. Place paper trees or a paper path around the castle to complete the scene.
17. Paper Rainbow Name Signs
A rainbow name sign adds a personal touch to a child’s bedroom or party table. It is also a thoughtful handmade gift because you can customize the colors and letters for the person receiving it.
Cut several curved strips from colored paper and arrange them into a rainbow. Glue the rainbow to a larger piece of cardstock and add cloud shapes at each end. Cut out the letters of a name and place them below the rainbow. Add little stars, hearts, or dots to fill the empty spaces. For a longer-lasting decoration, mount the design on thick cardboard.
18. Paper Butterfly Shadow Box
A butterfly shadow box makes simple paper shapes look like a piece of framed art. The layers create depth, and the butterflies appear to float above the background. This craft is a lovely choice for a bedroom, hallway, or handmade gift.
Use a shallow frame or a sturdy cardboard box as the base. Cover the backing with a color that makes the butterflies stand out. Cut several butterflies from construction paper and fold their wings upward. Attach them at different heights with small folded paper supports. Arrange the butterflies in a gentle curve or a heart shape, then place the frame where everyone can admire it.
19. Paper Flower Wall Garden
A paper flower wall garden can bring a fresh, cheerful feel to a bedroom or celebration space. You can make oversized flowers for a bold display or tiny blooms for a delicate pattern. Mix several flower shapes so the arrangement feels full and lively.
Cut petals in different sizes and layer them around a paper circle. Curl the petal edges gently with a pencil, then glue the layers together. Cut green leaves and stems to finish each flower. Attach the flowers to a firm backing board or arrange them on a wall with removable adhesive. Use pink, orange, yellow, purple, and blue for a colorful garden that never needs watering.
20. Paper Mushroom Fairy Lights Display
A mushroom display with little lights can make a shelf feel like a tiny enchanted forest. Kids will enjoy building the mushrooms and adding paper grass, leaves, and small flowers. For the lighting, use battery-operated LED fairy lights and keep them separate from the paper pieces so the paper cannot touch any warm bulbs or electrical parts.
Make short paper stems and curved mushroom caps from construction paper. Add dots, stripes, or little hearts to the caps. Arrange the mushrooms on a cardboard base with paper grass and leaves. Place the LED lights around the display according to the light manufacturer’s safety instructions, keeping wires and batteries accessible to adults. The paper mushrooms can also look beautiful on their own without lights.
Final Thoughts
Simple paper can become so much more than a drawing sheet. With a few folds, cuts, and colorful details, you can make wall art, shelf decorations, party displays, and playful projects that bring a little joy into your home. These crafts also give children a chance to explore their creativity and make something they can proudly show to family and friends.
Start with one or two ideas and use the paper colors you already have. Let kids choose the designs, add funny faces, and try their own combinations. An imperfect paper flower or a silly little mushroom can still become a favorite decoration. Most importantly, keep paper crafts away from real flames and use battery-operated LED lights for any candle or lantern projects.