
35 Easy Paper Crafts You’ll Wish You Had Tried Sooner.
Disclosure: Some of the links in this post are affiliate links. This means if you click on the link and purchase an item, I will receive an affiliate commission at no extra cost to you.
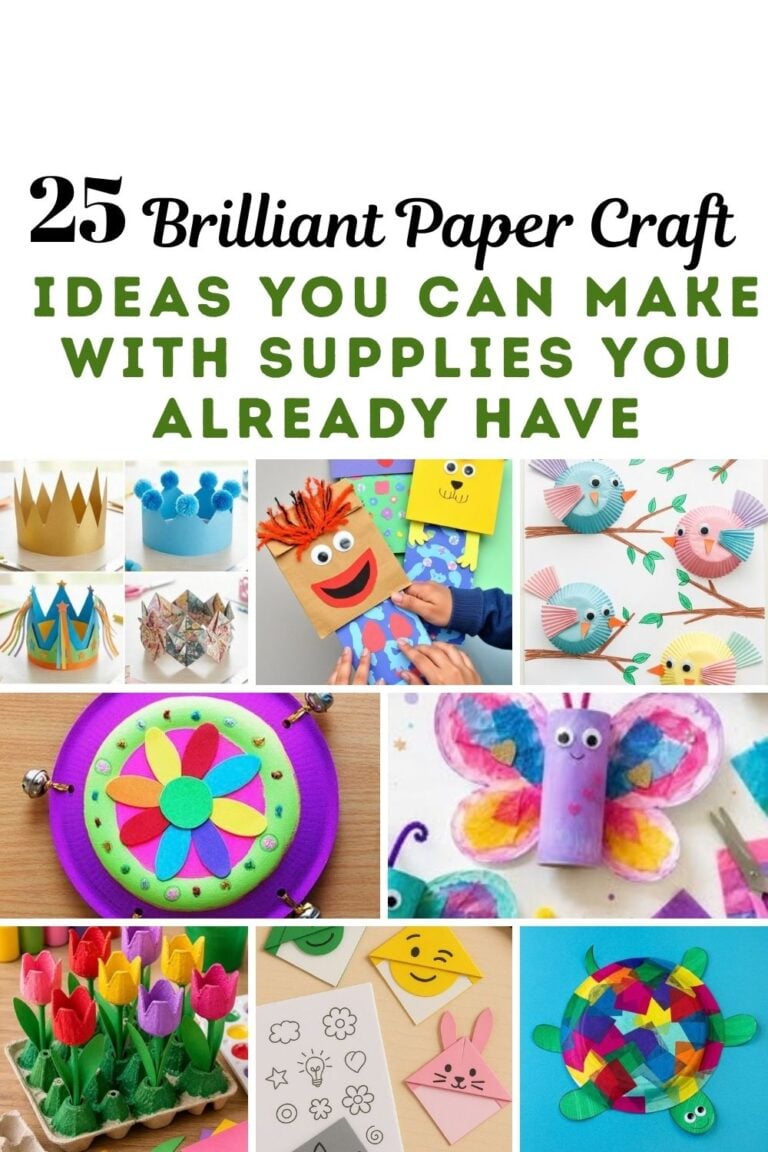
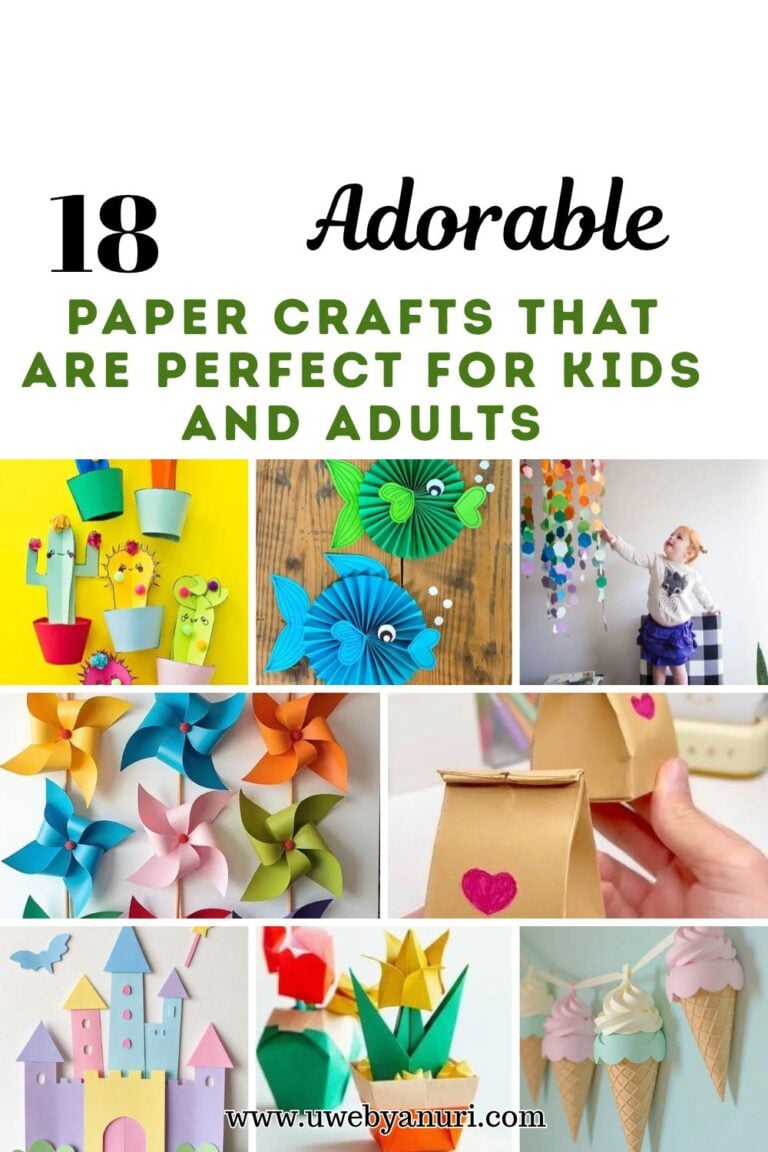
Have you ever looked at a pile of paper and wondered what you could make with it? Maybe you have colorful paper left over from a school project, old magazines sitting in a drawer, or wrapping paper you saved because it looked too pretty to throw away. You might be surprised by how many lovely things you can create with these simple supplies. Sometimes, all you need is a pair of scissors, a little glue, and a fun idea to get started.
Paper crafts have a special charm because they let you turn ordinary materials into something useful, cute, or beautiful. You can make cheerful decorations for your room, small gifts for friends, fun toys for children, and even pretty items for your desk. You do not need to be an expert crafter, and you do not need to spend a lot of money to enjoy the process.
I have gathered 35 easy paper crafts that are worth trying, whether you want a fun afternoon activity or a simple project to brighten your home. Some ideas use folding, others use cutting and layering, and a few let you reuse paper you already have. Pick a project that catches your eye, gather your supplies, and see what you can create!
35 Easy Paper Crafts You’ll Wish You Had Tried Sooner
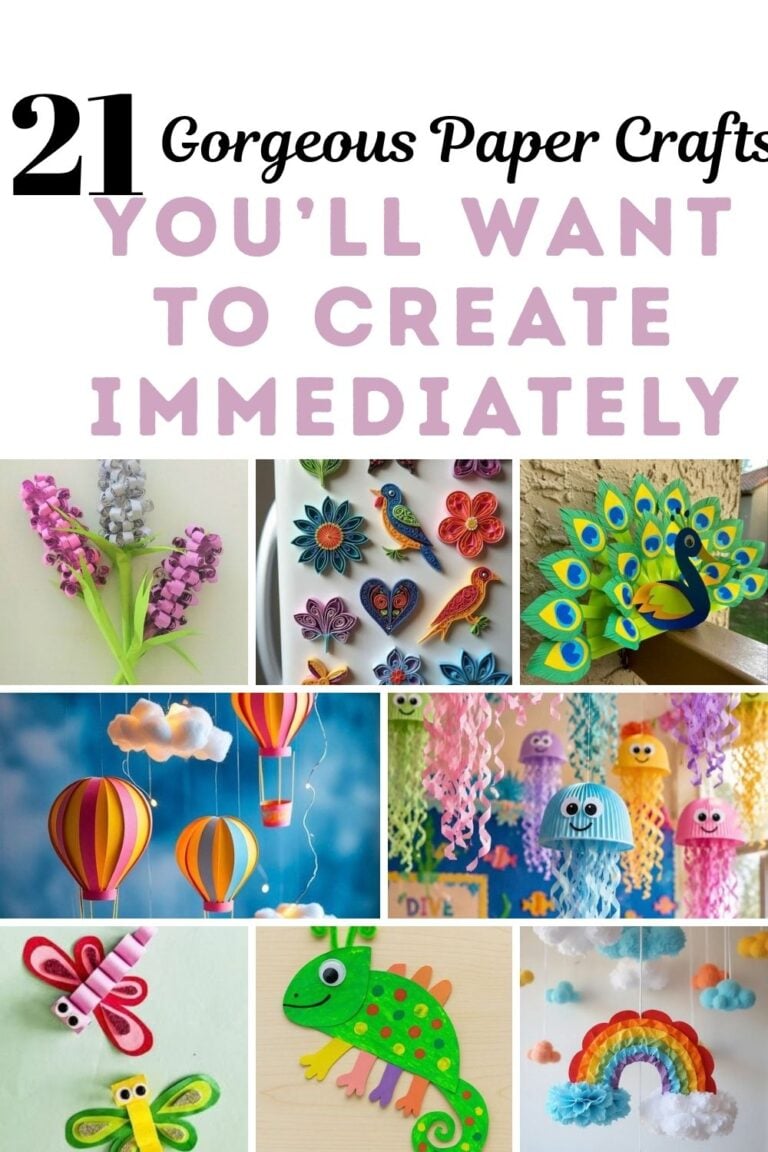
1. Paper Rainbow Wall Hanging
A paper rainbow wall hanging brings a happy burst of color to a bedroom, playroom, or craft corner. Cut several curved strips from different colors of construction paper. Arrange them from largest to smallest to form a rainbow, then glue the strips together.
Add small paper clouds to each end and punch a hole at the top for a piece of string. You can also hang paper raindrops beneath the clouds for extra detail. This project works well with bright colors, pastel shades, or even a rainbow made from leftover paper scraps.
2. Folded Paper Butterfly Garland
Paper butterflies make lovely decorations for birthdays, bedrooms, and spring parties. Cut butterfly shapes from colorful paper, then fold each one gently down the middle so the wings lift away from the surface.
Make several butterflies in different sizes and attach them to a long piece of string. Leave some space between each butterfly so the garland looks light and playful. Hang it above a desk, along a shelf, or across a party table.
3. DIY Paper Pencil Toppers
Give plain pencils a fun new look with handmade paper toppers. Cut out small shapes such as stars, flowers, clouds, dinosaurs, or smiling faces. Make two matching shapes for each topper so you can sandwich the pencil between them.
Glue the shapes together around the top of the pencil, leaving the lower part clear for writing. Keep the decorations light so they do not make the pencils hard to hold. Kids can choose their favorite designs and make a whole set for school.
4. Paper Woven Coasters
Paper weaving turns simple strips into colorful patterns that look surprisingly neat. Cut equal-sized strips from sturdy paper in two or three colors. Lay some strips side by side, then weave the remaining strips over and under them.
Keep the strips close together as you work. Glue the ends down and trim the edges into a square. These coasters work best as decorative pieces or for very light use because paper can absorb water. Covering them with clear contact paper can help protect the surface.
5. Tiny Paper Gift Pockets
Tiny paper gift pockets are perfect for holding small notes, stickers, or a little surprise. Fold a square piece of paper into a pocket shape and secure the sides with glue. Leave the top open so you can slide something inside.
Decorate the front with a heart, flower, or the recipient’s first initial. You can attach the pocket to a greeting card or make several for a party table. Use different colors to match birthdays, holidays, or other special occasions.
6. Paper Spiral Flowers
Paper spiral flowers look pretty on gift boxes, handmade cards, and wall decorations. Draw a circle on colored paper, then cut a spiral from the outside toward the center. Roll the strip from the outer end until it forms a flower.
Let the rolled paper loosen slightly, then glue the bottom so the flower holds its shape. Make a few flowers in different sizes and arrange them together. You can add green paper leaves to make the flowers look more complete.
7. Cute Paper Animal Faces
Turn a few sheets of paper into a collection of funny animal faces. Cut circles or ovals for the heads, then add ears, noses, eyes, whiskers, and other details from contrasting paper. Try a lion with a big mane, a rabbit with long ears, or a sleepy cat with closed eyes.
These faces can become greeting cards, wall decorations, or pretend-play props. Children can invent their own animals by mixing shapes and colors. Use child-safe scissors for younger crafters, and let an adult help with any tricky cuts.
8. Paper Chain Pencil Holder
Make a colorful pencil holder with a small cardboard tube and paper chains. Cover the tube with plain paper, then create short paper chains by linking strips into loops. Glue the chains around the outside of the tube in rows.
Mix bright colors for a playful look or use matching shades for a calmer design. Place the finished holder on a desk for pencils, markers, or paintbrushes. Set it on a flat base of thick cardboard if you want it to stand more firmly.
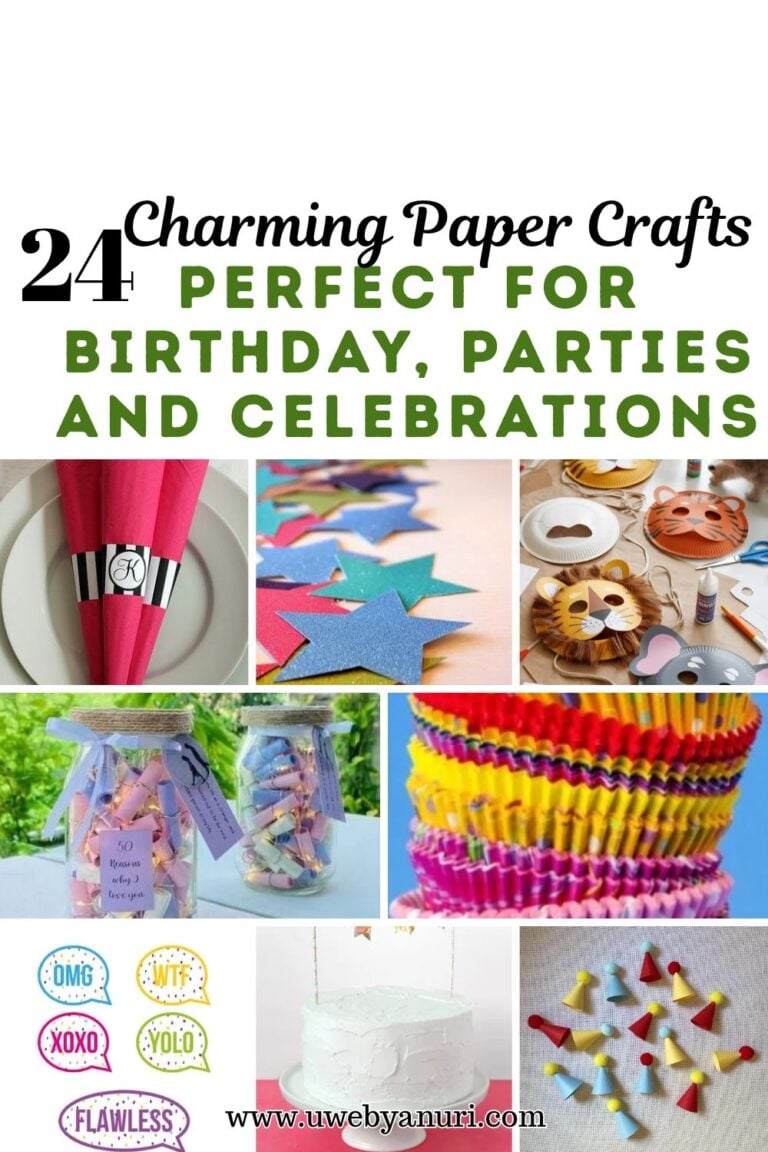
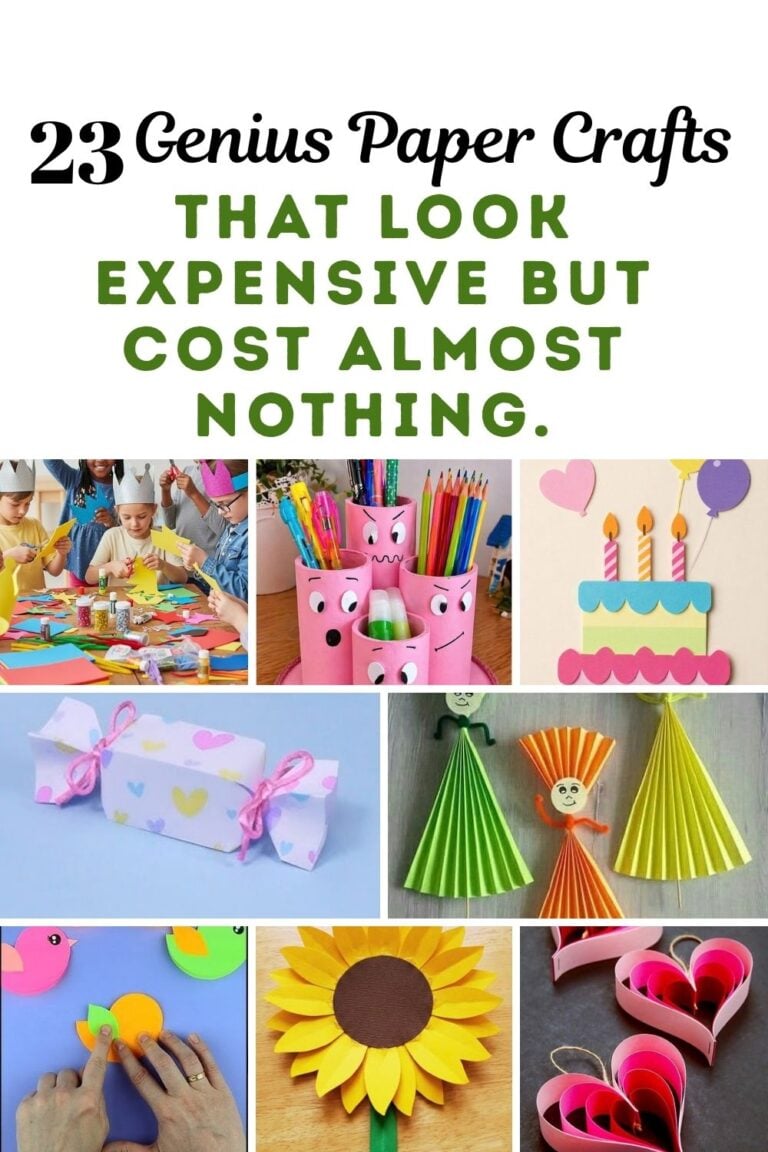
9. Paper Fan Party Decorations
Paper fans add color to party walls, photo corners, and bedroom displays. Fold a rectangular sheet of paper back and forth like an accordion. Fold the strip in half and glue the inner edges together to form a fan.
Make several fans in different sizes and colors. You can layer two fans to create a fuller decoration or add a paper circle in the center. Attach a loop of string at the back for hanging, and use the fans to decorate a birthday party or a special family celebration.
10. Paper Corner Bookmarks
Paper corner bookmarks are easy to make and help you find your place in a favorite book. Start with a square piece of paper and fold it into a small triangle pocket that fits over the corner of a page.
Turn the pocket into a cute character by adding paper ears, teeth, eyes, or little decorations. Make a hungry monster, a sleepy panda, or a tiny fox. These bookmarks make lovely gifts for classmates, teachers, and anyone who enjoys reading.
11. Paper Cupcake Garland
A paper cupcake garland makes a birthday party feel extra cheerful. Cut cupcake bases from colored paper and add rounded frosting shapes on top. Decorate each cupcake with paper sprinkles, tiny cherries, or little stars.
Make enough cupcakes to fill a length of string, then attach them with tape or glue. You can spell out a name by adding one letter to each cupcake, or keep the designs simple and colorful. Hang the garland above a dessert table or along a wall.
12. Paper Doll Dress-Up Set
Create a paper doll and a collection of outfits that children can mix and match. Draw a simple person on thick paper and cut out the shape. Draw dresses, shirts, trousers, hats, shoes, and other accessories on separate pieces of paper.
Add small folded tabs to the clothes so they can sit over the doll’s body. Make outfits for different seasons, parties, school days, or pretend adventures. Store everything in a decorated paper envelope so the set stays together.
13. Paper Mosaic Art
Paper mosaic art lets you create a colorful picture from tiny paper pieces. Cut or tear colored paper into small squares and irregular shapes. Draw a simple outline of a fish, flower, rainbow, bird, or heart on a sheet of paper.
Fill the outline with the paper pieces, leaving small gaps between some shapes if you like the mosaic look. Use one color for each section or mix several shades to create a pattern. Frame your finished picture or turn it into a handmade greeting card.
14. Paper Fortune Teller
A paper fortune teller is a classic folding craft that can keep children busy for ages. Start with a square sheet of paper and follow a simple fortune-teller fold to create four outer flaps and smaller inner sections.
Write colors on the outside and numbers or silly fortunes inside. Your fortunes could say things like “Do your happiest dance,” “Tell someone a joke,” or “You will have a great day.” Decorate each section with small drawings and let friends take turns choosing their fortunes.
15. Paper Flower Hair Clips
Paper flower hair clips are a sweet craft for dress-up play or special occasions. Cut several flower shapes in different sizes and layer them together, placing the smallest flower on top. Gently curl the petals with your fingers to give them a little shape.
Glue the flower to a paper-covered clip or a plain clip using suitable craft glue. Let everything dry completely before handling it. These flowers work best as decorative accessories for older children and adults, since paper can bend or tear if it gets wet.
16. Paper Monster Puppets
Make silly monster puppets from folded paper and let your imagination take over. Fold a rectangular sheet into a long strip with alternating folds, then decorate one end with a monster face. Add paper eyes, teeth, horns, or a long tongue.
Slip your fingers into the folds to move the puppet’s mouth. Give each monster a name and a funny personality. Children can make several monsters and use them to act out a short story or put on a puppet show for family members.
17. Paper Ice Cream Cone Decorations
Paper ice cream cones are easy to make and look adorable on cards, gift bags, and party decorations. Cut a triangle from brown paper for the cone and a rounded shape from colored paper for the ice cream scoop.
Layer the scoop over the cone and add tiny paper sprinkles or a cherry. Make a whole collection in different flavors and colors. You can also glue the cones to a long strip of paper to create a summer-themed banner.
18. Paper Gift Bows
Make your own gift bows from wrapping paper or colorful craft paper. Cut several strips of paper, form each strip into a loop, and secure the ends with glue. Layer the loops in a circle, then add a small paper strip or circle in the center to hide the joins.
Use contrasting colors for a bold look or matching shades for an elegant gift. Attach the bow to a wrapped box, a paper bag, or a handmade card. This is a useful project when you want to make a present look special without buying extra decorations.
19. Paper Pocket Wall Organizer
A paper pocket wall organizer gives you a place to store small notes, stickers, or greeting cards. Fold sturdy paper into a wide pocket and glue the sides to a backing sheet made from thick cardstock.
Decorate the front with simple shapes, a name label, or a colorful border. Add a loop of string at the top so you can hang it on a hook. Keep the items inside lightweight, since paper pockets cannot hold heavy objects.
20. Paper Cactus Desk Decor
Create a little paper cactus that stays green without any watering. Cut cactus shapes from green cardstock and add small lines or dots to suggest spines. For a 3D version, cut two matching cactus shapes and make a slit halfway down the center of each one.
Slide the two shapes together at the slits so they stand upright. Place the cactus in a small paper pot filled with scrunched paper to help it stay in place. Add tiny paper flowers for a cheerful finish, and use the decoration on a desk or shelf.
21. Paper Bird Finger Puppets
Paper bird finger puppets are simple to make and fun for pretend play. Cut a bird shape with a rounded body, a small beak, and a pair of wings. Add eyes and feather details with smaller paper pieces.
Create a small loop from paper and attach it to the back so the puppet can fit over a finger. Make a bluebird, a yellow chick, or a colorful imaginary bird. Children can use their puppets to tell stories, sing songs, or create a pretend bird family.
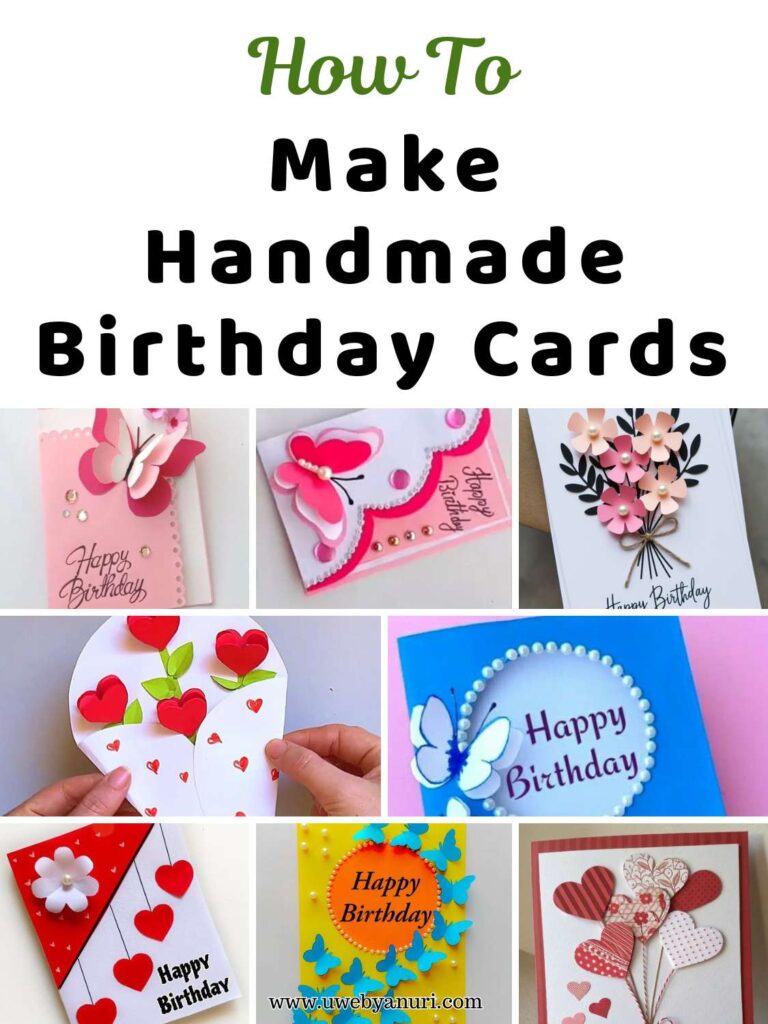
22. Paper Patchwork Greeting Cards
Paper patchwork cards are a great way to use small scraps that are too pretty to throw away. Cut the scraps into squares, triangles, or other simple shapes. Arrange them on the front of a folded card to create a patchwork pattern.
Mix floral paper with plain colors, or use several shades of the same color. Glue each piece into place and add a short greeting inside. Every card will look different, making this a lovely way to create handmade birthday cards and thank-you notes.
23. Paper Raindrop Window Mobile
A paper raindrop mobile brings a soft, playful look to a window or bedroom corner. Cut raindrop shapes from blue, teal, or purple paper. Fold each drop down the middle and glue several matching shapes together at their folded edges to create a fuller 3D effect.
Tie the drops to different lengths of string and attach them to a paper ring or a lightweight cardboard bar. Add a paper cloud at the top. Hang the mobile where it can move gently, away from places where people might bump into it.
24. Paper Mini Notepad Covers
Give a plain notepad a personal touch with a handmade paper cover. Measure the front and back of the notepad, then cut a sheet of cardstock large enough to wrap around it. Fold the cover neatly and decorate the front with shapes, patterns, or the owner’s name.
You can add a small paper pocket inside the cover for loose notes or stickers. Choose a design that suits the person receiving it, such as flowers for a nature lover or stars for someone who likes space. It makes a useful gift for students, teachers, and people who enjoy writing lists.
25. Paper Lollipop Decorations
Paper lollipop decorations look sweet on party tables and handmade cards. Cut two circles from colored paper and decorate them with stripes, dots, or a spiral pattern. Place a paper strip between the circles to make the lollipop stick, then glue the circles together.
Make several lollipops in different colors and arrange them in a paper cup or small handmade box. You can use them as pretend sweets in a play shop or attach them to gift bags. These decorations look like candy, so keep them away from very young children who may try to put them in their mouths.
26. Paper Leaf Wreath
A paper leaf wreath is a simple way to decorate a door or wall. Cut a ring from cardboard for the base, then cut leaf shapes from green, yellow, orange, or other colors you like.
Layer the leaves around the ring until the cardboard no longer shows. You can make a spring wreath with fresh green shades, an autumn wreath with warm colors, or a festive version with red and gold leaves. Add a paper bow at the bottom and attach a string loop to the back for hanging.
27. Paper Monster Gift Tags
Turn plain gift tags into little monsters that make people smile. Cut small rectangles, circles, or speech-bubble shapes from cardstock. Add silly eyes, tiny teeth, colorful horns, or funny eyebrows to give each tag its own personality.
Punch a hole at the top and thread through a piece of ribbon or string. Write the recipient’s name on the back or leave space for a short message. Attach the tags to birthday gifts, party bags, or small treats for friends.
28. Paper Butterfly Gift Box
A paper butterfly gift box is a lovely way to package a small present. Fold a small box from sturdy cardstock and cut two butterfly wings from another sheet of paper. Attach the wings to the lid so they spread out when the box opens.
Decorate the wings with small circles, hearts, or paper patterns. Choose a box size that fits jewelry, a note, a few sweets, or another lightweight surprise. A bright butterfly box can make even a simple gift feel more thoughtful.
29. Paper Tube Kaleidoscope
Make a pretend kaleidoscope from a cardboard tube and colorful paper decorations. Cover the outside of the tube with paper and add stars, dots, or a name label. For a simple viewing end, attach a circle of clear plastic and place a few small pieces of colorful translucent material behind it.
An adult should help with any cutting and assembly, and the craft should use safe, blunt-edged materials. This version is a fun pretend-play toy rather than a precise optical kaleidoscope. Children can decorate their tubes and imagine they are exploring a world of colors.
30. Paper Accordion Hand Fan
A paper accordion hand fan is useful for dress-up play, party decorations, or a warm-day craft. Fold a rectangular sheet of paper back and forth in even sections. Pinch one end together and secure it with glue or a small paper band to create a handle.
Decorate the fan with dots, flowers, stripes, or a name. You can also glue two folded sheets together to make a wider fan. Choose lightweight paper so the folds open and close easily.
31. Paper Fish Bowl Scene
Create an underwater scene using a paper bowl shape and colorful paper fish. Cut a large bowl or aquarium outline from blue paper and glue it onto a sheet of cardstock. Add seaweed, bubbles, stones, and small fish made from different paper colors.
Layer some fish over the background to give the picture more depth. Add tiny paper fins and tails to make each fish unique. This is a fun craft for children who enjoy ocean animals, and the finished scene can decorate a bedroom or classroom wall.
32. Paper Paperclip Decorations
Turn ordinary paperclips into cute desk accessories with small paper shapes. Cut tiny hearts, flowers, stars, or animals from cardstock. Make two matching shapes for each decoration and glue them around the top of a paperclip, leaving the clip itself free to hold paper.
Use the decorated clips to mark pages, organize notes, or add a little color to a planner. Keep the shapes small and light so the clips remain useful. They also make a nice extra to include with a handmade notebook or stationery gift.
33. Paper Wishing Tree
A paper wishing tree gives friends and family a place to share kind thoughts. Draw a tree trunk with branches on a large sheet of cardstock, or cut a tree shape from brown paper and glue it to a background.
Cut small leaves from colored paper and invite people to write wishes, kind words, or things they feel grateful for. Attach the leaves to the branches until the tree fills with messages. This craft works well for family gatherings, classroom activities, birthdays, and other special occasions.
34. Paper Envelope Mini Wallet
A paper mini wallet is a cute way to hold notes, pretend money, stickers, or a small gift card. Fold a piece of sturdy paper into a wallet shape with two or three inner pockets. Use small paper tabs or glue along the edges to keep the pockets in place.
Add a paper flap that folds over the front, then decorate it with a button shape or a simple pattern. Make one for a child who enjoys pretend play or use it as a fun holder for a small gift. Avoid using it to carry heavy items or anything that could tear the paper.
35. Paper Confetti Picture
A paper confetti picture is an easy craft that lets you create art without drawing detailed shapes. Use a hole punch or scissors to make small pieces from colorful paper scraps. Draw a simple outline of a balloon, heart, flower, or initial on a sheet of cardstock.
Spread glue inside the outline and press the paper pieces onto it until the design fills with color. Let it dry completely before displaying it. You can make a set of matching pictures for a bedroom wall or create a handmade card with a bright confetti design.
Final Thoughts
Paper crafts are a lovely way to turn simple supplies into something useful, colorful, and fun. You can make decorations for your home, gifts for people you love, or little projects to enjoy with your children on a quiet afternoon.
You do not need to try all 35 ideas at once. Start with a project that uses paper you already have, such as a butterfly garland, a paper flower, or a cute corner bookmark. Once you get comfortable, experiment with new colors, shapes, and designs.
Remember to save your leftover paper scraps for another project. Even the smallest pieces can become flowers, paper mosaics, gift tags, and other decorations. Grab your scissors and glue, choose your favorite idea, and have fun creating something of your own!