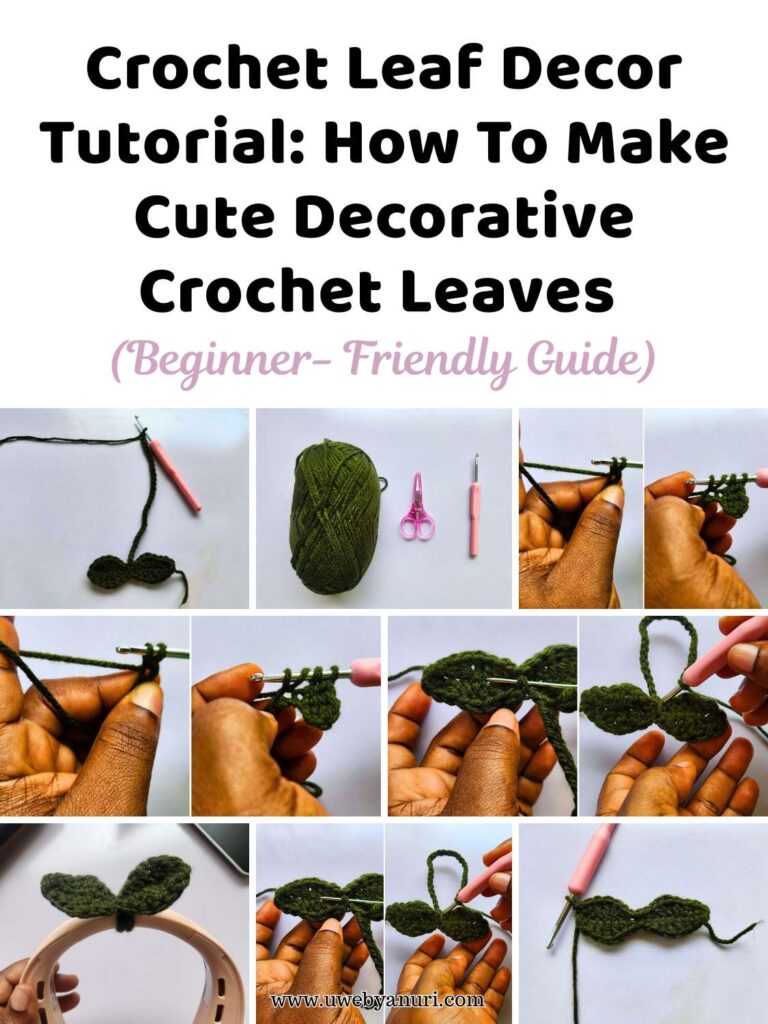
Granny Motif Tutorial (Step-by-Step Beginner Crochet Guide)
There is something so relaxing about crocheting granny motifs. I always enjoy watching each round slowly build into a beautiful textured design because every stitch adds more shape, color, and detail. Sometimes I start crocheting just to relax for a few minutes, and before I know it, I already have several colorful motifs finished beside me.
Over the years, granny motifs have become one of my favorite crochet projects because they are creative, beginner friendly, and incredibly versatile. I love that a single motif can be turned into so many beautiful things. Some days I join several motifs together to make blankets or cushion covers, while other times I use them for tote bags, scarves, or even small decorative projects around the house. No matter how many motifs I make, each one still feels special because the color combinations and textures always look different.
You should see this: Crochet stitches 101
This granny motif tutorial is one of those crochet projects that looks detailed and impressive but is actually very beginner friendly once you understand the pattern repetition. The combination of bobble stitches, chain spaces, and layered rounds gives the motif a beautiful floral-inspired texture that can be used for so many crochet projects.
This guide will help you : crochet flower coaster tutorials
One of the things I enjoy most about crochet motifs is how relaxing the repetition becomes after a few rounds. At first, the textured stitches may seem difficult, especially the bobble stitches and treble crochet sections. However, once you begin repeating the pattern, the crochet process starts to feel calm and enjoyable. That is one reason why granny motif projects are perfect for both beginners and experienced crocheters.
Materials Needed
See this: How to read a crochet abbreviation
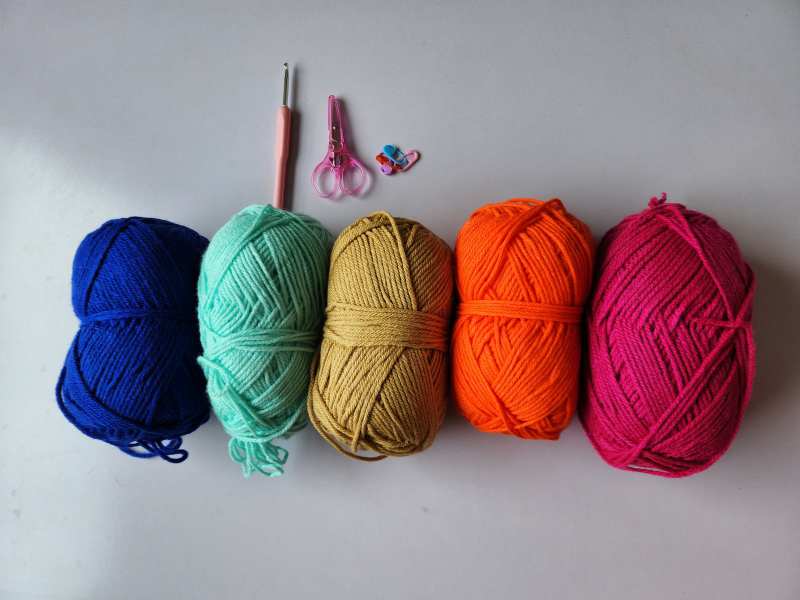
Before we begin, gather your crochet supplies.
- Yarn in multiple colors
- Crochet hook
- Stitch markers
- Scissors
- Yarn needle
You can use cotton yarn, acrylic yarn, or blended yarn depending on the look you want. Cotton yarn gives the motif a neat and structured appearance, while acrylic yarn creates a softer and fluffier texture.
How to Crochet the Granny Motif
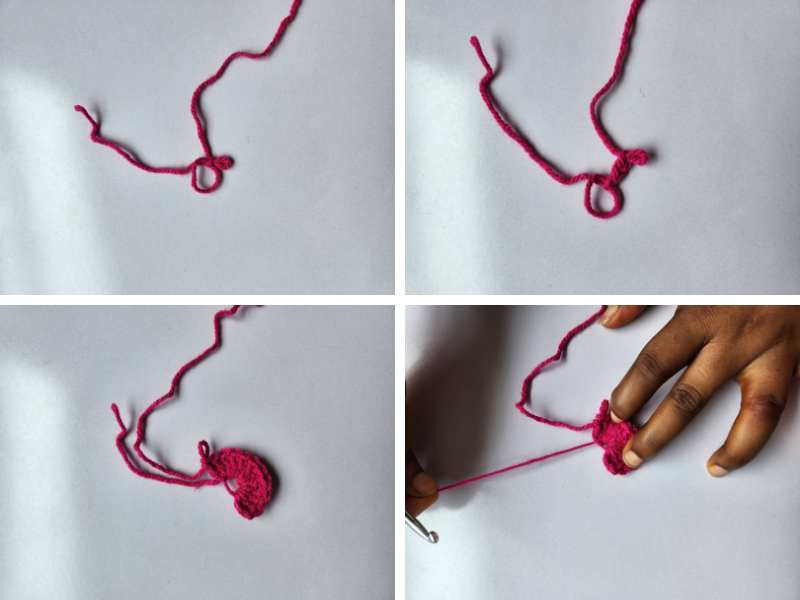
Round 1: Create the Magic Ring
Start by making a magic ring.
Next, chain 3. This turning chain counts as your first double crochet stitch.
Now look carefully at the top of the chain. You will see a small V-shape formed by two loops. Insert your hook through both loops and place a stitch marker there. This helps you identify the first stitch later.
More projects you will love: granny square tutorial
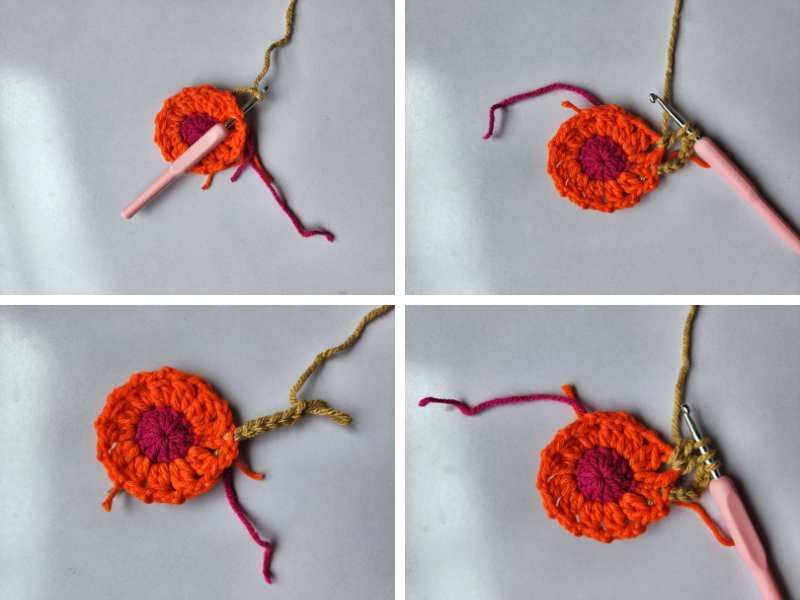
Round 2: Double Crochet Bobble Stitches
Next, switch to a new yarn color.
Insert your hook into any stitch from round one and pull up a loop.
Chain 3 to create the turning chain.
Again, locate the V-shape at the top of the third chain stitch and place a stitch marker there.
Now crochet 1 double crochet into the same stitch.
Then chain 3.
This completes the first pattern set.
Round 3: Four Treble Crochet Bobble Stitches
For round three, attach another yarn color.
Insert your hook into any chain space and pull up a loop.
Chain 3.
These chains count as the first unfinished treble crochet.
Recommended for You: crochet heart tutorial
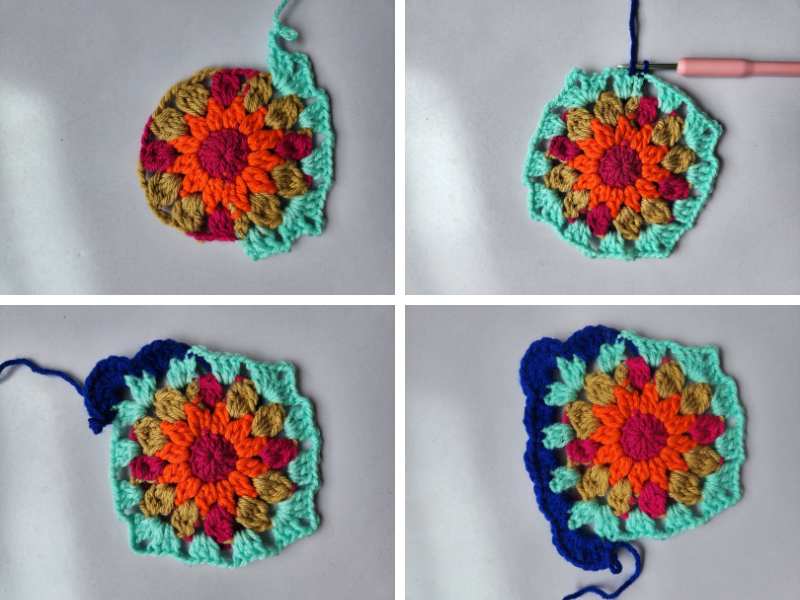
Round 4: Creating the Corners
For this round, return to the same yarn color used in round one.
Insert your hook into the chain space remaining from round two and pull up a loop.
First, chain 3 to create the turning chain.
Then crochet a 4-treble crochet bobble stitch into the same chain space.
After completing the stitch, yarn over and pull through all loops.
Now locate the V-shaped stitch underneath the loop and place a stitch marker there.
Next, chain 12.
This creates the corner section.
Move to the next chain space and crochet another 4-treble crochet bobble stitch.
Again, chain 12.
Continue this same pattern around the motif.
There should be four large corners by the end of the round.
Finally, join with a slip stitch, secure the yarn, and cut the yarn tail.

Round 5: Building the Square Shape
Next, attach your yarn again.
Chain 3.
Treat this turning chain as one double crochet.
Locate the third chain stitch and place a stitch marker there.
Now crochet 2 more double crochets into the same chain space.
Chain 3.
Then crochet another 3 double crochets into the same space.
This creates the corner.
Next, chain 1.
Move into the next large chain space.
Work:
- 3 double crochets
- Chain 1
Then move to the next side chain space and repeat:
- 3 double crochets
- Chain 1
That completes one side of the square.
Continue repeating this pattern around the motif.
In every corner chain space, work:
- 3 double crochets
- Chain 3
- 3 double crochets
Along the sides, work:
- 3 double crochets
- Chain 1
Continue until all four sides are complete.
Once you reach the beginning, make a slip stitch into the marked stitch.
Make another slip stitch to secure the yarn and cut the yarn tail.
Round five is now finished.
See this this for more: crochet card holder tutorial
Round 6: Final Round
This is the final round of the granny motif.
Choose any corner of the square.
Look at the 3 double crochets to the right of the corner and locate the middle double crochet.
Insert your hook into that middle stitch and make a slip stitch.
Crochet the Corner Section
Into the corner chain space:
- Work 8 double crochets
As you crochet, you can crochet over the yarn tail to hide it neatly inside the fabric.
That completes one corner.
Crochet the Side Sections
Locate the next group of 3 double crochets.
Insert your hook into the middle double crochet and make a slip stitch.
Into the next chain space:
- Work 4 double crochets
Continue repeating the following pattern around the motif:
- Slip stitch into the middle double crochet
- Work 4 double crochets into the next chain space
Each corner should contain:
- 8 double crochets
Each side chain space should contain:
- 4 double crochets
Continue around the motif until you return to the beginning.
Then make a slip stitch into the starting point.
Make one more slip stitch to secure the yarn.
Leave a yarn tail about 15 cm long and cut the yarn.
How to Weave in the Yarn Tails
Thread your yarn needle.
Next, weave the yarn tail through the back of the stitches while following the texture of the crochet fabric.
Move the yarn back and forth a few times to secure it properly.
Finally, trim off any excess yarn.
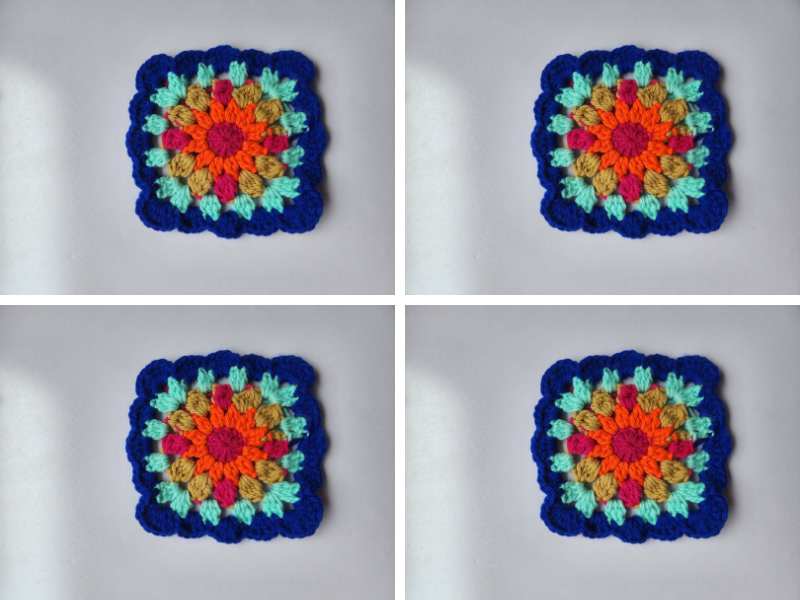
Final Thoughts
This granny motif tutorial is such a fun and satisfying crochet project because every round adds more texture, color, and dimension to the design. The combination of bobble stitches, large chain spaces, and classic granny stitch sections creates a motif that feels both modern and timeless.
I especially love how relaxing motif projects can be. Once you become familiar with the stitch pattern, the repetition feels calming and enjoyable. It is also a wonderful way to practice important crochet skills like working in the round, changing colors, recognizing stitches, and crocheting textured patterns.
If you are still learning crochet, do not feel discouraged if some stitches seem difficult at first. Bobble stitches and treble crochet stitches may feel tricky in the beginning, but they become much easier with practice. The more motifs you make, the more confident you will become.
By the end of this tutorial, you will not only have a beautiful finished granny motif, but you will also have learned several important crochet techniques that you can use in many future crochet projects.
So grab your favorite yarn colors, relax, and enjoy every stitch of this beautiful crochet granny motif.