Vintage Rose Bow Earrings.
I’m so excited to share a new crochet project with you today Vintage Rose Bow Earrings! This project is perfect for anyone who loves making cute, handmade accessories. These earrings are delicate, elegant, and surprisingly easy to make even if you’re a beginner. I love creating small crochet projects like this because they are quick, satisfying, and give you an instant sense of accomplishment. There’s something magical about turning a few strands of yarn into a wearable piece of art!
Over the years, I’ve found that small accessories like these bow earrings are perfect for gifts. Whether you’re making them for a friend, a loved one, or even yourself, they add a personal touch that store-bought jewelry just can’t match. What I love most about this project is that it combines simple stitches with a thoughtful design, giving you a product that’s both adorable and professional-looking. By the end, you’ll have a pair of earrings that are not only beautiful but also entirely handcrafted.
See related project: Crochet star tutorials.
Even if you’ve never made earrings before, don’t worry! I’ll guide you step by step, from selecting your yarn and tools to finishing and assembling the bow earrings. By following this tutorial, you’ll not only create a charming pair of earrings but also practice essential crochet techniques that will strengthen your skills for future projects. Let’s grab our hooks and yarn and make something beautiful today!
You should see this project to continue: how to read a crochet abbreviation
Materials You Will Need
- Four-ply cotton yarn (choose your favorite color; I recommend red for the vintage rose effect)
- 2.0 mm crochet hook
- Tapestry needle
- Scissors
- Stitch markers
- Earring hooks
Optional: Additional yarn for decorative ribbon tails.
Step 1: Making a Slipknot
- Hold the yarn in your right hand.
- Extend your left hand, wrap the yarn around your pinky once, then behind your index finger, and over your middle finger.
- Pinch the yarn with your left thumb and middle finger.
- Insert the crochet hook under the yarn, rotate counterclockwise, yarn over, and pull through to form a slipknot.
You now have a starting loop for your crochet project.
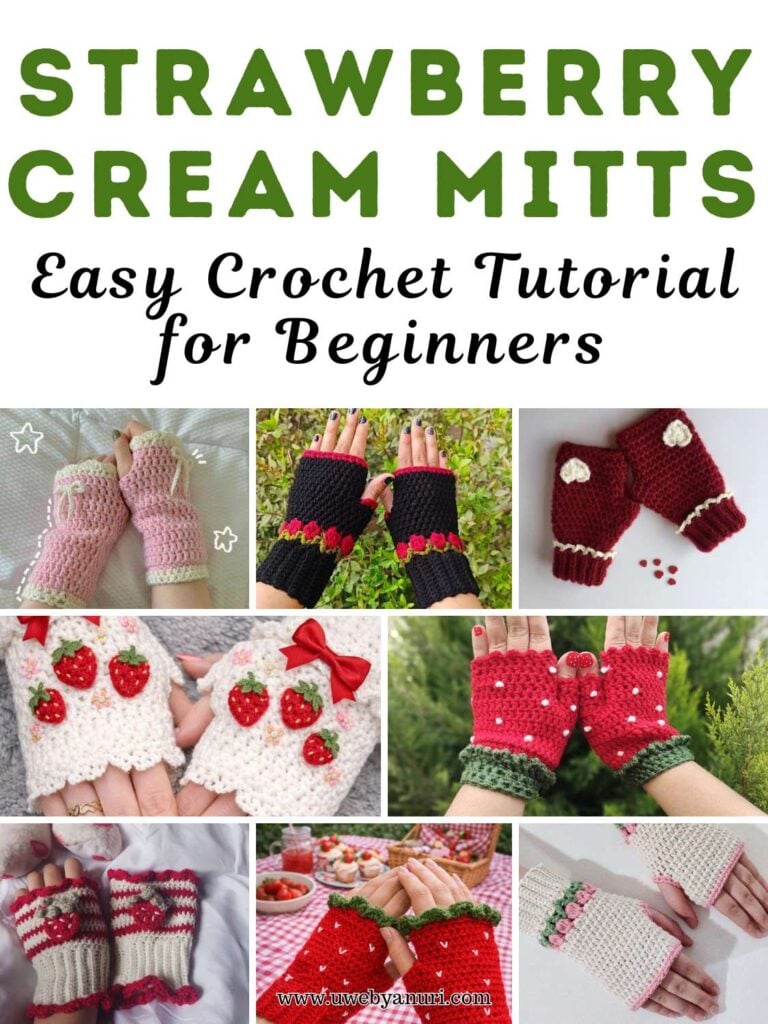
Pin this guide: crochet Straw berry mitts
Step 2: Foundation Chain
- Crochet a total of 9 chain stitches.
- Each chain forms a V-shaped stitch; this is where you’ll insert your hook for the first row.
- Use a stitch marker to mark the first and last chain stitch to help track your work.
Step 3: First Row – Half Double and Single Crochets
- Chain 2 for a turning chain (does not count as a stitch).
- Work the following pattern into the chain stitches:
- 3 half double crochets (hdc)
- 3 single crochets (sc)
- 3 half double crochets (hdc)
- Insert your hook through the center of each V-shaped stitch, working into the back loop if indicated.
- Remove stitch markers and reposition as needed.
Step 4: Second Row
- Chain 2 for a turning chain.
- Turn your work to the backside.
- Work 3 half double crochets, 3 single crochets, and 3 half double crochets into the stitches of the previous row.
- Place stitch markers on the first and last stitch of the row for accuracy.
After completing Row 2, you should see the bow starting to take shape.
Learn from this guide: crochet scrunchie tutorials
Step 5: Crocheting the Ribbon
The ribbon creates the decorative tails of your bow:
- Make a slipknot and crochet a foundation chain of 14 stitches.
- Place stitch markers at the first and last chain stitches.
- Row 1: Insert your hook into the marked chain, work 1 slip stitch, 11 single crochets, skip 1 stitch, and finish with 1 double crochet.
- Row 2: Chain 2 as turning chain, insert into marked stitch, work slip stitch, then single crochet across the row, matching stitch-for-stitch with the previous row.
This forms a smooth, tapered ribbon tail that complements the bow’s center.
Step 6: Fastening Off and Weaving in Ends
- Chain 1 to secure, cut yarn leaving a 10 cm tail.
- Thread tail onto a tapestry needle.
- Weave the tail into the back of the fabric, following the stitch pattern, back and forth a few times.
- Repeat with the starting yarn tail. Trim any excess yarn.
Your ribbon and main bow piece are now ready for assembly.
More on this topic: Crochet star tutorial
Step 7: Assembling the Bow
- Place the ribbon under the center of the bow, aligning centers.
- Fold the ribbon tails down neatly.
- Take a 30 cm piece of matching yarn and wrap it around the bow center several times.
- Turn the bow to the back and tie a tight double knot.
- Trim any excess yarn.
Step 8: Attaching the Earring Hooks
- Take an earring hook.
- Attach it through the center of the bow where the yarn is wrapped.
- Adjust the bow shape as needed to ensure symmetry.
Congratulations! Your Vintage Rose Bow Earrings are complete!
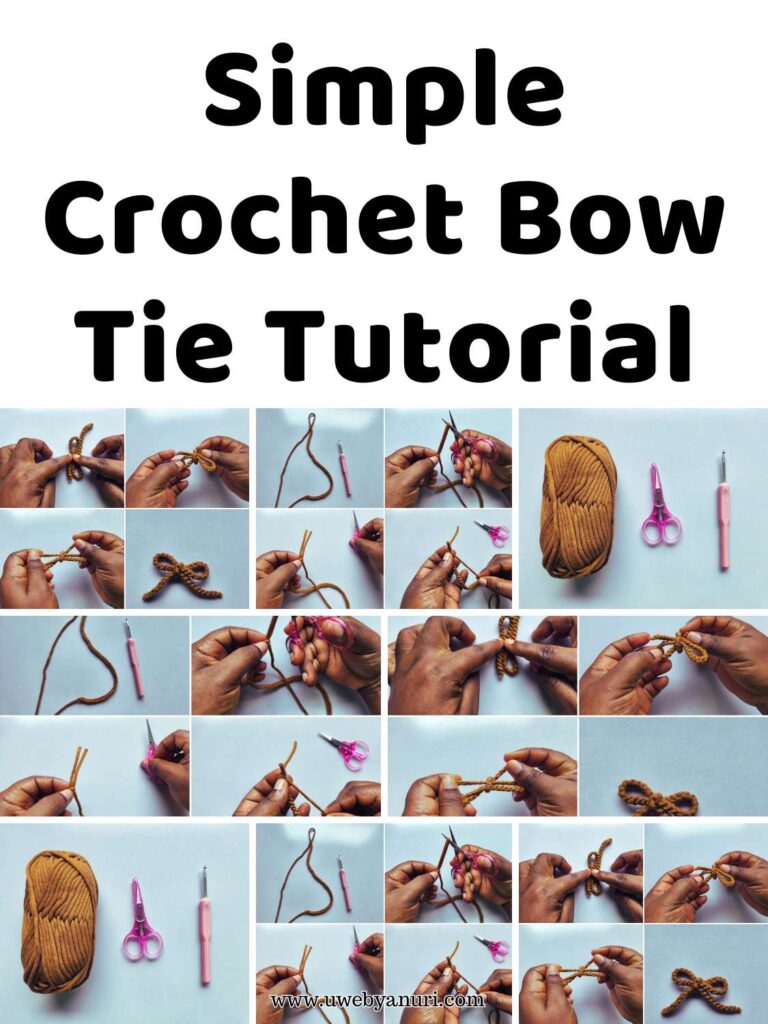
This guide will help you: crochet bow tie
Tips for Beginners
- Use stitch markers to track the first and last stitches of each row.
- Keep your stitches even and tight for a professional finish.
- Count your stitches and rows to prevent mistakes.
- Always weave in yarn tails securely to prevent unraveling.
- Experiment with different yarn colors for unique, personalized designs.
Creative Variations
- Make the bow in pastel colors for spring or summer accessories.
- Use metallic yarn for a festive holiday earring version.
- Create matching necklace pendants or bracelets using the same bow motif.
- Add small beads or sequins for extra sparkle.