Peachy Dishcloth – Easy Crochet Tutorial for Beginners
I’m so excited to share this fun and practical project with you today a Peachy Dishcloth! If you’re new to crochet or looking for a quick, satisfying project, this one is perfect. Small projects like this are not only cute but also functional. They make a wonderful addition to your kitchen, a sweet handmade gift, or even a starter project for beginners learning basic crochet techniques.
One of the things I love about projects like this is that you can finish them in a few hours. There’s something so satisfying about taking a ball of yarn and turning it into a practical, usable item. This dishcloth is perfect for practicing double crochet stitches, increases, and color changes, while also letting you experiment with tiny decorative details, like a stem and a leaf, to make it extra charming. This Peachy Dishcloth is the perfect beginner crochet project quick, fun, and functional! With simple double crochet stitches and easy increases, you can make a cute, round peach complete with a tiny stem and leaf. It’s a wonderful way to practice your crochet skills while creating something useful for your kitchen or adorable enough to gift. Plus, you can customize it with your favorite colors and textures to make it uniquely yours!
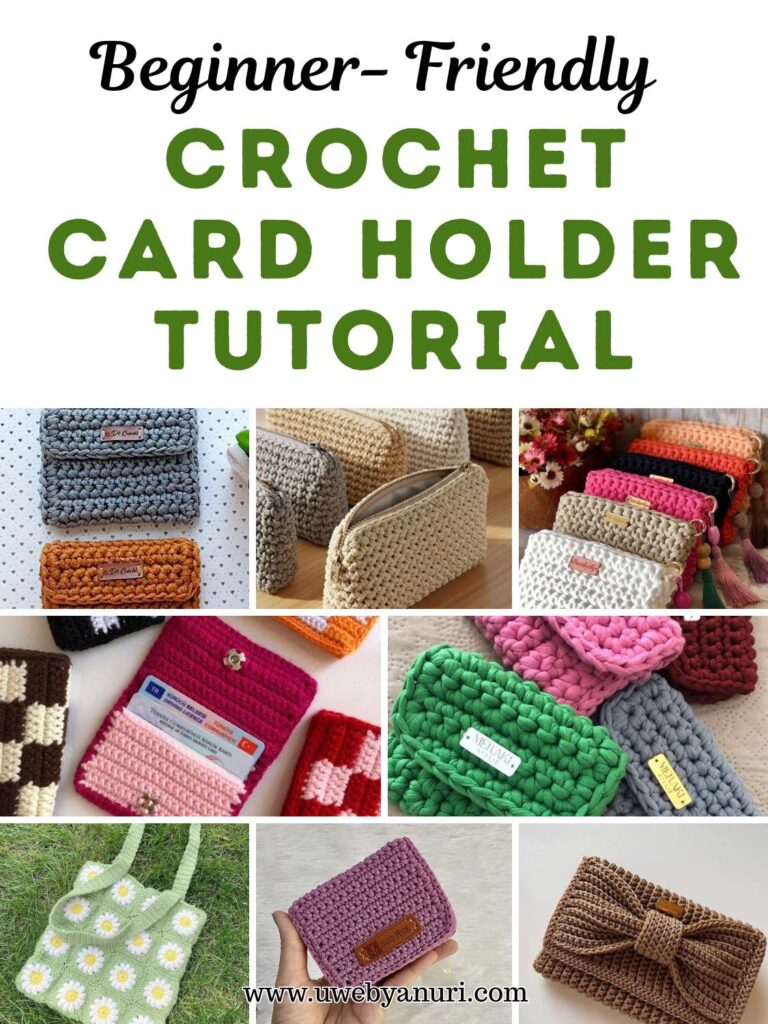
Plus, small projects like the Peachy Dishcloth are fantastic for interlinking with other beginner-friendly tutorials. You can pair it with projects like our Tiny Chick Hair Clip or the Dainty Daisy Snap Clip to create a collection of cute, handmade gifts. This way, your readers or followers can learn multiple projects while building confidence in their crochet skills.
Materials You Will Need
- Peach-colored 5-ply cotton yarn (main body)
- Optional: Green yarn for leaf accents
- 3.0–4.0 mm crochet hook
- Stitch markers
- Yarn needle
- Scissors
- Fabric glue (optional for leaf/stem attachment)
Step 1: Magic Ring Base
- Using peach yarn, create a magic ring.
- Chain 1 to serve as your turning chain.
Tip: Pull the magic ring tight to form a neat, compact center.
Step 2: Round 1 – Starting the Circle
- Make 12 double crochet stitches into the magic ring.
- Count your stitches carefully to ensure you have 12 before moving to the next round.
This forms the center of your peach.
Step 3: Round 2 – First Increase
- Work 1 double crochet increase (2 double crochets in the same stitch) in each stitch around.
- At the end of this round, you should have 24 stitches total.
Step 4: Round 3 – Expanding the Peach
- Repeat: 1 double crochet, 1 double crochet increase, 8 times.
- Switch colors.
- Repeat: 1 double crochet, 1 double crochet increase, 3 times, then switch colors again.
- Repeat: 1 double crochet, 1 double crochet increase once.
After this round, you should have 36 stitches total.
Step 5: Round 4 – Further Expansion
- Repeat the sequence: 1 double crochet, 1 double crochet increase, 1 double crochet, 8 times.
- Total stitches after this round: 48.
This round shapes your dishcloth into a rounded peach form.
Step 6: Round 5 – Increasing to 60 Stitches
- Repeat: 3 double crochet, 1 double crochet increase, 8 times.
- Total stitches: 60.
Step 7: Round 6 – Final Round Shaping
- Repeat: 2 double crochet, 1 double crochet increase, 2 double crochet, 3 times.
- Work 2 double crochet.
- Work: 1 double crochet, chain 2, 1 double crochet, 2 times.
- Repeat: 2 double crochet, 1 double crochet increase, 2 double crochet increase, 5 times.
- Finish with 2 double crochet, 1 double crochet, 2 single crochet.
- Complete the round with a slip stitch into the first stitch.
After Round 6, you should have 60 stitches total.
Step 8: Fasten Off
- Cut the yarn and leave a small tail.
- Use a yarn needle to weave in all loose ends securely.
Your peach body is now fully shaped and ready for stem and leaf details.
Step 9: Creating the Stem
- At the center top of the peach, chain 5.
- Skip the first 2 chains from the hook.
- Work 4 single crochet stitches along the chain.
- Finish with a slip stitch into the base of the peach.
- Weave in the yarn end to secure.
You now have a tiny stem on top of your peach.
Step 10: Making the Leaf
- Make a foundation chain of 13 stitches.
- Turn and crochet in the second chain from the hook:
- 1 half double crochet
- 2 double crochets in the next chains
- 4 treble crochets
- 2 double crochets
- 1 half double crochet
- For the leaf tip, crochet: 1 single crochet, chain 2, 1 single crochet.
- Continue until you have a total of 24 stitches.
- Cut the yarn and weave in the ends.
Your leaf is now complete and ready to attach.
Step 11: Attaching the Stem and Leaf
- Use a small dab of fabric glue or yarn to attach the leaf and stem to the top center of the peach.
- Adjust so the leaf fans naturally next to the stem.
- Press lightly and allow the glue to dry completely.
Your Peachy Dishcloth is now finished and looks adorable, functional, and ready for use.
Tips for Beginners
- Cotton yarn is ideal because it’s durable and absorbent.
- Keep your stitch tension even for a neat, professional look.
- Use stitch markers to track rounds and increases.
- Experiment with color changes for a fun, peachy look.
- You can make this pattern larger for coasters, placemats, or table décor.
Creative Ideas and Variations
- Make multiple peaches in different colors for kitchen sets or gifts.
- Add small flower accents like in the Daisy Snap Clip tutorial.
- Pair with other beginner projects like the Tiny Chick Hair Clip for a fun spring-themed set.
- Try different textures using half double crochets or post stitches for a decorative dishcloth.
Final Thoughts
Crocheting a Peachy Dishcloth is a fun and rewarding beginner project. You practice increases, double crochet stitches, and color changes, all while creating a useful kitchen accessory.
Adding the stem and leaf gives your dishcloth a realistic and charming peach appearance, making it a perfect gift or decorative item. Small projects like this are not only satisfying but also help build confidence for larger crochet projects.
Combine this with other tutorials like the Tiny Chick Hair Clip or Daisy Snap Clip to create a series of beginner-friendly, practical, and cute crochet projects.