How to Make a Quilt Block Step by Step
The first time I saw a quilt up close, I remember thinking, “This is beautiful… but how did someone even make this?” I didn’t know how to make a quilt block, and quilting felt like a mystery. Every piece of fabric looked like it had been placed with so much care. The stitches were neat, the colors worked perfectly together, and the entire quilt felt almost magical. At that moment, quilting didn’t feel like something ordinary people did. It felt like a skill reserved for people with endless patience, years of experience, and a lot of confidence.
I honestly assumed quilting was complicated and time-consuming. I thought it required special tools, advanced sewing skills, and a level of perfection I didn’t have. If you’ve ever looked at a quilt and felt the same way, you’re definitely not alone.
What I didn’t know then was that quilts aren’t made all at once. They’re made slowly, piece by piece. Those small pieces are called quilt blocks, and once you understand how to make just one block, quilting suddenly feels much less scary.
A quilt block is simply one small section of a quilt. You make one, then another, then another. Over time, those blocks come together to form something big, warm, and meaningful. That’s what makes quilting feel achievable. You’re not making a whole quilt in one day; you’re just making one block at a time.
So if quilting has ever felt intimidating or out of reach, don’t worry. Let’s break it down together, step by step, in a way that feels calm, simple, and doable.
Recommended for you: A complete sewing glossary for beginners.
How to Make a Quilt Block Step by Step
Step 1: Start Simple
When you’re new to quilting, complicated patterns can be very tempting. They look impressive, and it’s easy to think that starting simple means your work won’t look interesting. But that’s not true at all.
Simple does not mean boring.
If this is your first time making a quilt block, choose a pattern made mostly of squares. Straight lines are easier to sew, easier to control, and far less stressful. They allow you to focus on learning the basics without feeling overwhelmed.
Simple blocks like Nine Patch, Four Patch, or basic square blocks are perfect for beginners. They use easy shapes, repeat simple steps, and help you understand how quilt blocks are constructed. These patterns are popular for a reason which is the fact that they work.
Think of this step like learning to walk before running. There’s no pressure to rush. Starting simple gives you confidence, and confidence makes everything else easier.
You might also enjoy these: 21 easy sewing projects for complete beginners.
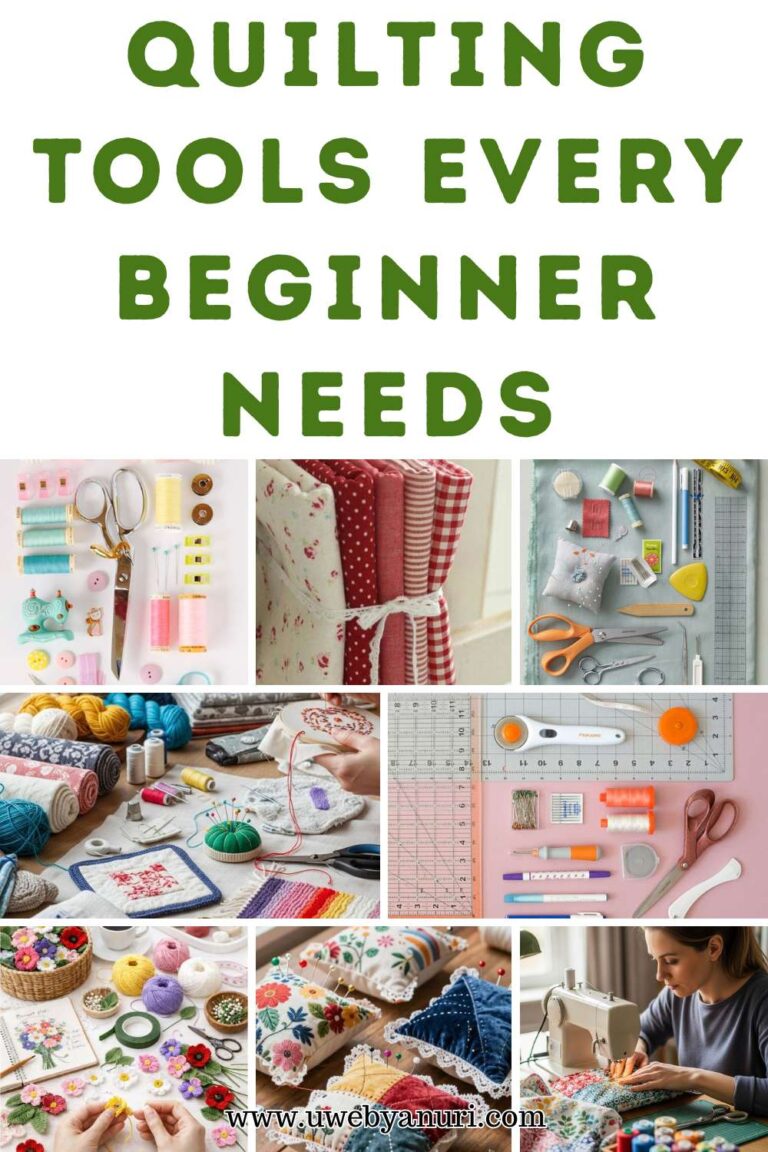
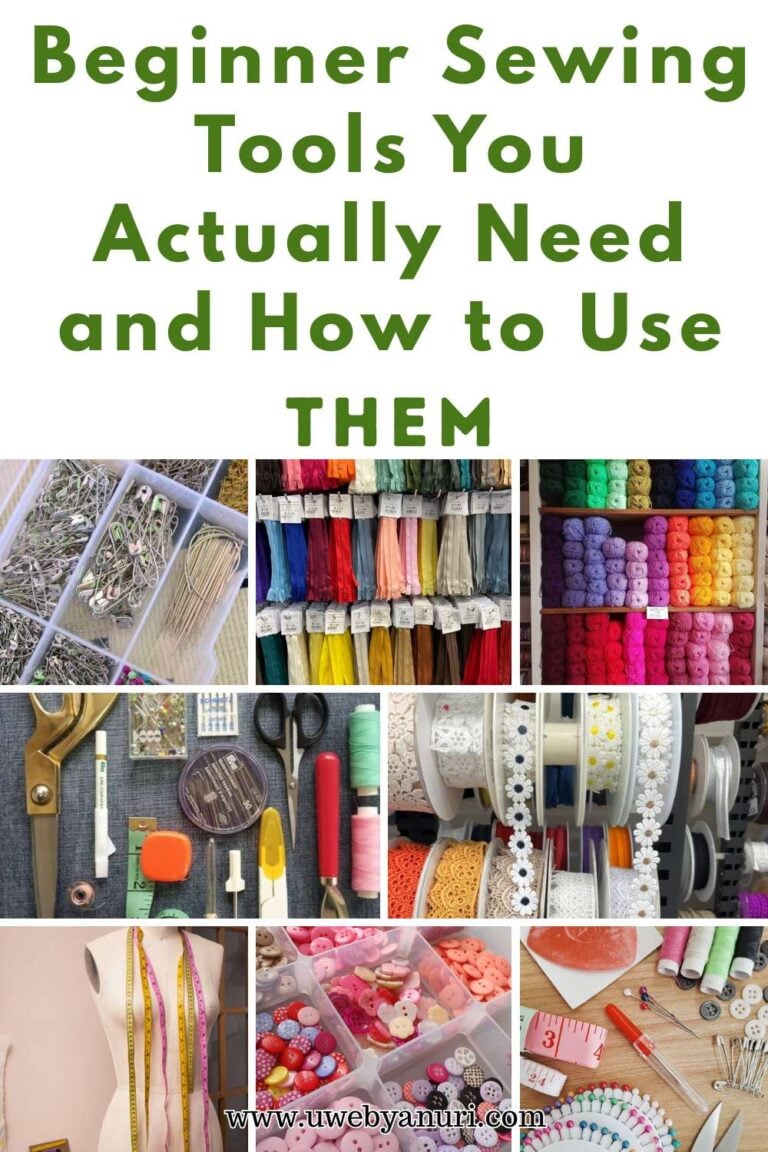
Step 2: Gather Your Supplies
Before you sew a single stitch, take a moment to gather everything you need. This step might seem small, but it makes a big difference in how relaxed and enjoyable the process feels.
Nothing breaks your focus faster than having to stop every few minutes to look for scissors, thread, or pins. Having your tools nearby helps you stay in the moment and enjoy what you’re doing.
Here’s all you really need:
- Cotton fabric (two or three colors are enough)
- Scissors or a rotary cutter
- A ruler or measuring tape
- Pins or fabric clips
- A sewing machine or needle and thread
- An iron
You don’t need expensive tools or perfect supplies to start quilting. Many beautiful quilts begin with leftover fabric and simple tools.
Quick tip: iron your fabric before cutting. Wrinkled fabric can easily affect your measurements, even if you’re being careful. It feels like an extra step, but it saves time and frustration later.
Quilt blocks are a great way to use left over fabric, just like in: 35 Easy sewing projects to make with scraps.
Step 3: Cut Your Fabric (Slowly)
This step is very important. Quilt blocks depend on accuracy, so it’s worth slowing down here.
Measure your fabric carefully and cut according to your pattern. If the pattern says 4-inch squares, take the time to measure properly and make sure they’re actually 4 inches. Small cutting mistakes can show up later when pieces don’t line up the way you expect.
This is where patience really matters. Many quilters will tell you they’ve learned, sometimes the hard way that rushing this step only leads to more work later.
Take your time. It’s okay to double-check your measurements. Quilting is not about speed.
Learn more here: Lovely patch quilt block tutorial.
Step 4: Lay Everything Out
Before sewing anything together, lay your fabric pieces on a flat surface in the exact order you want them to appear in the block.
This step may seem simple, but it’s incredibly helpful.
Laying everything out allows you to:
- See how the colors work together
- Notice if something looks off
- Fix mistakes before they’re sewn in
It also gives you a moment to enjoy the creative side of quilting. You can move pieces around, swap colors, and adjust the layout until it feels right.
Once you’re happy with the arrangement, take a quick photo. It’s a small habit that can save you confusion if pieces get mixed up while sewing.
Similar posts: 35 Simple things to sew and use everyday.
Step 5: Start Sewing
Take two fabric pieces and place them right sides together. Line up the edges carefully and sew using a straight stitch. In quilting, a ¼-inch seam allowance is the standard, so try to stay as consistent as possible.
Don’t worry if your stitches aren’t perfect. What matters most is keeping your seams even.
Sew the pieces into rows first. Once the rows are complete, sew the rows together to form the full block. This step-by-step approach keeps things manageable and helps prevent mistakes.
Remember, speed doesn’t make better quilt blocks, accuracy and patience does.
Read this: 10 Beginner hand stitch techniques
Step 6: Press as You Go
After sewing, grab your iron and press the seams.
Instead of sliding the iron back and forth, gently press and lift. This helps prevent the fabric from stretching. Pressing your seams helps your block lie flat and look neat.
This is one of those steps that feels optional until you skip it. Skipping pressing can make your quilt block bulky and uneven, even if your sewing is careful.
Pressing as you go may slow things down, but it makes the final result much better.
Check out these: 10 Sewing tips for a perfect finish
Step 7: Square Up Your Block
Once your block is complete, take a moment to measure it.
If the edges aren’t perfectly even, trim them slightly so the block becomes neat and square. This step is called squaring up, and it makes joining blocks later much easier.
Almost every beginner struggles with this step at first, and that’s completely normal. Quilting is a skill you grow into overtime.
Don’t worry if your block isn’t perfect. Every quilter improves with practice. Quilting is a learning process, not a competition.
You’d want to save this: 50 Things to sew and give as gifts.
Step 8: Pause and Admire It
This step is equally important, don’t skip it.
Hold your quilt block in your hands and really look at it. That small piece of fabric represents effort, patience, and learning. It’s proof that you can do this.
One quilt block can become many things. It can turn into a cushion cover, a table runner, a wall hanging, or the start of a full quilt.
Every experienced quilter you admire once held their very first imperfect block too.
More posts you’d love: 35 Quick sewing projects you can finish under an hour.
Making a quilt block isn’t about getting everything right the first time. It’s about showing up, learning as you go, and enjoying the process. Once you’ve made one block, the fear starts to fade, and quilting feels possible.
The more blocks you make, the more confident you become. Each block teaches you something new.
So if you’ve been waiting for the “right time” to try quilting, this is it. Start with one block. The rest will follow.