How to Crochet a Twisted Headband (Easy Beginner Pattern)
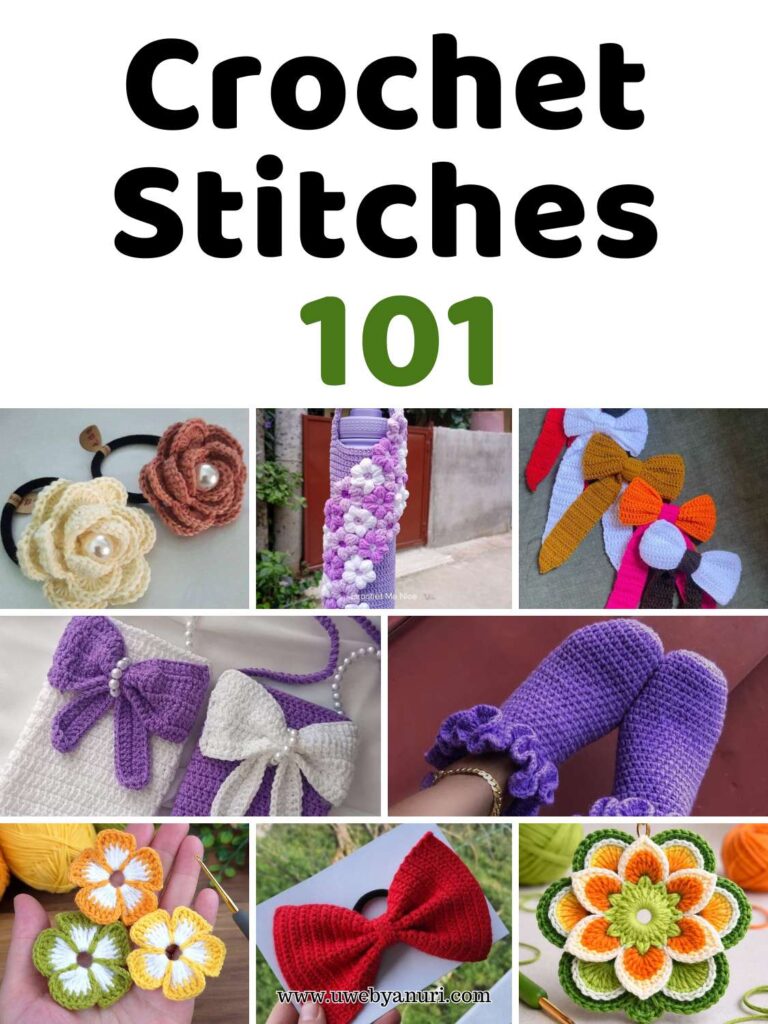
I truly love wearing headbands, especially during the cold season. When the weather gets chilly, I always reach for a soft, cozy headband to keep my ears and head warm. It feels so comfortable, and it helps protect me from the cold wind. There is something very special about wearing something handmade it just feels warmer and more personal. Before you start, reviewing Crochet Stitches 101 will help you remember how to work the chain and double crochet properly.
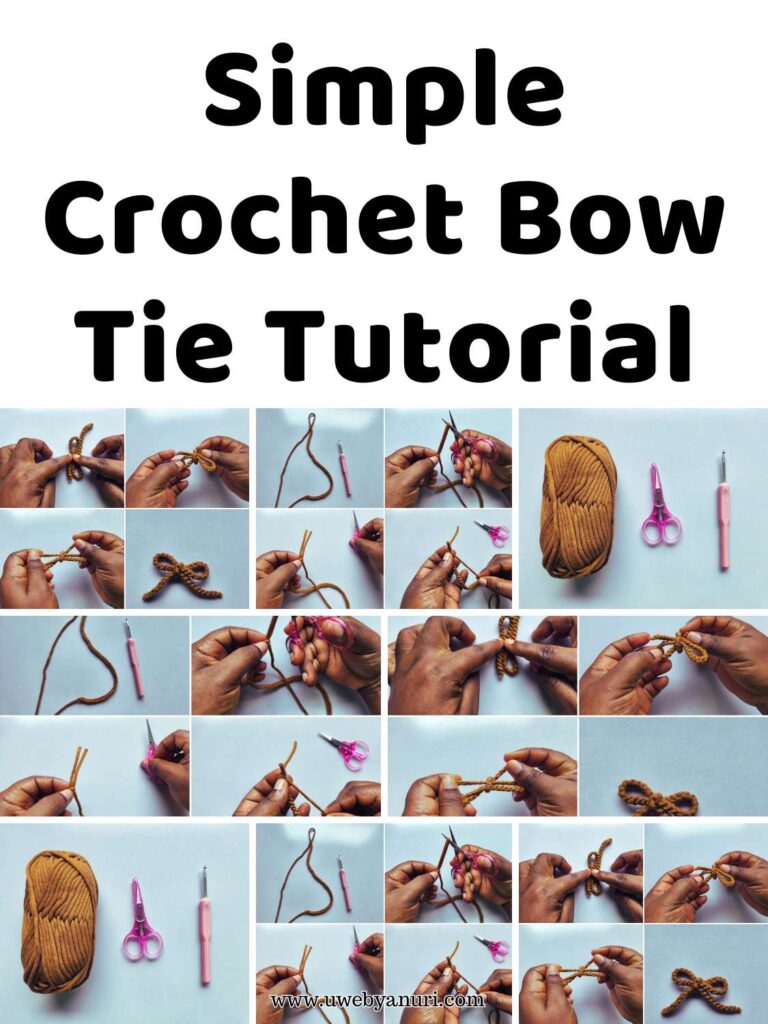
Another reason I love twisted headbands is how stylish they are. I enjoy wearing wigs, and sometimes I don’t want my hairstyle to look the same every day. Adding a crochet twisted headband instantly changes the look. It makes my wig look fresh, trendy, and different from the usual style. It is such a simple accessory, but it makes a big difference. If you’ve previously made a Crochet Scrunchie or a Crochet Bow Tie, you’ll see similar techniques in the foundation rows, which makes this project easier to follow.
That is why I love this crochet twisted headband pattern. It is not only practical for keeping warm, but it is also perfect for styling. You can wear it at home, to school, to church, or even when going out with friends. It adds a cute and cozy touch to any outfit.
The best part is that this pattern is beginner-friendly. If you are just learning how to crochet, you can easily follow along. The stitches are simple, the rows repeat, and the twist is fun to create. Once you make one, you will want to make many more in different colors to match your outfits.
If you are looking for an easy crochet headband pattern that is warm, stylish, and adjustable, you are in the right place. Let’s make this beautiful twisted headband together
Why You Will Love This Twisted Headband
- Beginner-friendly pattern
- Uses simple half double crochet stitches
- Adjustable size
- Soft and stretchy texture
- Perfect for gifts
- Great for selling at craft fairs
This project is also perfect for kids learning crochet because the stitch pattern repeats and is easy to remember. If you’ve previously made a Crochet Scrunchie or a Crochet Bow Tie, you’ll see similar techniques in the foundation rows, which makes this project easier to follow.
Preparation
Finished Size:
Regular Adult (Easily Adjustable)
Gauge:
7 half double crochet (hdc) BLO stitches and 3.5 rows = 4 inches / 10 cm
Gauge helps you know if your stitches are the correct size. If your stitches are too loose, the headband will be bigger. If they are too tight, it will be smaller.
How to Adjust the Size
This crochet headband is very easy to resize.
- Use fewer starting chains for a smaller headband
- Use more starting chains for a larger headband
- Add more rows to make the headband wider
This makes it perfect for children, teens, and adults.
Important Instructions
- If a row starts with chain 1, it does NOT count as a stitch.
- You can work into the back bumps of the starting chain in Row 1 for a neater edge.
Now let’s begin the pattern.
Crochet Twisted Headband Pattern
To Start:
Chain 29
Row 1
- 1 half double crochet (hdc) in the 2nd chain from the hook
- 1 hdc in each chain to the end
- Turn
(28 stitches)
You now have your foundation row.
Row 2
- Chain 1 (does NOT count as a stitch)
- 1 hdc BLO in the first stitch
- 1 hdc BLO in each stitch to the end
- Turn
(28 stitches)
BLO means Back Loop Only. This creates the stretchy ribbed texture that makes the headband soft and comfortable. To understand the abbreviations in this pattern, such as ch, sc, and dc, check out How to Read a Crochet Abbreviation.
Row 3
Repeat Row 2.
(28 stitches)
Row 4
Repeat Row 2 again.
(28 stitches)
If you want a wider headband, keep repeating Row 2 until you reach your desired width.
Finish the Rectangle
Cut the yarn and leave a long tail for sewing.
Now you have a simple rectangle. Next, we will turn it into a twisted headband.
Sewing the Twist
Follow these steps carefully to create the twisted effect.
Step 1: Mark the Middle
Place a stitch marker in the middle of one short side.
Lay the piece flat vertically with the marked end on top.
Step 2: Fold the Ends
Fold the rectangle in half by matching the short ends together.
The left corner of the other side should sit on top where the stitch marker is.
Step 3: Fold the Left Side
Fold the left side upward on top of the layer.
Keep the long yarn tail free on top so it does not get wrapped inside while folding.
Step 4: Fold the Right Side
Fold the right side downward under the bottom layer.
The right layer will now sit under the stitch marker.
You should now see the twisted shape forming in the center.
Adjust the edges so everything lines up neatly.
Step 5: Sew the Four Layers Together
Using your yarn needle and long tail:
- Sew through all four layers with a whip stitch
- Make small and even stitches
- Pull gently to keep it secure
When you reach the end:
- Secure with a knot
- Cut the yarn
Step 6: Flip It Inside Out
Turn the headband inside out to reveal the twist.
The seam will now be hidden inside.
Gently adjust the twist with your fingers until it looks neat and centered.
Final Step: Weave in Ends
Weave in all loose yarn ends using your yarn needle.
Trim any extra yarn. Once finished, your headband can also be paired with decorative elements like a Crochet Flower Coaster or a Crochet Leaf Deco if you want to add a unique handmade embellishment.