How to Crochet a Granny Square (Easy Step-by-Step for Beginners)
Granny squares are one of the most popular crochet patterns in the world. They are simple, beautiful, and perfect for beginners. If you are just learning how to crochet, this is one of the best projects to start with.
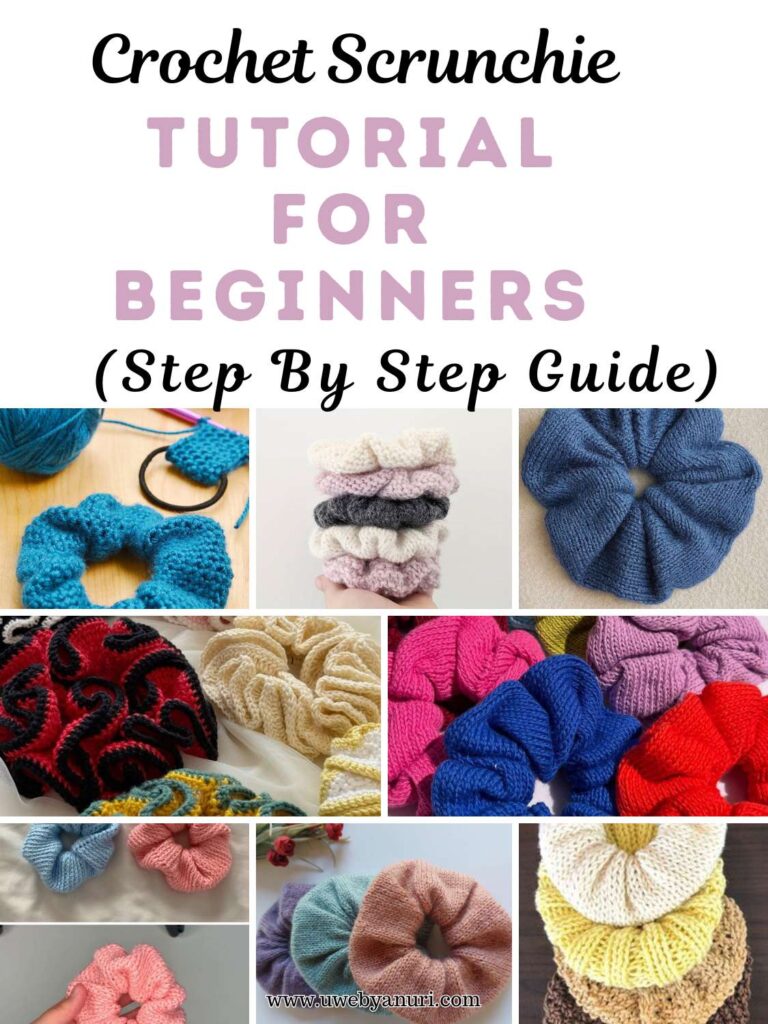
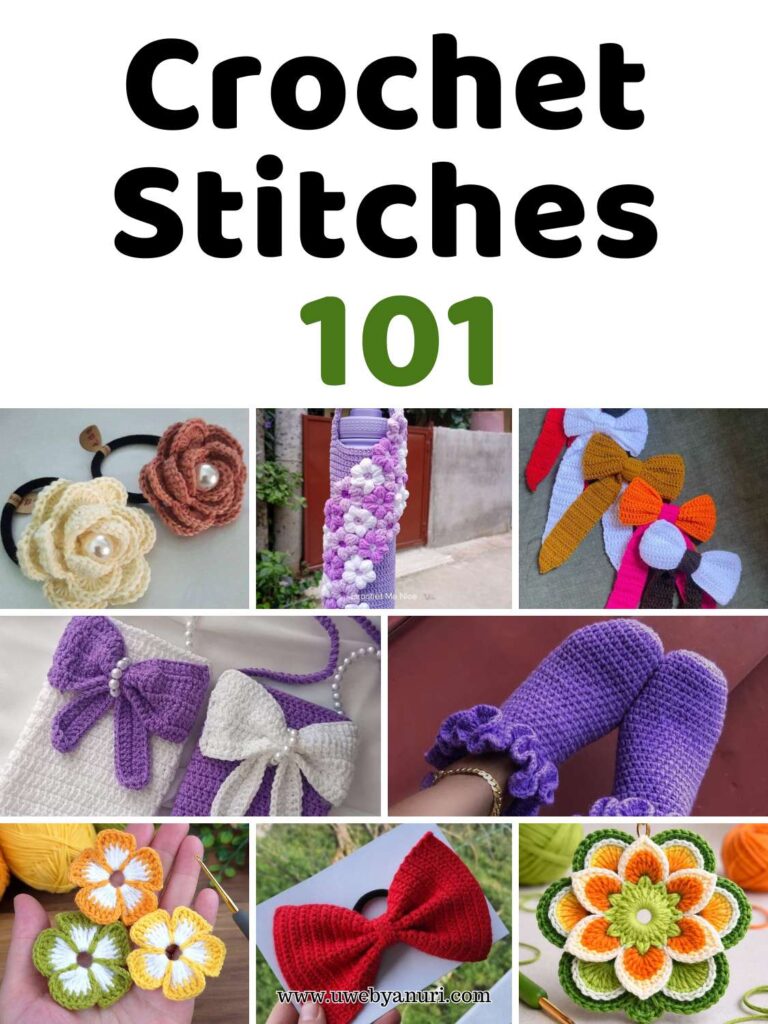
A granny square may look fancy, but don’t worry it is actually made using very simple stitches. Once you understand the pattern, you can make as many squares as you like. You can join them together to create blankets, bags, pillow covers, cardigans, scarves, and so much more. Before starting, review Crochet Stitches 101 to refresh on double crochet, chain stitches, and slip stitches.
Granny squares are also perfect for kids who are learning to crochet because:
- They are easy to repeat
- The pattern is simple to remember
- You can use bright, fun colors
- They grow bigger with each round
In this step-by-step tutorial, I will show you exactly how to crochet a classic granny square. We will start from the center and work our way out.
Take your yarn and hook, and let’s begin Understanding abbreviations like ch, dc, sl st, and rep is essential, so check out How to Read a Crochet Abbreviation if you haven’t already.
Materials You Will Need
- Yarn (any color you like)
- Crochet hook that matches your yarn
- Scissors
- Yarn needle (to weave in ends)
You can use one color or change colors at the end of each round for a fun rainbow effect.
Crochet Abbreviations (Simple Guide)
Here are the stitches we will use:
- ch – chain
- sl st – slip stitch
- sc – single crochet
- hdc – half double crochet
- dc – double crochet
- sp – space
- sk – skip
Now let’s start making our granny square.
Foundation: Making the Center Ring
First, we need to create the center of the granny square.
Foundation Round:
- Chain 4
- Join with a slip stitch to the first chain to form a ring
Now you have a small circle. This is the middle of your granny square.
Round 1
- Chain 3 (this counts as your first double crochet)
- Make 2 double crochet into the ring
Now you have a group of 3 double crochet.
Next:
- Chain 2
- Make 3 double crochet into the ring
Repeat this pattern:
Chain 2, 3 double crochet into the ring
Do this two more times.
You should now have 4 groups of 3 double crochet separated by chain 2 spaces.
To finish Round 1:
- Chain 1
- Half double crochet into the top of the starting chain 3
You should have 20 stitches total (including chains).
Your square will look like a small rounded shape with four corners forming.
Great job!
Round 2
Now we start building the square shape.
- Chain 3 (counts as first double crochet)
- Make 2 double crochet in the same corner space
Now:
- Chain 1
- Skip the next 3 double crochet
- In the next corner space, make 3 double crochet
- Chain 1
Repeat this around the square.
To finish:
- Half double crochet into the top of the starting chain
Your square is now growing! You can start seeing the shape clearly.
Round 3
Now we continue the same idea.
- Chain 3 (counts as first double crochet)
- Make 2 double crochet in the same corner space
Along the sides:
- Chain 1
- Work 3 double crochet in each chain-1 space
In each corner:
- Work (3 double crochet, chain 2, 3 double crochet)
Very important:
Always separate 3 double crochet groups with chain 1 along the sides.
At the end of this round, you should have 68 stitches total.
Your granny square is getting bigger and more beautiful!
Round 4 and Beyond
Continue the same pattern as Round 3:
- Work 3 double crochet in each chain-1 space along the sides
- In each corner, work (3 double crochet, chain 2, 3 double crochet)
- Separate each 3-double-crochet group with chain 1
Each new round adds more spaces along the sides, and your square grows larger.
The pattern stays the same only the number of side spaces increases.
This makes granny squares very easy to memorize.
Adding the Border (Final Round)
Now let’s make a neat border around the square.
- Chain 1 (this does NOT count as a stitch)
- Single crochet in each double crochet
- Single crochet in each chain-1 space
In each corner chain-2 space:
- Work 3 single crochet
This keeps the corners nice and sharp.
To finish:
- Join with a slip stitch to the first single crochet
- Fasten off
- Weave in your ends
And your granny square is complete!
How to Make a Larger Granny Square
Want your square bigger?
After completing Round 4, simply keep repeating the same pattern:
- 3 double crochet in each side space
- (3 double crochet, chain 2, 3 double crochet) in each corner
- Chain 1 between each group
Each round makes the square larger and larger.
You can stop whenever it reaches the size you want.
Changing Colors: Starting a New Round (Rnd 1 with New Color)
If you want to begin a new round with a different color, follow these simple steps:
Step 1: Finish the Previous Color
After you complete the last round of your current color:
- Join with a slip stitch as usual
- Cut the yarn
- Fasten off and pull the yarn through gently
Now your old color is finished.
Step 2: Join the New Color
To start Round 1 with your new color:
- Insert your hook into any corner chain-2 space.
- Pull up a loop with the new yarn.
- Chain 3 (this counts as your first double crochet).
- Make 2 double crochet in the same corner space.
Now you have your first corner started with the new color.
Step 3: Continue the Pattern
Continue working around the square following the normal granny square pattern:
- Work 3 double crochet in each chain-1 space along the sides
- In each corner, work (3 double crochet, chain 2, 3 double crochet)
- Always separate the 3-double-crochet groups with chain 1
Keep going around until you reach where you started.
Join with a slip stitch to finish the round.
And just like that you’ve changed colors!
Fun Ideas for Granny Squares
Now that you know how to crochet a granny square, here are some fun things you can make:
- Granny square blanket
- Crochet pillow cover
- Tote bag
- Scarf
- Baby blanket
- Cardigan
- Table mat
You can even sew multiple small squares together to create colorful patchwork designs.
Beginner Tips for Perfect Granny Squares
1. Keep Your Corners Consistent
Always remember: corners need (3 dc, ch 2, 3 dc).
2. Don’t Skip Chain Spaces
The chain spaces are where your stitches go in the next round.
3. Change Colors for Fun
To change colors, fasten off at the end of a round and attach new yarn in a corner space.
4. Count Your Corners
You should always have four corners. If you have more or less, check your work.
Why Granny Squares Are Perfect for Kids
Granny squares are great for children learning crochet because:
- The pattern repeats
- They can stop after any round
- They see progress quickly
- Bright colors make it exciting
It also helps improve focus, patience, and creativity.