How to Make a Fabric Bookmark.
I’ve always believed that the smallest sewing projects bring the biggest joy especially when they involve fabric scraps, the day i made my fabric bookmark i felt so happy. I was with a bit of creativity, and something practical you can actually use.
This fabric bookmark is one of those quick projects you can finish in under 30 minutes. It’s perfect for beginners, gift-making, or just using up leftover fabric you’ve been saving “just in case”.
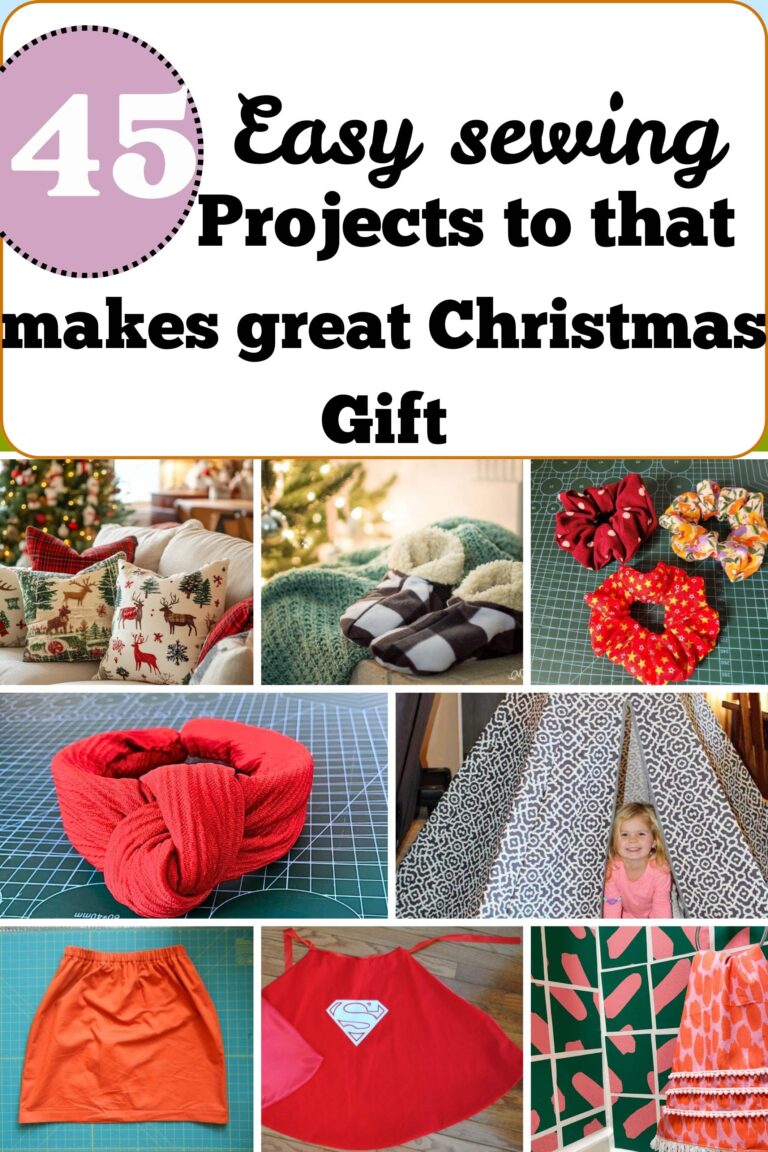
If you enjoy small projects like this, please check this 50 Things to Sew and Give as Gifts for more quick and useful ideas.
I actually made mine on a quiet afternoon when my scrap basket was overflowing. I couldn’t stand looking at those pretty prints and not turning them into something useful. That’s what I love about this project it’s simple, satisfying, and every single piece turns out different depending on your fabric choice.
Whether you’re sewing for fun, for gifts, or even stocking up items for a small business, this is one of those projects you’ll want to repeat.
You may also like this guide on 27 Simple Gift Ideas You Can Sew in Under 1 Hour
Materials You Will Need
If you’re new to sewing tools, don’t miss this helpful guide on Beginner Sewing Tools You Actually Need and How to Use Them.
- ¼ yard of fabric (you can mix prints for a cute patchwork look)
- ¼ yard of fusible interfacing
- Sewing machine
- Scissors
- Pins
- Thread
- Measuring tape
- Iron
Step-by-Step: How to Sew a Fabric Bookmark
1. Cut your fabric
Start by cutting three squares (4” x 4”).
You can use matching fabrics or mix prints for a fun contrast.
If cutting straight feels tricky, this How to Sew a Neat Straight Line (Beginner-Friendly Guide) will really help you improve your accuracy.
2. Add interfacing
Cut three matching pieces of fusible interfacing and iron each one onto the wrong side of your fabric squares.
This step helps your bookmark feel firm and hold its shape better.
Little tricks like this are part of what I shared in Sewing Hacks Every Beginner Should Know, especially if you’re just starting out.
3. Make the triangle flap
Take one square and fold it diagonally into a triangle.
Press it well with an iron so the fold stays sharp.
This will become the pocket part of your bookmark.
Projects like this remind me of making a How to Make a Fabric Hair Bow, simple, cute, and perfect for using small fabric pieces.
4. Layer everything
Now stack your pieces like this:
- Bottom: one fabric square (right side up)
- Middle: folded triangle piece
- Top: last fabric square (right side down)
Pin everything neatly so it doesn’t shift when sewing.
5. Sew around the edges
Sew all the way around using a ¼ inch seam allowance, but leave a small opening (about 1–1.5 inches) so you can turn it inside out later.
6. Turn and press
Carefully turn the bookmark right side out.
Push out the corners gently using a blunt tool or scissors tip.
Then press it flat with an iron and fold in the raw edges of the opening.
7. Topstitch to finish
Sew around the entire square again to close the opening and give it a clean, finished look.
Try to sew neatly and evenly it really makes a difference in how “professional” it looks.
Your fabric bookmark is ready
This is one of those tiny projects that feels surprisingly satisfying when you finish it. It’s quick, beginner-friendly, and honestly a great way to relax while sewing.
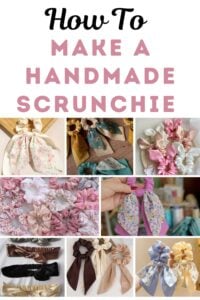
If you enjoyed this, you’ll definitely love making a How to Make a Handmade Scrunchie, another beginner-friendly and fun project.
Final Thoughts
There’s just something deeply satisfying about finishing a small sewing project like this and actually using it right away. It may look simple, but this little fabric bookmark carries so much charm—especially when you think about the fabric scraps that might have been thrown away otherwise.
I love projects like this because they don’t demand too much from you. No complicated pattern, no stress, just a bit of cutting, sewing, and pressing and suddenly you have something beautiful and useful in your hands.
It also reminds me that sewing doesn’t always have to be big or overwhelming. Sometimes the smallest makes give you the most joy, especially when they fit perfectly into your everyday life like this does with reading.
If you’re just starting out or you’ve been sewing for a while and need something light and refreshing, I really recommend trying this. Make one, make five, make ten switch up your fabrics and let your creativity play a bit.
And honestly, these also make the sweetest little gifts. Pair them with a book, and you’ve got something thoughtful, handmade, and personal without spending much at all. That’s the beauty of sewing it turns simple materials into meaningful pieces.