Sleepy Bunny Beanie – A Cute and Cozy Crochet Project for Kids
I have always loved seeing my kids wear something soft, cozy, and playful during the colder months. One of my favorite things to make is beanies, but lately, I wanted something extra cute something that could make my children smile the moment they put it on. That’s how I came up with the idea of the Sleepy Bunny Beanie. It’s not just a hat; it’s a tiny, snuggly companion for my little ones that makes chilly mornings and chilly walks outside a little more magical.
To continue, Read this guide: Crochet stitches 101 and also how to read a crochet abbreviation
There’s something so special about creating handmade items for children. I love choosing soft, chunky yarn that’s gentle on their skin, picking playful colors, and imagining how adorable they will look when they wear what I make. Every stitch feels like a little act of love, and the Sleepy Bunny Beanie is no exception. It’s simple enough for beginners to try, yet the final result is eye-catching and heartwarming – a perfect gift for babies, toddlers, or even preschoolers. If you enjoy making cute crochet items like this bunny hat, you might also love my How to Crochet a Heart (Easy Pattern for Beginners) tutorial. It’s a simple project that is perfect for practicing basic crochet stitches.
As I started designing this beanie, I wanted it to be easy to follow, so that anyone, whether an experienced crocheter or a beginner, could make it without feeling overwhelmed. The beanie has a soft main body, two cute bunny ears, and little embroidered features that bring the bunny’s sleepy face to life. I promise, once you see your child wear it, all the time spent crocheting will feel completely worth it!
Materials You Will Need
Before we start, let’s gather all the materials for this project:
- Chunky chenille yarn – I used blue, but any color you like works beautifully
- 7.0 mm crochet hook
- Stitch markers
- Yarn needle
- Thin white yarn – for embroidering eyes and nose
- Scissors
Optional: a small measuring tape can help you check the size for your child’s head.
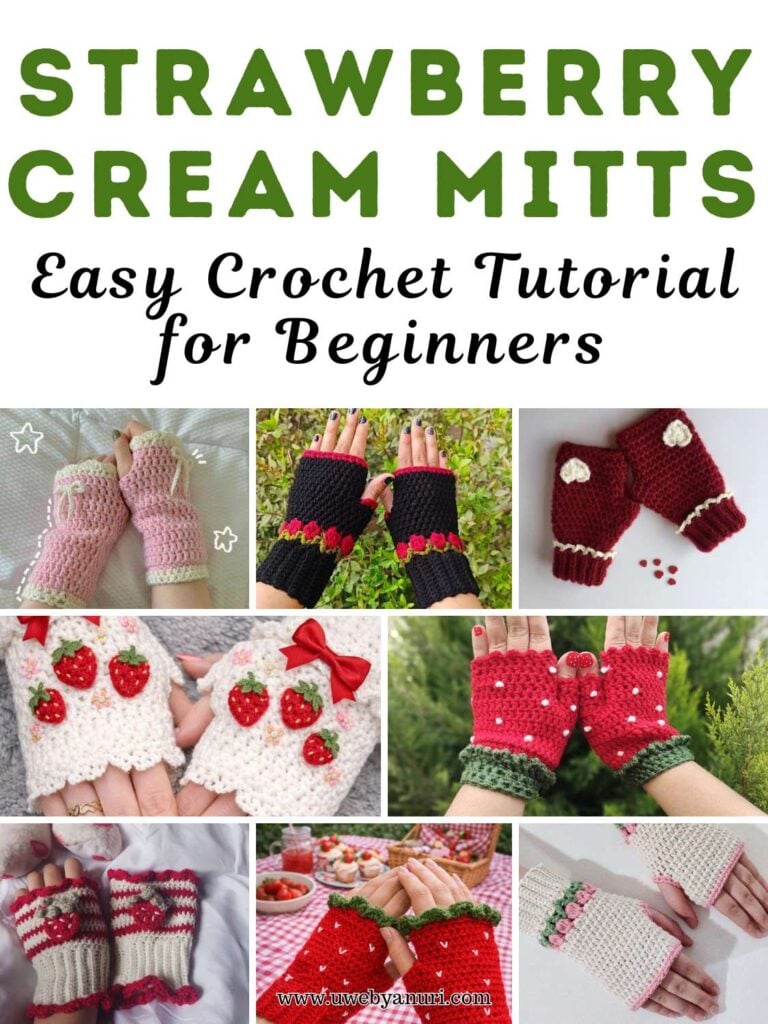
Pin this guide: crochet strawberry mitts
Understanding the Structure
This Sleepy Bunny Beanie has three main parts:
- Main body of the hat – soft, cozy, and slightly stretchy
- Bunny ears – attached securely to the hat
- Embroidered face – simple eyes and a tiny nose
We will crochet each part step by step.
Crocheting the Main Body of the Beanie
Step 1: Magic Ring
- Start by creating a magic ring. Hold the yarn tail in your right hand, leaving about 20 cm.
- Wrap the yarn around your pinky, bring it behind your index finger, and over your middle finger.
- Use your left thumb to hold the crossing point tightly.
- Insert your crochet hook into the ring, yarn over, pull through, yarn over again, and pull through the loop on your hook. This completes the magic ring.
Step 2: Round 1
- Work 8 single crochets into the ring. Keep your tension loose – chenille yarn can be a bit tricky.
- Place a stitch marker in the first and last single crochet.
- Tighten the ring by pulling the yarn tail.
- Join with a slip stitch to complete the round.
Step 3: Round 2 – Single Crochet Increases
- Make one chain stitch as a turning chain (does not count as a stitch).
- Crochet two single crochets in each stitch from the previous round to form 8 single crochet increases.
- Use stitch markers on the first and last stitches.
- Join with a slip stitch.
Step 4: Round 3
- Chain 1.
- Work the pattern: one single crochet, one single crochet increase, repeated 8 times.
- Place stitch markers on the first and last stitches.
- Join with a slip stitch – you should have 24 stitches.
Step 5: Round 4
- Chain 1.
- Pattern: one single crochet, one increase, one single crochet, repeated 8 times.
- Join with a slip stitch – 32 stitches in total.
Step 6: Round 5
- Chain 1.
- Pattern: three single crochets, one increase, repeated 8 times.
- Join with a slip stitch – 40 stitches in total.
Step 7: Round 6
- Chain 1.
- Pattern: two single crochets, one increase, two single crochets, repeated 8 times.
- Join with a slip stitch – 48 stitches in total.
Step 8: Rounds 7–15
- Crochet 48 single crochets in each round, without increases or decreases.
- These rounds form the straight, cozy sides of the beanie.
Step 9: Fasten Off
- Chain 1, leave a yarn tail of 10 cm, and cut the yarn.
- Thread the tail onto a yarn needle and weave it into the back of the stitches.
Crocheting the Bunny Ears
Step 1: Magic Ring
- Create a magic ring as before, leaving a 20 cm yarn tail.
- Crochet 6 single crochets into the ring.
- Place stitch markers at the first and last stitches.
- Tighten the ring and join with a slip stitch.
Step 2: Round 2
- Chain 1.
- Pattern: one single crochet, one single crochet increase, repeated 3 times.
- Join with a slip stitch – 9 stitches total.
Step 3: Round 3
- Pattern: one single crochet, one increase, one single crochet, repeated 3 times.
- Join with a slip stitch – 12 stitches total.
Step 4: Round 4
- Pattern: three single crochets, one increase, repeated 3 times.
- Join with a slip stitch – 15 stitches total.
Step 5: Round 5–6
- Crochet evenly (no increases or decreases) for the shape of the ear.
- Round 7: decrease stitches by combining two stitches into one to form a pointed tip.
- Fasten off, leaving a 20 cm yarn tail for sewing.
Step 6: Make Second Ear
- Repeat the same steps for the second ear.
Attaching the Ears
- Fold the bottom edges of each ear in half.
- Sew the edges together.
- Position the ears on the hat between rounds 4 and 5.
- Sew securely using the yarn tail.
- Weave in excess yarn and trim.
Embroidering the Face
If you love this, read this: crochet dishwash
Eyes
- Use thin white yarn and a yarn needle.
- Embroider the eyes on Round 9 of the main body.
- Space the eyes about 3 single crochet stitches apart.
Nose
- Continue using white yarn.
- Embroider the nose centered below the eyes on Rounds 10–11.
- Hide all yarn tails by weaving them to the back.
Final Touches
Your Sleepy Bunny Beanie is now complete!
- Check that the ears are even and securely sewn.
- Make sure the embroidery is neat.
- Adjust any loose ends.
This hat is soft, cozy, and perfect for babies or toddlers. It also makes a wonderful handmade gift for friends or family.
Learn from this guide: crochet cup cozy
Tips for Beginners
- Use stitch markers for each round’s first and last stitch – it helps you avoid losing your place.
- Keep your tension slightly loose when working with chunky or chenille yarn.
- Always weave in yarn tails securely for a polished finish.
- Adjust the number of rounds based on your child’s head size.
Why I Love This Project
I truly love making the Sleepy Bunny Beanie for my kids. It’s one of those projects that combines creativity, comfort, and cuteness. Seeing my kids’ eyes light up when they wear it makes every stitch worthwhile. Plus, it’s simple enough for beginners to tackle while still giving a professional-looking result.