Strawberry Cream Mitts – Easy Crochet Tutorial for Beginners
Crocheting wearable pieces can feel intimidating at first, but small projects like mitts are actually one of the best ways to build confidence in your crochet skills. These Strawberry Cream Mitts are a cozy and charming project that combines comfort, style, and creativity in one beginner-friendly pattern. Inspired by the soft colors of strawberries and cream, these mitts are designed to be warm, playful, and perfect for everyday use.
Please check this if you are new : How to read a crochet abbreviation and also crochet stitches 101
One of the things I truly love about crochet is how a simple ball of yarn can transform into something beautiful and practical. When working on these mitts, the soft texture of chenille yarn makes the project feel extra special. The ribbed cuff provides a stretchy and comfortable fit, while the smooth body of the mitt creates a clean and polished look. Adding the small decorative bow and stripes gives the mitts a sweet handmade touch that makes them feel unique and personal.
Projects like this are also wonderful because they allow you to practice important crochet techniques while still enjoying a quick and satisfying result. In this tutorial, you’ll practice stitches like single crochet, double crochet, front post double crochet, and back post double crochet, which are essential for many crochet patterns. Whether you’re making these mitts for yourself, gifting them to someone special, or simply enjoying the process of creating something by hand, this pattern is a fun and rewarding project to try.
Materials You Will Need
Before starting your Strawberry Cream Mitts, gather the following materials:
- 6 mm chenille yarn
- Main color yarn: rose pink
- Small amount of black yarn (optional for details)
- White cotton yarn for the foundation
- 7.0 mm crochet hook
- 5.0 mm crochet hook
- Stitch markers
- Yarn needle
- Scissors
Using chenille yarn gives the mitts their soft and plush texture, but you can also experiment with cotton or acrylic yarn depending on your preference.
See more projects you would like: crochet flower coaster
Preparation
Before beginning the project, measure your wrist to ensure the mitts will fit comfortably. The starting chain can easily be adjusted depending on your wrist size.
If your wrist is smaller, you can reduce the number of foundation chains. If you prefer a looser fit, simply add a few extra chains at the beginning.
This flexibility makes the pattern easy to customize for both kids and adults.
Step 1: Creating the Foundation Chain
Using white cotton yarn, chain 40 stitches.
Join the chain to form a ring, making sure the chain is not twisted.
Place a stitch marker in the right loop of the first chain.
This forms the base of your crochet mitt.
Round 1 – Forming the Base
Chain 1 (this does not count as a stitch).
Starting in the same stitch, work 40 single crochet stitches around the ring.
Work into the top loops of the foundation chain.
Place a stitch marker in the first single crochet stitch.
Join with a slip stitch to the first single crochet and pull tight.
This round creates a clean and sturdy base for the mitt.
Round 2 – Creating the Ribbed Texture
Chain 3 (this does not count as a stitch).
Work the following pattern:
- 1 Front Post Double Crochet (FPDC) around the post of the first stitch
- 1 Back Post Double Crochet (BPDC) around the next stitch
Repeat this pattern 20 times around the round.
Place a stitch marker in the first stitch.
Join with a slip stitch.
This stitch pattern creates the stretchy ribbed cuff of the mitt.
check this guide: crochet scrunchie tutorials
Rounds 3–6 Continue the Ribbing
Repeat the ribbing pattern for the next rounds:
- 1 Front Post Double Crochet
- 1 Back Post Double Crochet
Continue this sequence around the mitt.
Repeat until you have completed five rounds total.
The ribbing helps the mitt fit snugly around the wrist.
Round 7 – Increasing the Mitt Size
A double crochet increase means working two double crochets in the same stitch.
Chain 3.
Starting in the same stitch:
- Work 19 double crochets
- Place a stitch marker
- Work 1 double crochet increase
Repeat this sequence two times.
You should now have 42 stitches total.
This round begins to shape the mitt and make room for your hand.
If you like this read this:
Round 8 – Expanding the Mitt
Chain 3.
Starting in the same stitch:
- Work 20 double crochets
- Work 1 double crochet increase
Repeat this pattern around the round.
The mitt gradually widens as you continue crocheting.
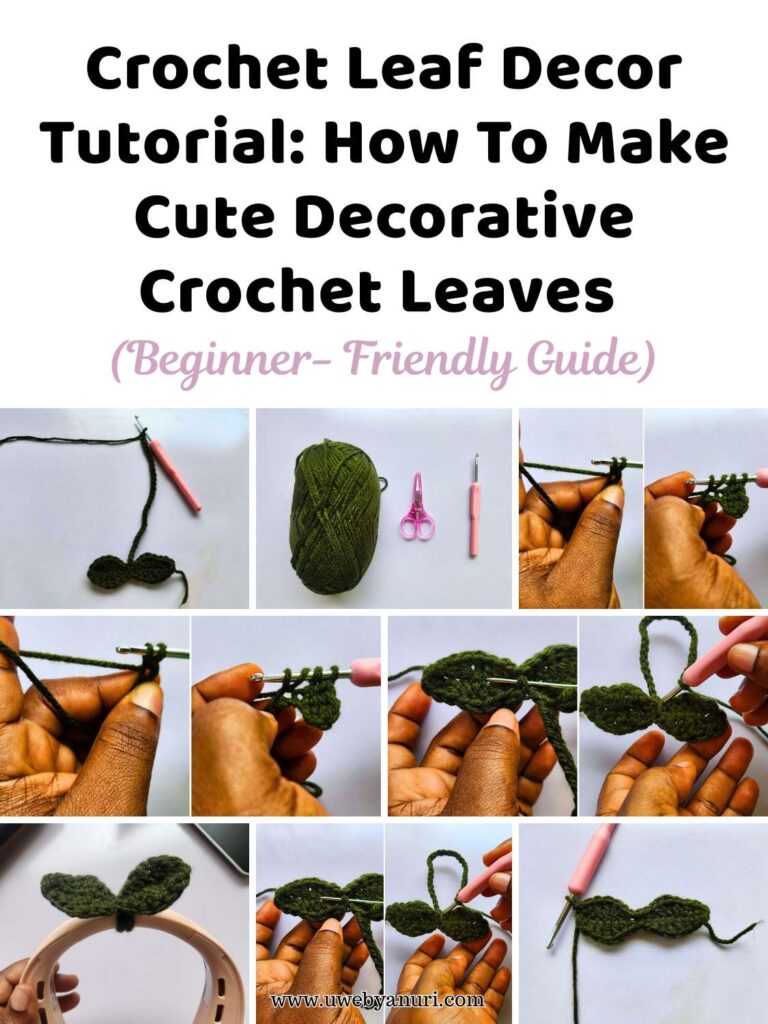
Recommended for you: Crochet leaf deco
Round 9 – Shaping the Mitt
Chain 3.
Starting in the same stitch:
- Work 21 double crochets
- Place a stitch marker
- Work 1 double crochet
Repeat the sequence around.
This round continues shaping the body of the mitt.
Round 10 – Continuing the Body
Chain 3.
Slip stitch to begin the round.
Then work:
- 22 double crochets
- Followed by 1 double crochet
Repeat this sequence twice around the round.
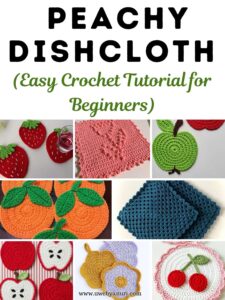
If you like this, read this: crochet Peachy dishcloth
Round 11 – Building the Mitt
Chain 3.
Starting in the same stitch:
- Work 23 double crochets
- Followed by 1 double crochet
Repeat the pattern two times around the round.
Round 12 – Expanding the Round
Chain 3.
Work:
- 24 double crochets
- Followed by 1 double crochet
Repeat the pattern around.
Rounds 13–16 – Creating the Mitt Body
Join with a slip stitch.
Work 52 double crochets evenly around the round.
Repeat this step for:
- Round 13
- Round 14
- Round 15
- Round 16
These rounds create the main body of the mitt.
Round 17 – Final Round
Insert your hook into the slip stitch from the previous round.
Work 52 double crochets around.
Place stitch markers as follows:
- Marker 11: on the first double crochet
- Marker 12: on the 37th double crochet
Slip stitch into the first double crochet (marker 11) to join the round.
Pull tight and fasten off.
Adding the Decorative Bow
To make the mitts even more charming, you can add a small crochet bow.
Keep this guide: Crochet dainty daisy
Step 1 – Create the Bow
Using pink yarn, chain 10 stitches.
Turn your work.
Work 1 single crochet in each stitch across.
Repeat for 3 rows to create a small rectangle.
Fasten off, leaving a small tail.
Step 2 – Shape the Bow
Pinch the center of the rectangle to form a bow shape.
Wrap yarn around the center 3–4 times.
Tie securely at the back.
Read this next: how to crochet a heart
Step 3 – Add Bow Stripes
Using a contrasting color such as white or cream yarn, wrap the yarn around the center of the bow once or twice.
This creates the bow stripe detail that matches the strawberry cream theme.
Secure the yarn at the back and trim the ends.
Step 4 – Attach the Bow
Place the bow near the cuff or wrist area of the mitt.
Use a yarn needle to sew it securely onto the mitt.
Make sure it sits comfortably and does not pull the fabric.
Beginner Crochet Tips
If you are new to crochet, these tips will help you succeed with this project:
- Always count your stitches at the end of each round.
- Use stitch markers to track important stitches.
- Keep your tension consistent for a neat look.
- Chenille yarn can hide stitches, so crochet slowly.
- Try the mitt on while working to check the fit.
These variations allow you to personalize the project and make each pair unique.
Final Thoughts
Crocheting the Strawberry Cream Mitts is a fun and satisfying project that combines creativity with practicality. The soft chenille yarn, stretchy ribbed cuff, and decorative bow create a pair of mitts that are both comfortable and stylish.
This pattern is also a wonderful way for beginners to practice essential crochet stitches while creating something useful. Small wearable projects like these help build confidence and encourage crocheters to explore more advanced designs.
Whether you keep them for yourself or give them as a handmade gift, these mitts are sure to bring warmth and charm to any crochet collection.