

10 Sewing tips for a perfect finish
You are about to learn vital sewing tips for a perfect finish.
If you have ever finished sewing a garment and felt like something was almost right, you are not alone. Many sewing projects look good at first glance but lack that smooth, polished touch that makes them feel truly well made. The truth is, that professional look doesn’t come from expensive tools or advanced skills, it comes from paying attention to small details and following the right sewing tips for a perfect finish.
A clean finish is what separates a rushed project from one you’re proud to wear or gift. It is the difference between visible effort and quiet confidence in your work. When you understand why certain steps matter, sewing tips for a perfect finish stop feeling like rules and start feeling like helpful habits that guide you naturally.
Whether you are still learning or you have been sewing for a while, refining your finishing skills can completely change how your work looks and feels. From cutting and pressing to seams and edges, these sewing tips for a perfect finish focus on simple actions that make a big visual difference without overwhelming you.
In this post, we will walk through the most important practices that bring everything together neatly. If you’re ready to enjoy sewing pieces that look cleaner, last longer, and feel more professional, these sewing tips for a perfect finish will help you get there, one calm, confident step at a time.
10 sewing tips for a perfect finish:
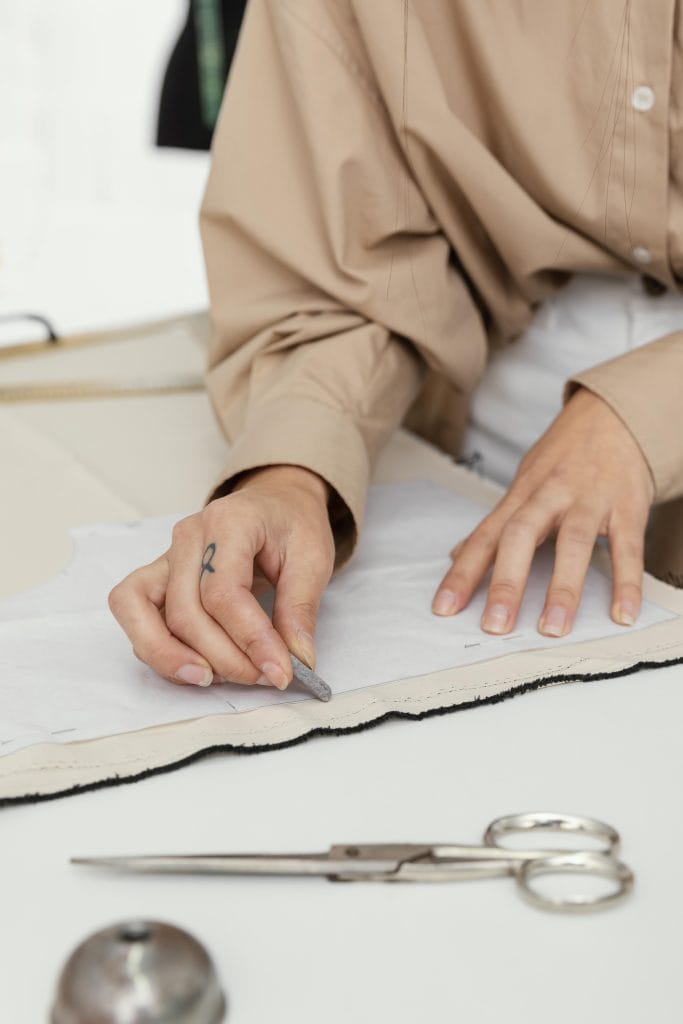
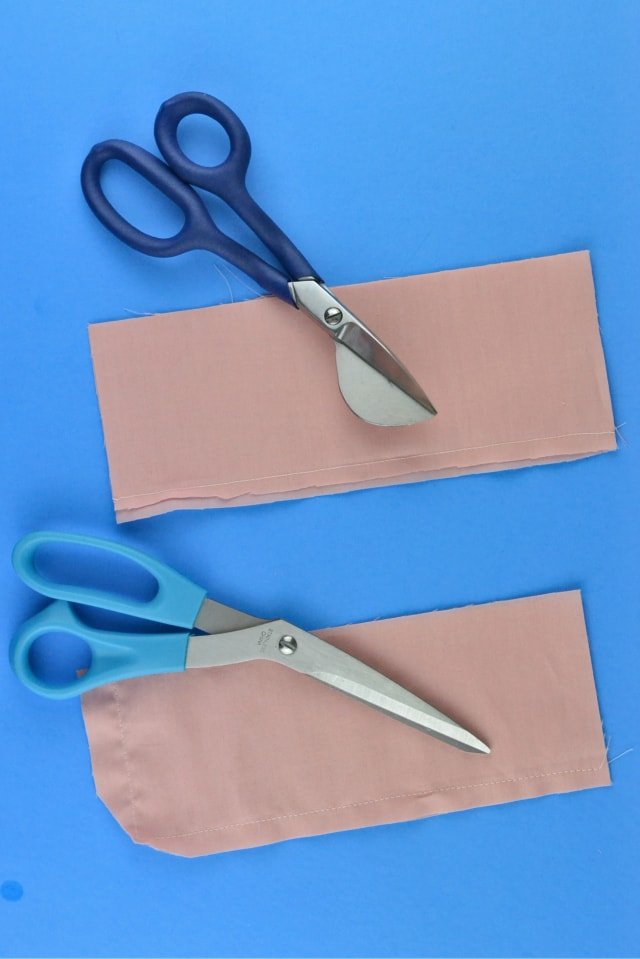
1. Accurate Cutting (the foundation of everything)
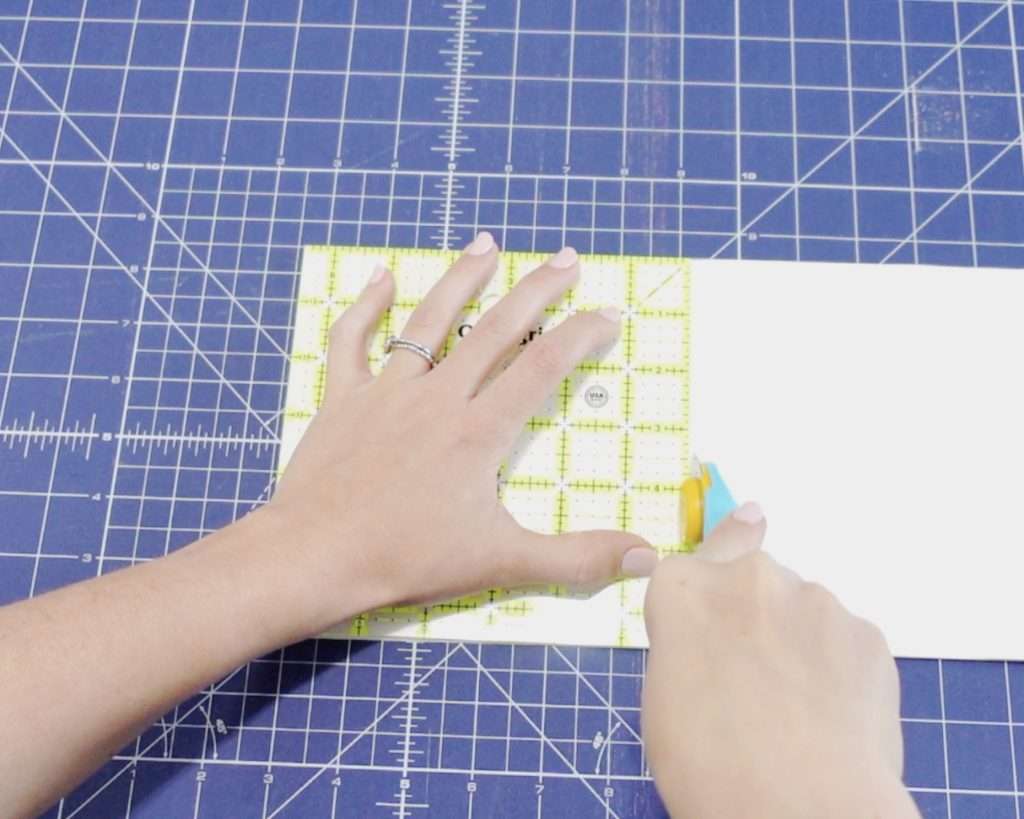
Accurate cutting is where a clean sewing result truly begins. Even before the needle touches fabric, your final finish is already being decided by how carefully you cut each piece.
When fabric is placed incorrectly on the grain, it may twist, stretch, or hang awkwardly after sewing. This makes the garment look uneven no matter how well it is stitched later.
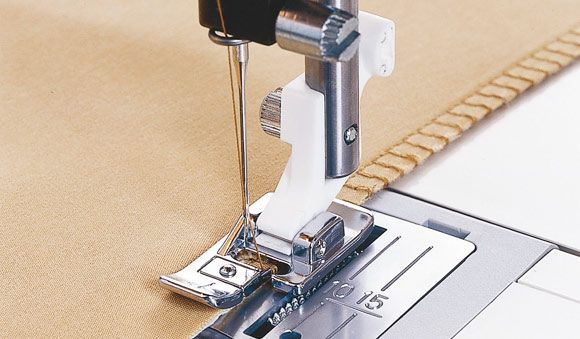
Using sharp scissors or a rotary cutter helps you achieve smooth, clean edges. Dull tools drag the fabric and create jagged cuts that show up as messy seams.
Taking time to mark notches, darts, and pattern symbols clearly keeps all pieces aligned during sewing. These markings guide assembly and prevent small errors from becoming big problems.
Many professional sewing tips for a perfect finish start here, because precise cutting removes most fitting and alignment issues early on.
2. Using the Correct Needle and Thread

The needle and thread you choose have a direct impact on how neat your stitches look. Every fabric reacts differently, so using the wrong combination can damage the fabric or weaken seams.
Fine fabrics require thin needles, while thicker or tightly woven fabrics need stronger ones. Stretch fabrics especially need special needles to avoid skipped stitches.
Thread quality also matters more than many beginners realize. Poor-quality thread breaks easily, sheds lint, and causes uneven stitching.
Matching thread weight and fiber to your fabric helps stitches blend in naturally. This creates seams that look smooth instead of tight or bulky.
When needle and thread work well together, your sewing looks cleaner and lasts longer.
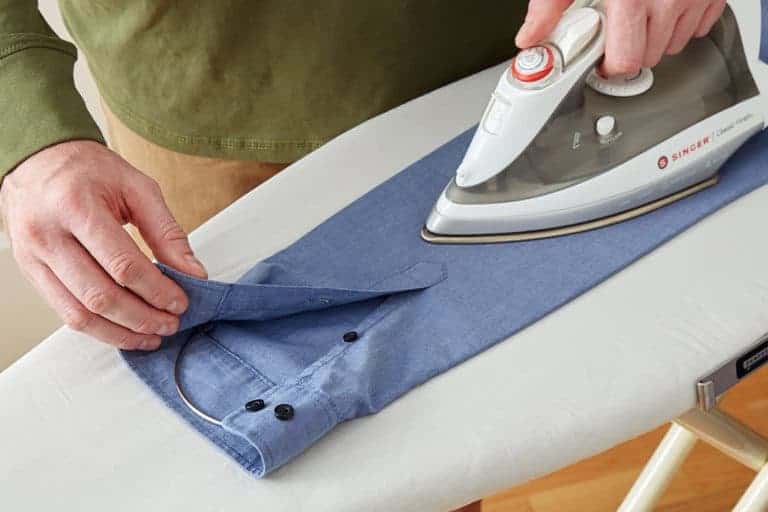
3. Pressing as You Sew, Not Only at the End
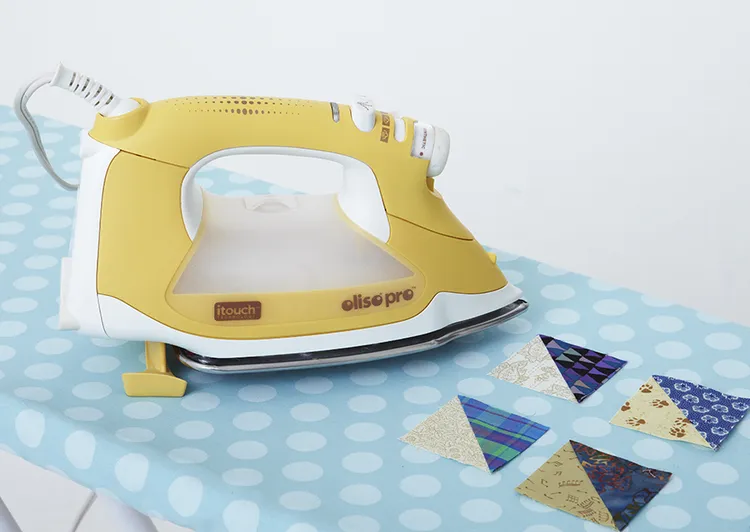
Pressing is an essential step that shapes the garment as you work. It should be done throughout the sewing process, not just when everything is finished.
Pressing a seam flat immediately after stitching helps set the stitches into the fabric. This reduces puckering and improves seam strength.
Opening or directing seams afterward helps reduce bulk and keeps the garment lying flat. Skipping this step makes even good stitching look untidy.
Using the correct heat setting prevents fabric damage and allows seams to hold their shape properly. Each fabric responds best to the right level of heat and steam.
Among all sewing tips for a perfect finish, pressing consistently is one of the simplest ways to achieve a professional look.
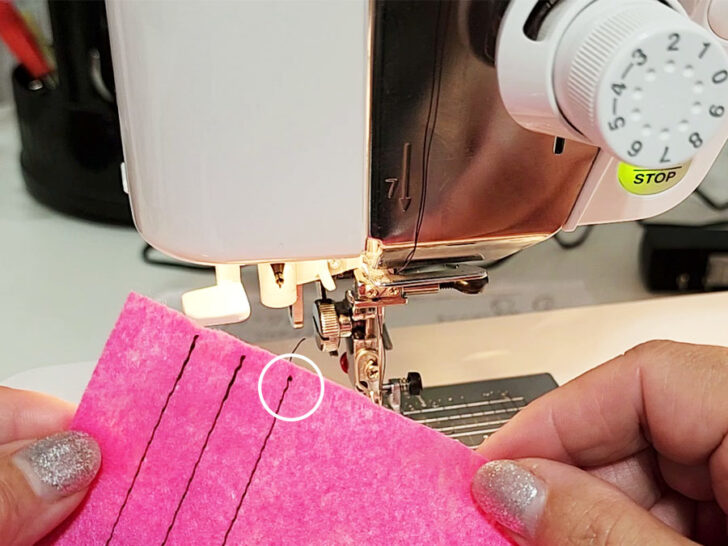
4. Maintaining a Consistent Seam Allowance
Seam allowance is the space between your stitching line and the fabric edge, and keeping it even is extremely important. Inconsistent seam allowance affects both fit and appearance.
When seam allowance changes along a seam, garment pieces may not line up correctly. This leads to uneven sides, poor balance, and awkward shaping.
Letting the machine guide the fabric instead of pulling it helps maintain accuracy. Pulling stretches the fabric and causes uneven stitching.
Sewing at a steady, controlled speed gives you better precision. Slowing down often produces neater seams than rushing.
Consistent seam allowance creates garments that fit better and look more refined.
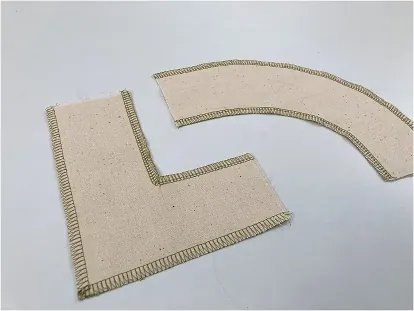
5. Properly Finishing Raw Edges

Raw fabric edges that are left unfinished will fray over time, especially after washing. This quickly makes a garment look worn and poorly made.
Different fabrics require different finishing methods, such as zigzag stitching, overlocking, or French seams. Choosing the right method improves durability.
Neatly finished edges also affect comfort. Clean seams feel better against the skin and prevent irritation.
Finished edges help garments keep their shape and strength over time. They reduce stretching and seam breakdown.
These details are at the heart of sewing tips for a perfect finish, because a truly well-made garment looks just as neat on the inside as it does on the outside.
6. Sewing Slowly on Curves and Corners
Curves and corners are areas where sewing mistakes happen most often. These parts need patience because fabric naturally wants to shift and resist sharp direction changes.
Slowing down gives you better control and cleaner stitch lines. Rushing through curves usually results in uneven seams or jagged stitching.
Pivoting neatly at corners helps maintain sharp angles. Lifting the presser foot slightly while keeping the needle down allows accurate direction changes.
Clipping curves where necessary helps the fabric relax and lie flat. Without this step, seams can pull and distort the garment shape.
Careful handling of curves and corners greatly improves the overall appearance of a finished piece.
7. Trimming and Grading Seams
Excess fabric inside seams creates bulk that shows on the outside of garments. Trimming removes unnecessary thickness and helps seams lie flat.
Grading seams means trimming one layer shorter than the other. This spreads bulk across layers instead of stacking it in one place.
This technique is especially important in collars, waistbands, armholes, and facings. These areas quickly look bulky if not managed properly.
Flat seams allow garments to drape better and feel more comfortable when worn. They also make pressing easier and more effective.
Well-trimmed seams give garments a smoother, more polished appearance.
8. Securing Stitching Starts and Ends Neatly
How a seam begins and ends affects how clean it looks. Loose threads or bulky backstitching can make seams look untidy.
Backstitching lightly prevents seams from coming undone without creating knots. Overdoing it causes thread buildup.
Another neat option is tying off threads by hand in visible areas. This gives better control and a cleaner finish.
Keeping thread tension balanced also helps prevent messy starts. Uneven tension creates loops or tight spots.
Clean seam beginnings and endings add to the professional quality of your sewing.
9. Checking Fit Before Final Finishing

Trying on a garment before hemming or final stitching saves time and frustration. Small adjustments are easier before everything is closed.
Checking fit helps identify tight areas, uneven lengths, or alignment issues. These are harder to correct later.
Pinning adjustments while wearing the garment gives a clearer picture of needed changes. This improves accuracy.
Making these corrections early improves comfort and appearance. A good fit always looks more polished.
Final finishing should only happen after you are satisfied with how the garment sits on the body.
10. Final Pressing and Careful Inspection
The final press brings all your work together. It smooths seams, sharpens edges, and gives the garment its finished shape.
Using proper heat and steam ensures the fabric responds well without damage. Each material requires careful handling.
After pressing, inspect the garment closely. Look for loose threads, uneven stitching, or missed details.
Trimming stray threads instantly improves appearance. These small details matter more than many people realize.
A careful final check ensures your garment looks clean, balanced, and truly complete.
These are also interesting inspirations that you might love to explore:
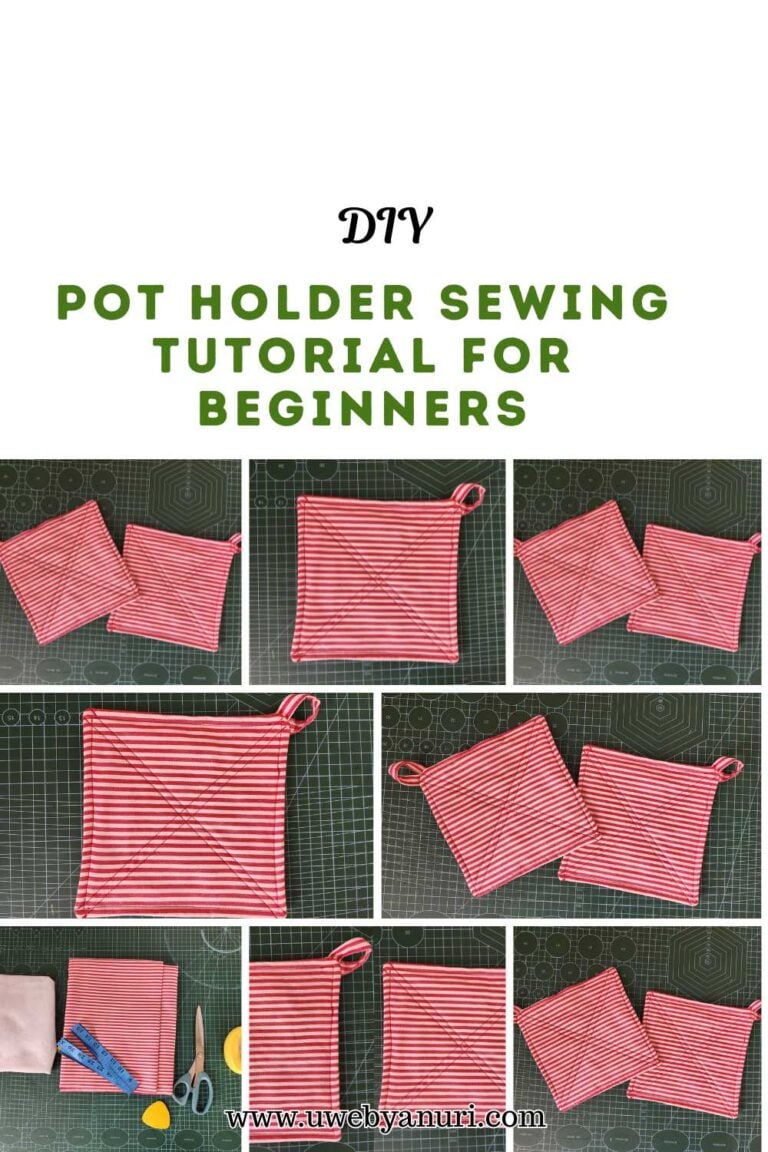
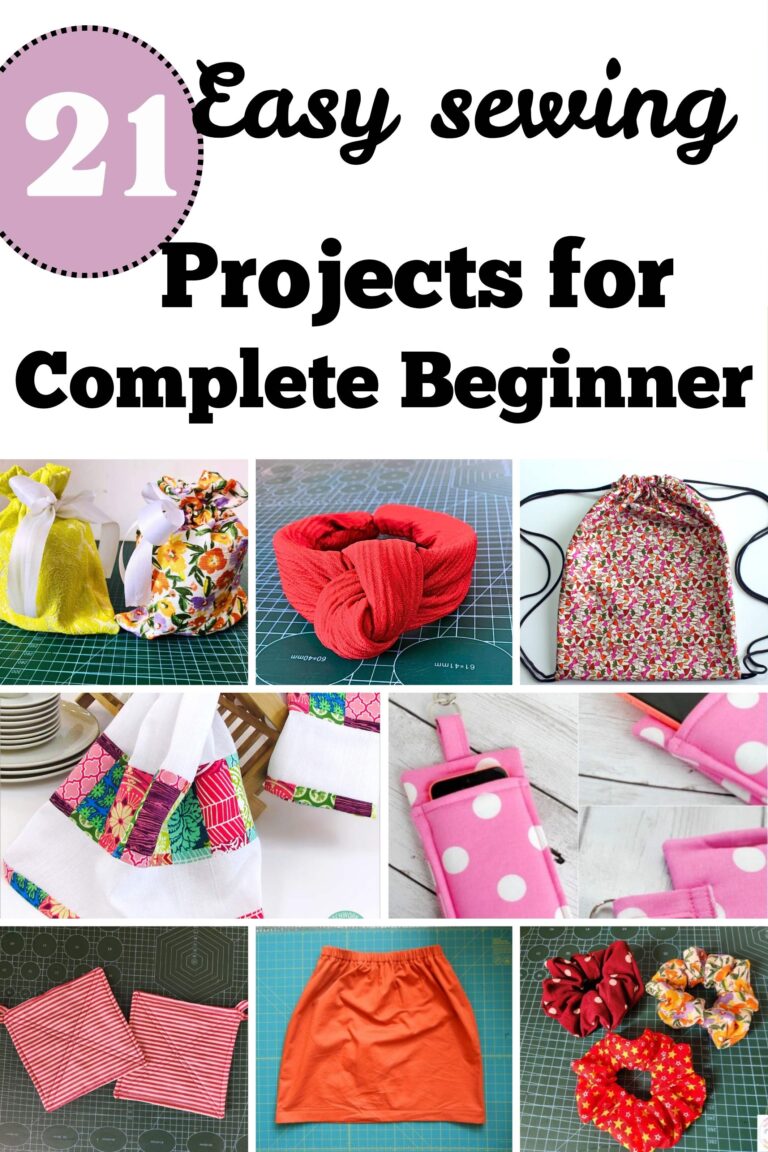
21 easy sewing projects for complete beginners
35 simple things to sew and use everyday
30 sewing projects to save Money around the house
40 beginner friendly sewing projects for summer
35 easy sewing projects to make and sell at craft fairs


